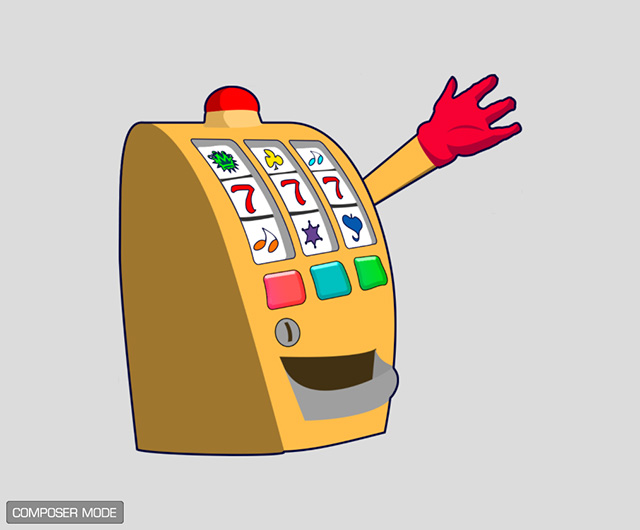
Creating Props from PSD Files 
In Cartoon Animator, you are allowed to create props from PSD files with your favorite PSD editor, such as Photoshop.
*Please note that this feature is only available through the Cartoon Animator 4 Pipeline version.
-
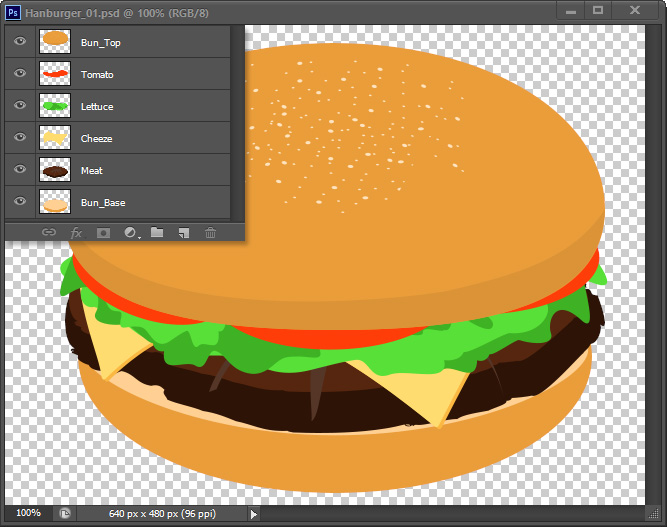
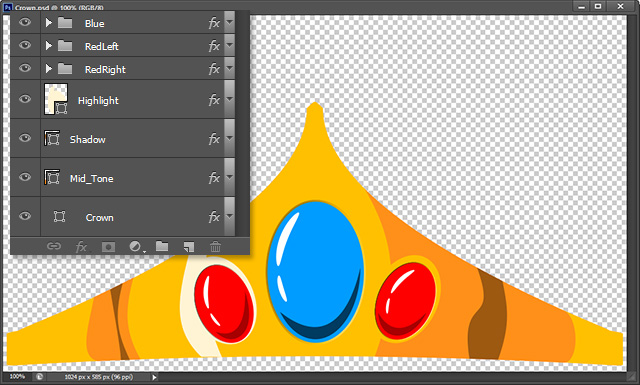
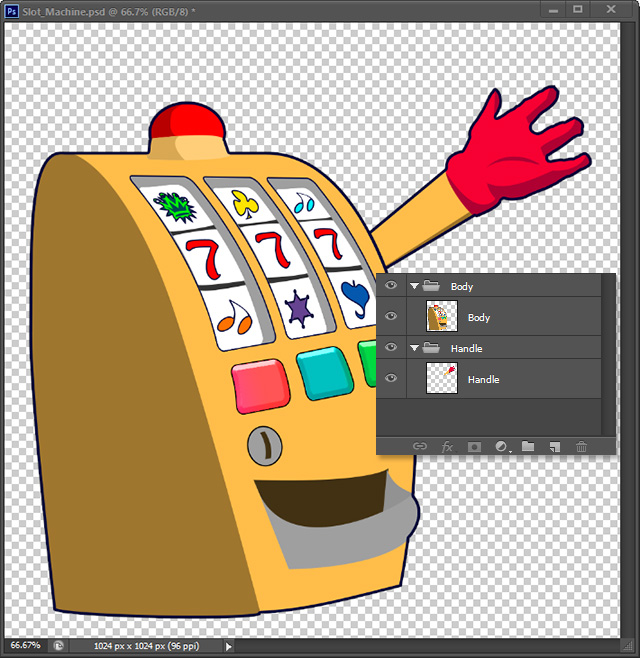
In the Image editor (Photoshop, for example), create an entity with single or multiple layers.
-
Save it as a PSD file.
-
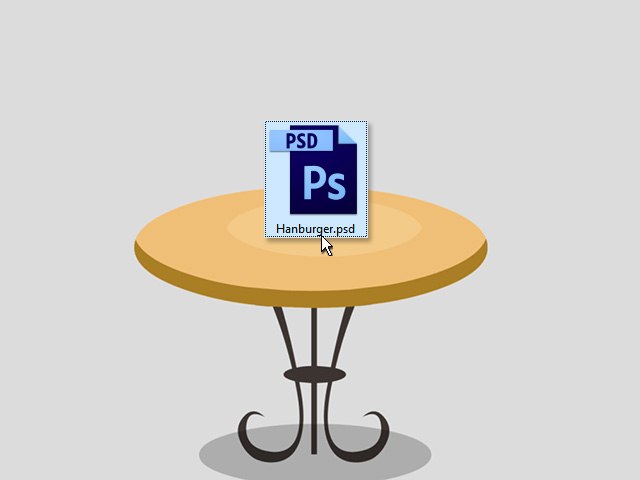
Drag and drop the PSD file onto the working area of Cartoon Animator in the Stage Mode.
- Click the Prop button in the coming panel.

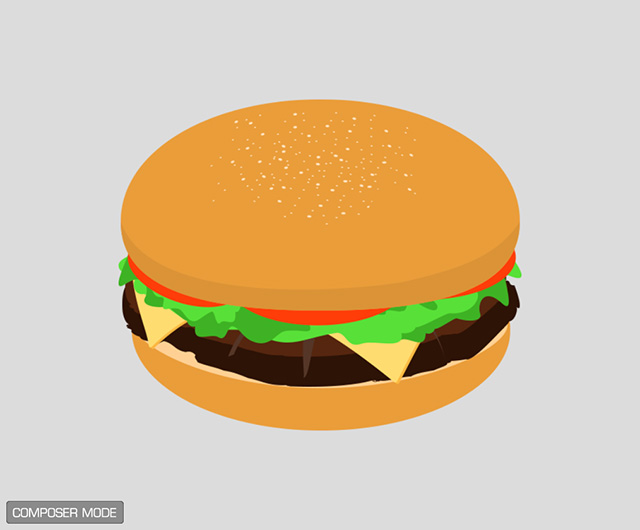
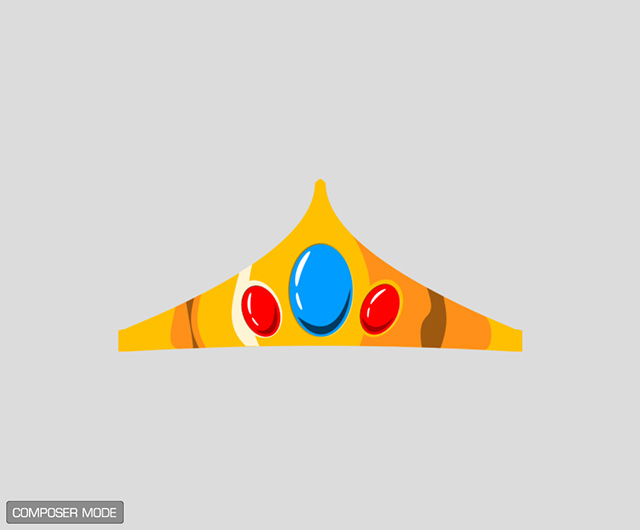
- The PSD file will then be converted into a Prop in the Composer Mode.
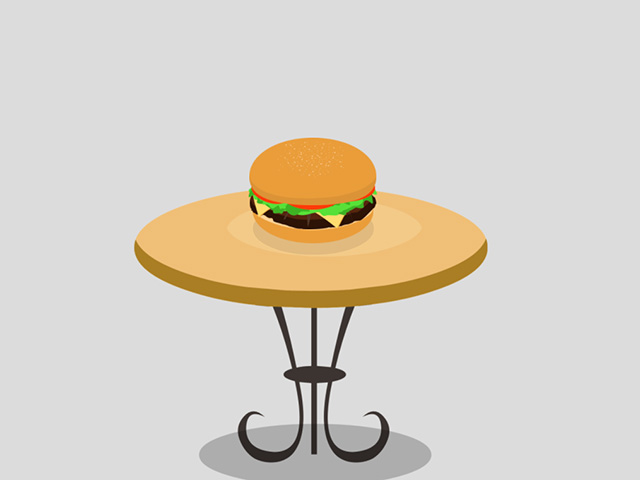
- Switch back to the Stage Mode and adjust the size and position of the prop.
 Note:
Note:You can then add this prop into the Content Manager for further usage.
When a PSD file is loaded into Cartoon Animator to generate a prop, the layers in the PSD files must be rasterized because Cartoon Animator does not support layer styles, filters, or clipping masks applied in the Image editor.
With the Grouping Rules, you are able to create props in PSD file with layers being applied with various styles, filters, or clipping masks in groups and rasterized layers in other groups. This approach increases the flexibility for re-editing layers without destroying the effects before the file is exported.
-
In the Image editor (Photoshop, for example), create an entity with a single or multiple layers.
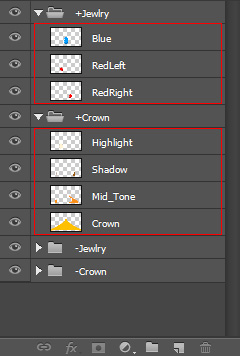
Please note that these layers are applied with styles and filters. - Put these layers into certain groups. These groups will turn to be sprites forming props.
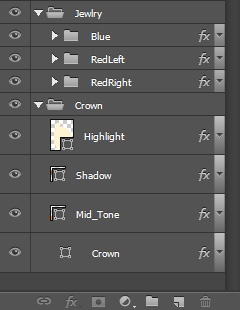
- Add the prefix "-" to the group names. These groups thus will not be loaded into Cartoon Animator. Therefore, the layers under these groups can be applied with any effect you want.
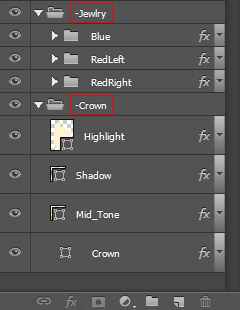
- Duplicate the groups.
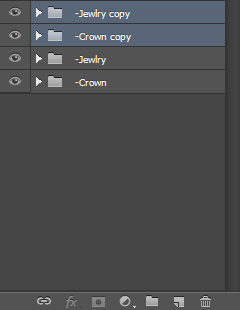
- Rename these duplicated groups with a prefix "+". The prefix will inform Cartoon Animator to load these groups and Merge the sub-layers within the groups.
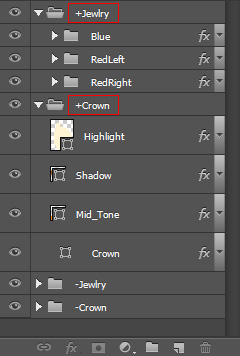
- Rasterize these sub-layers or merge the sub-groups in order to merge the filters, effects, or clipping masks onto the layer. Save the PSD file.
- Drag and drop the PSD file onto the working area of Cartoon Animator in the Stage Mode.
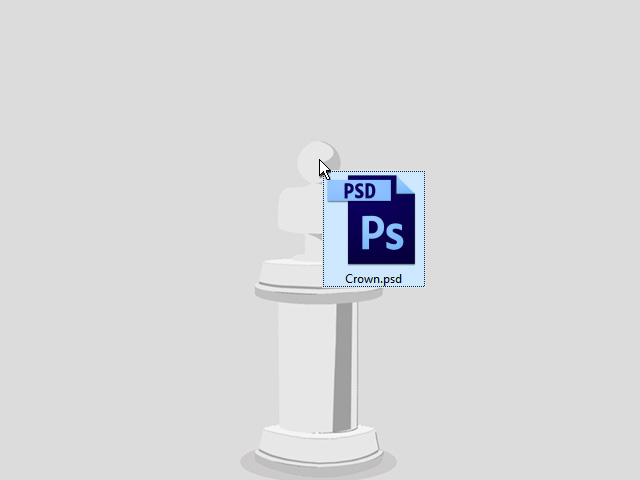
- Click the Prop button in the coming panel.
- The PSD file will then be convert into a Prop in the Composer Mode.
- Switch back to the Stage Mode and adjust the size and position of the prop.
 Note:
Note:You can then add this prop into the Content Manager for further usage.
In the previous sections, the sprite center and the prop pivot will be set in accordance to the center of the sprite or the prop. In this section, you can define the center and the pivot of the sprite and the prop by adding more information layers to the PSD file.
-
In the Image editor (Photoshop, for example), create an object with multiple components in groups or individual layers.
 Note:
Note:Please follow the Grouping Rules to name the group names.
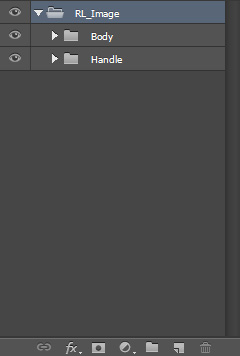
- Put the original group layers into a new group named RL_Image.
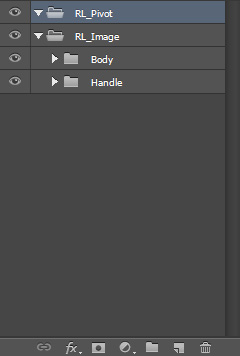
- Create a new group named RL_Pivot at the same level as the RL_Image.
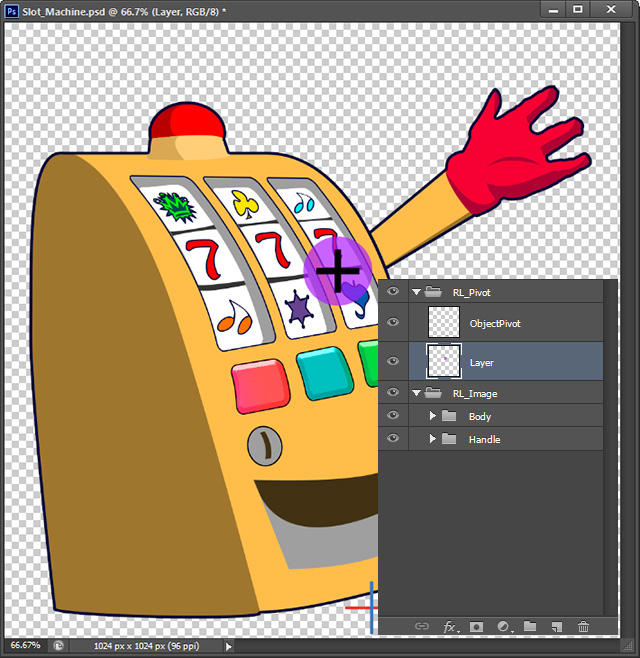
- Create a new sub-layer in it.
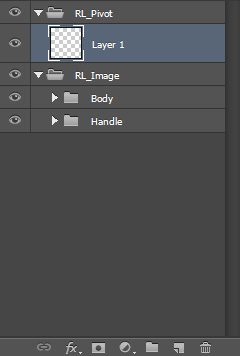
- Rename the new layer as ObjectPivot.
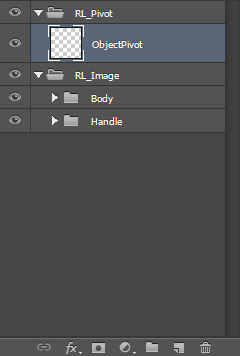
- Add any image in the layer. The center of the image in the layer will be taken as the pivot of the entire prop.
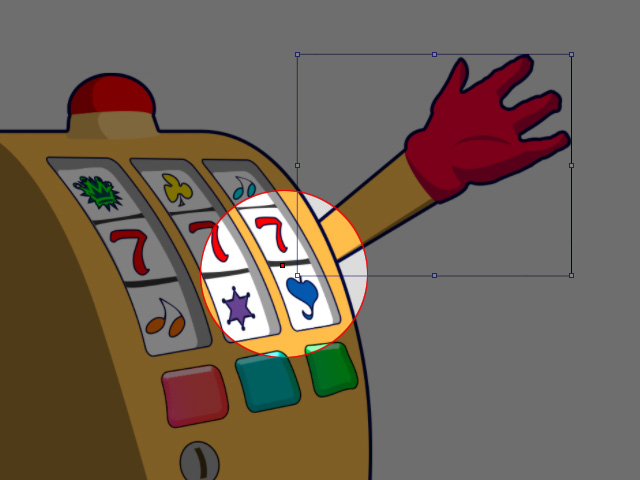
- Create another sub-layer. Add an image into it.
- Rename the layer to the one for which you want to set the center, in this case, the Handle.
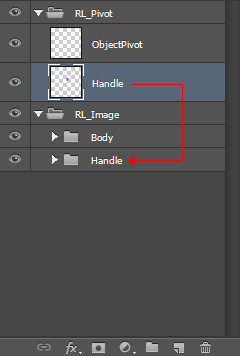
The center of the image in this layer will be taken as the center of the component (Sprite, in Cartoon Animator). - Save the PSD file.
- Drag and drop the PSD file into Cartoon Animator, it will be switched to the Composer Mode.
- Select the sprite whose center has been set in the PSD file (step 7 to 8); and you will see the center point (red).
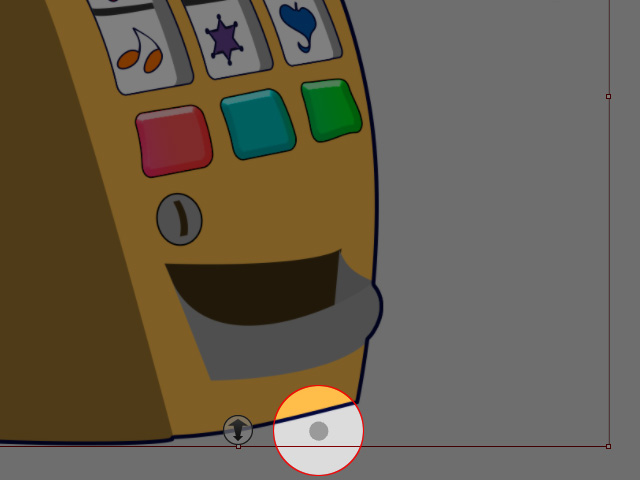
- Switch back to Stage. You can see the object's pivot set in the PSD file (Step 6).
 Note:
Note:The sprite that is not set with the center will take its image center as the center for transformation.
- You can then use the center and pivot to create animation.
Please refer to the Grouping Rules for a Hierarchical Prop section for more details.