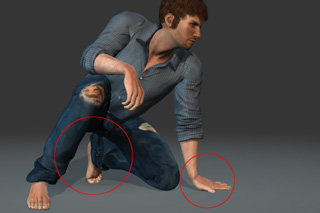
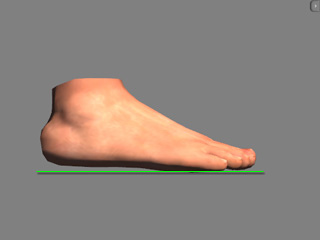
The Floor Contact is ON.
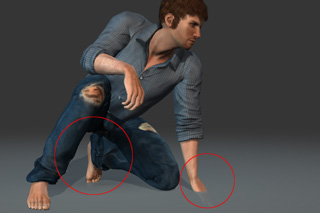
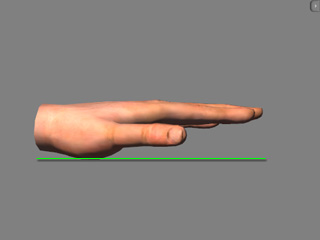
The Floor Contact is OFF.
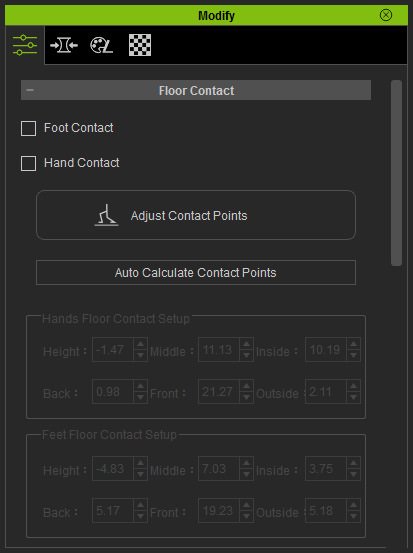
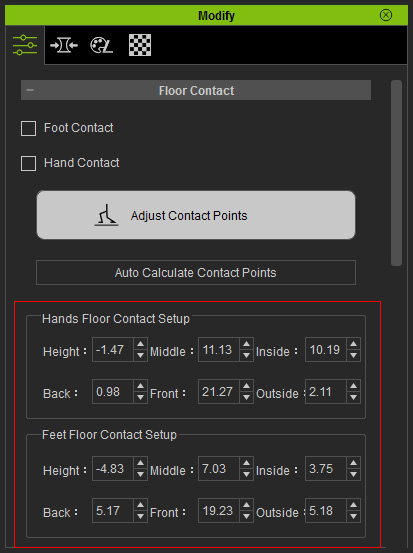
In iClone, a character can have floor contact for the feet and hands so that the character walks or touches terrain or any terrain components. You are allowed to customize the contact plans in iClone Character Creator. If they are done correctly, you do not need to worry about penetrating issues for the feet and the hands.
|
|
|
|
The Floor Contact is ON. |
The Floor Contact is OFF. |
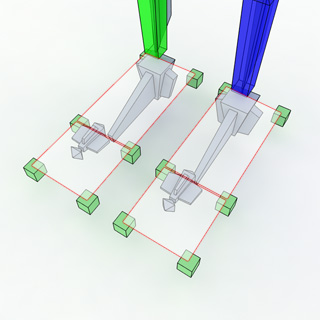
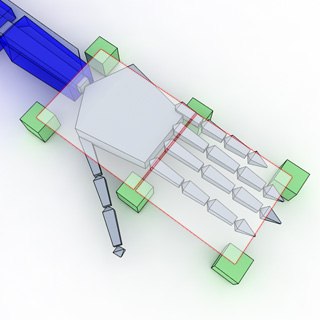
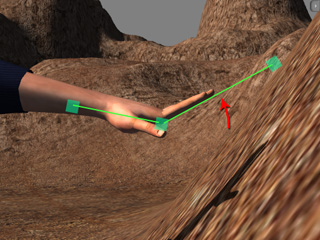
The Floor Contact feature is defined in the character by invisible Contact Planes that are appended onto the soles and palms of the character. These planes are areas that detect the terrain. Once the contact with the terrain is detected, then they will force the character's fingers and toes to bend in order to keep them from passing through terrains and surfaces.
|
|
|
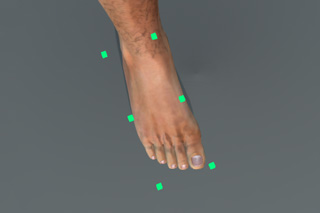
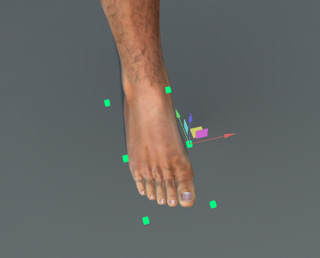
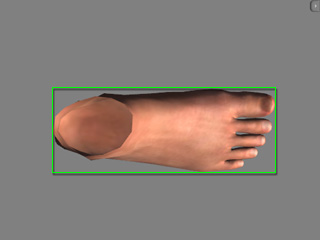
Contact Planes under the soles. The front planes bend the toes backward when they contact the terrain. |
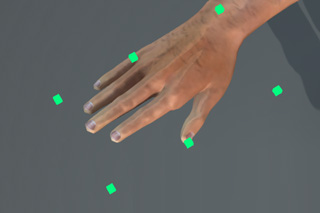
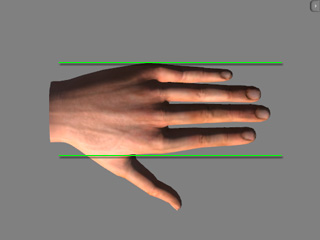
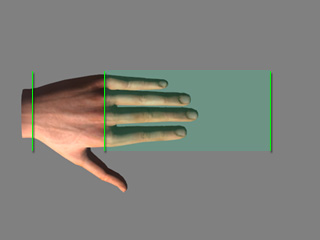
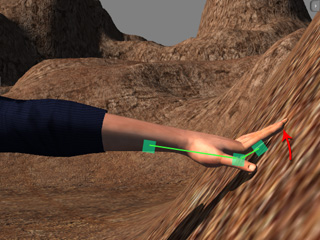
Contact Planes under the palm. The front planes bend the fingers backward at the knuckles when they contact the terrain. |
iClone Character Creator will automatically determine the sizes and positions of the contact planes for the character as soon as you create a new project; however, you may manually adjust them if necessary.
|
|
|
|
When you wish to manually adjust the contact planes, then please follow the regulations below:
|
|


|
|
|
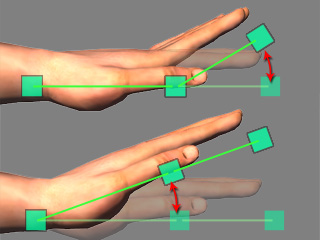
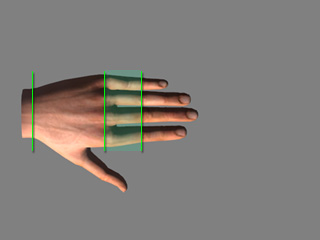
The line formed by the middle anchor markers crosses the knuckles of the palm. |
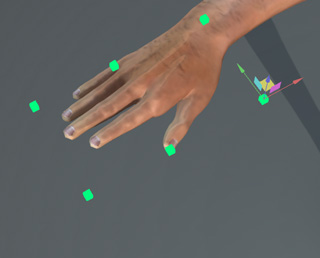
The effects of the fingers and palms with the front and back planes when contact with terrain occurs. |

|
|
|
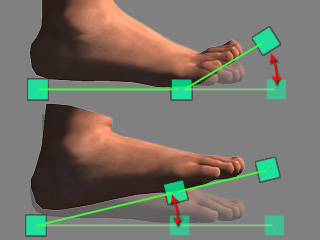
The line formed by the middle anchor markers crosses the root of the big toe. |
The effects of the toes and sole with the front and back planes when contact terrain occurs. |
|
|
|
|