

|
Note: |
|
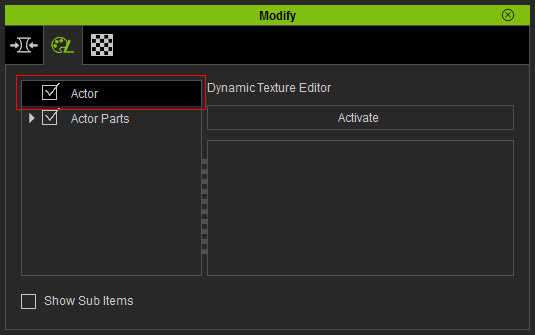
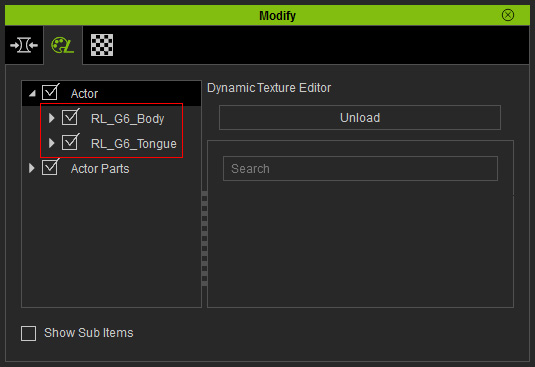
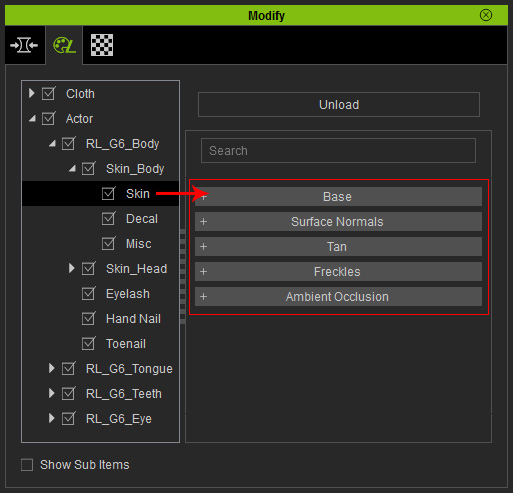
Because each character contains multiple substance materials; while each of them is composed of parameters and images, which can increase the loading of your system if the details of the substance materials are initially displayed, therefore, the settings inside are, by default, hidden. You need to click the Open Texture Editor in order to open the substance material for further adjustments. |
|
|
|
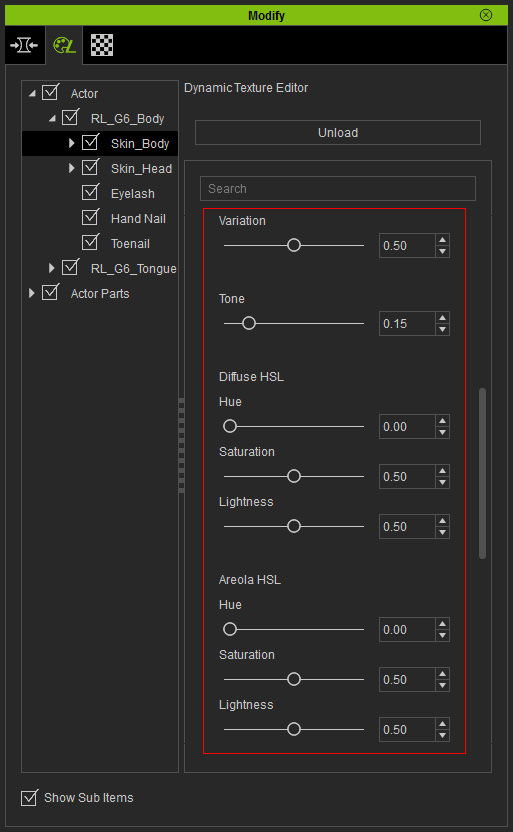
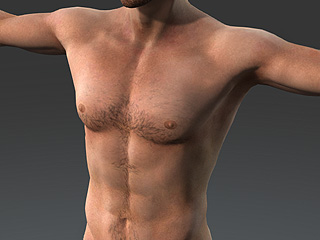
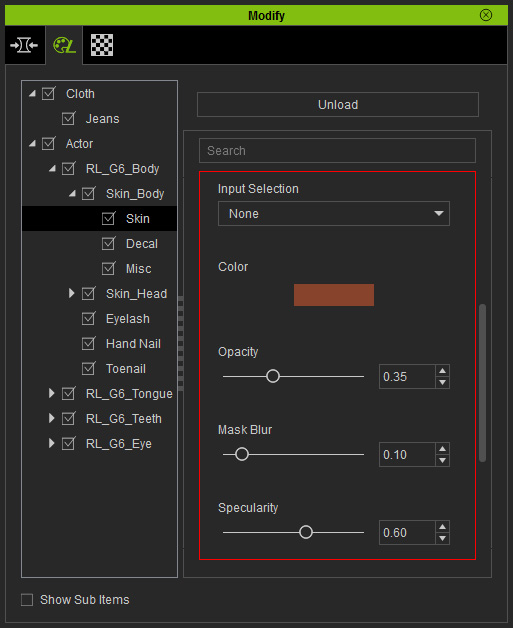
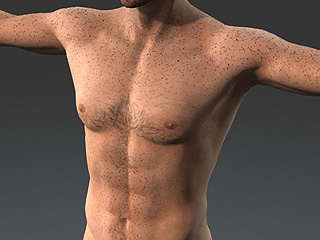
Initial look of the skin (the parameter values are as shown in the illustration above) |
|
|
|
Variation: Determines the unevenness of the skin color. |
Tone: Append the tone of the skin, the higher the value is,
the deeper the skin color becomes. |
|

|
|
Normal Strength: Determines the obviousness of the
muscles and profile lines on the entire body. |
Specular CL: These two values determines how oily the
face skin appears. |
|
Note: |
|
|
|
|
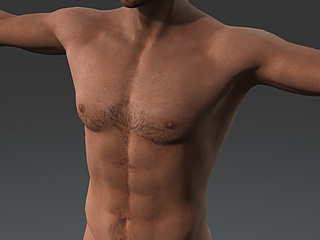
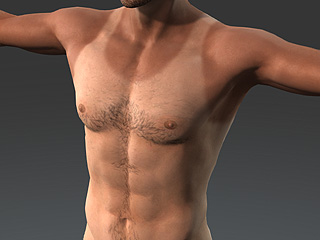
Initial look of the skin (No suntan effect) |
|
|
|
|
Mask: Tank Top |
Mask: Bikini |
Mask: Swimsuit |

|
|
|
|
The skin without freckles |
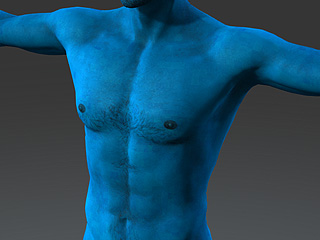
Mask: Entire Body |

|
|
|
Randomize Opacity: It designates random values to the opacity for each freckle. |
|
|
|

|
|
Randomize Scale: It determines random values to the size for each freckle. |
|
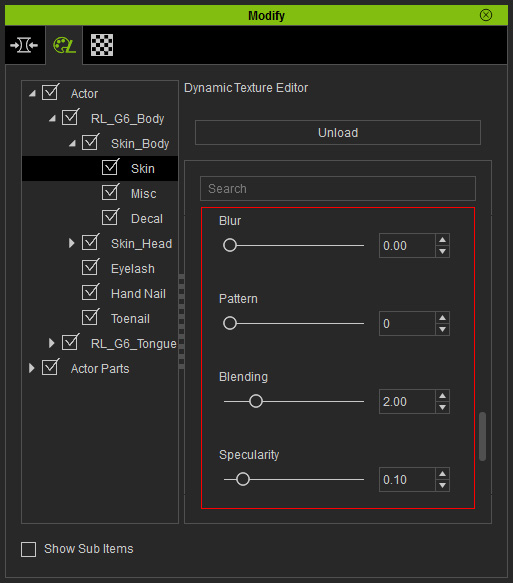
The Pattern value determines the scattering style of the freckles.
|
|
|
|
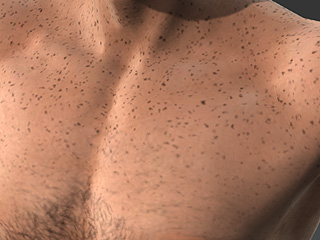
Pattern: 0 |
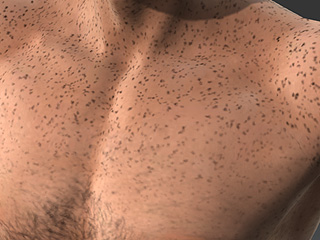
Pattern: 10 |