
PBR Substance provides 3 entirely customizable decals that covers all of the materials. Although decals are meant to be layered on top of the materials, it can also be used to completely cover them thus changing the entire look of the apparel or accessories to your liking.
Click on Decals in the tree view and notice the 3 decals layers
underneath:


|

|

|
|
Bolt Strip |
Circuit Board |
Cut |

|
|

|
|
Medieval Pattern |
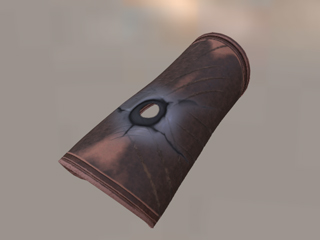
Puncture |
Rivets |

|

|
|
|
Screw Strip |
Totem Pattern |
In order to enhance the decal such as the color, reflectivity,
transformation, or especially the flat or embossed effects, you need to use
the nodes under
Decal.

Take the Medieval decal for an example:


|
|

|
|
Note: |
|
If you choose the Input method to create decals, then you must have a Height map in order see an effect. |
|
|

|