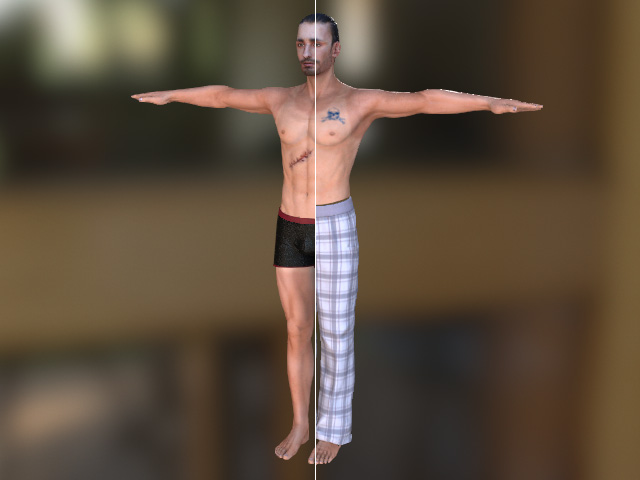
Hiding Body Meshes with Dummy Body Parts (New for 3.1)
Different body parts are defined under two modes: Basic and Advanced. You can designate certain areas for hiding for specific pieces of clothing, even ones that are imported from other 3D modeling tools. * The clothes with mesh-hidding data can correctly hide body meshes for the character of different generations
- Pick a piece of
clothing for Auto-hiding.
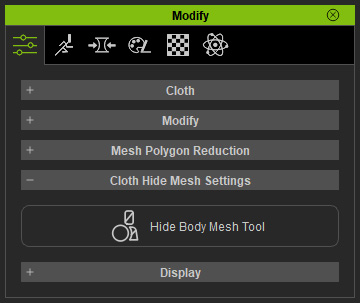
- Go to the
Auto Hide Model Polygons section in the Attribute tab, Modify panel
and click the Hide Body Mesh button.
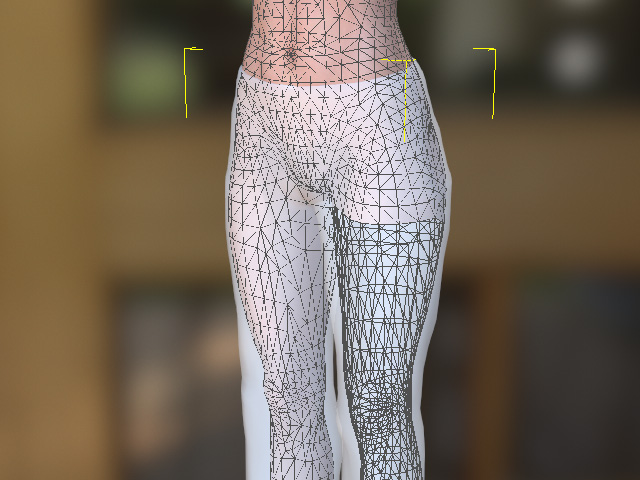
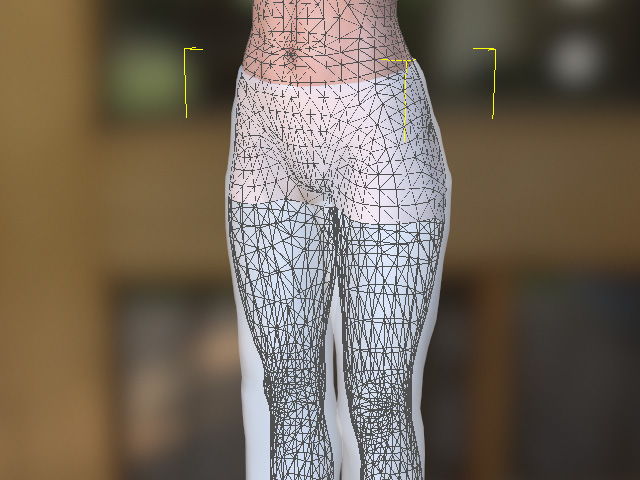
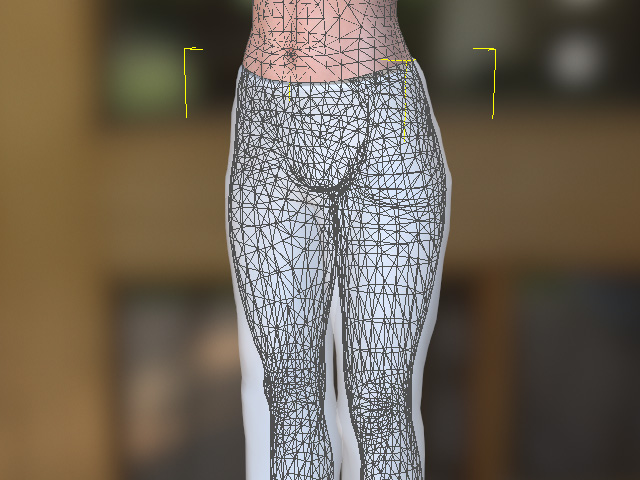
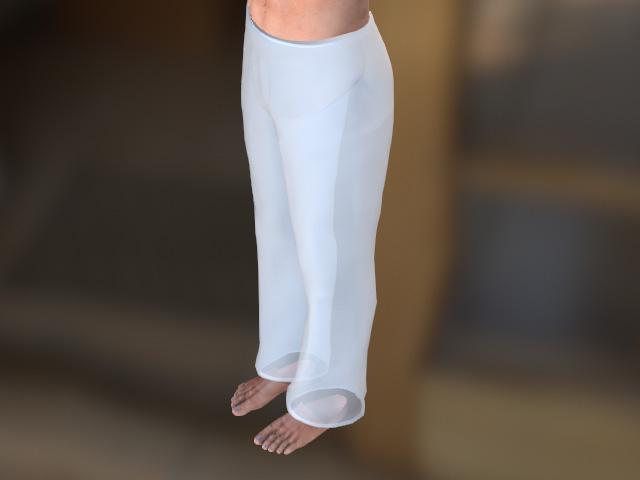
The cloth automatically turns into X-ray mode; and the skin shows the wireframe, for viewing the cloth and the skin simultaneously.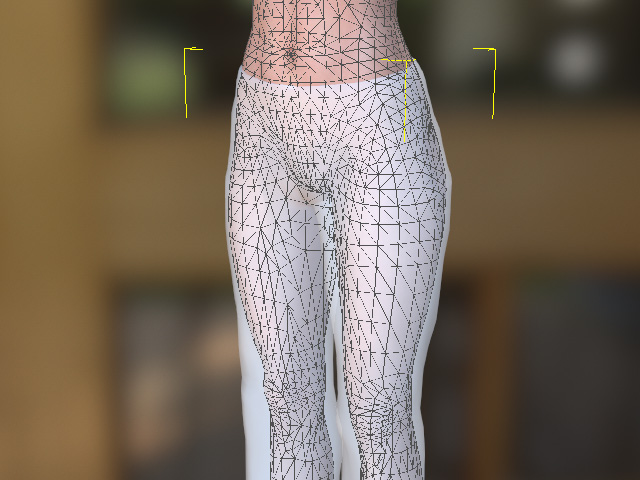
- You will see the dummy pane
in the panel. There are two modes for the dummy pane: Basic and Advanced.
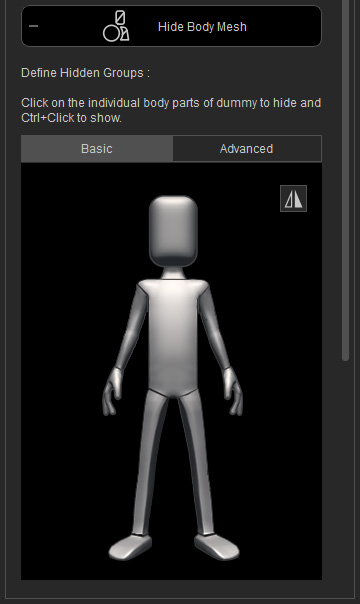
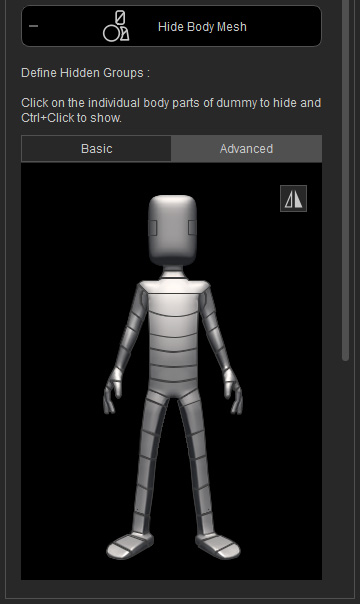
- In the Basic mode, click on the areas of the dummy's body
for hiding.
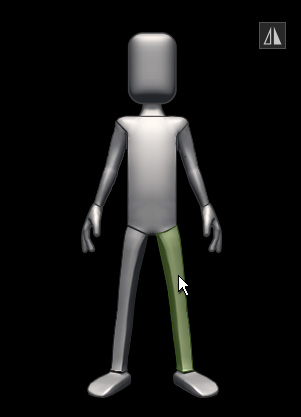
If you click on the Mirror button, then the symmetrical areas will be hidden together when you click on either side.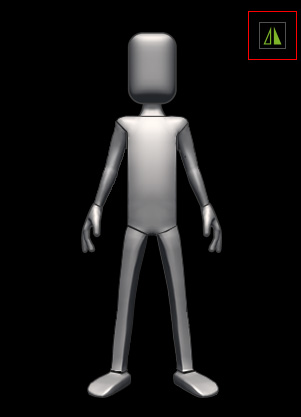
- In the Advanced mode, click on the detail areas to
show / hide more areas.

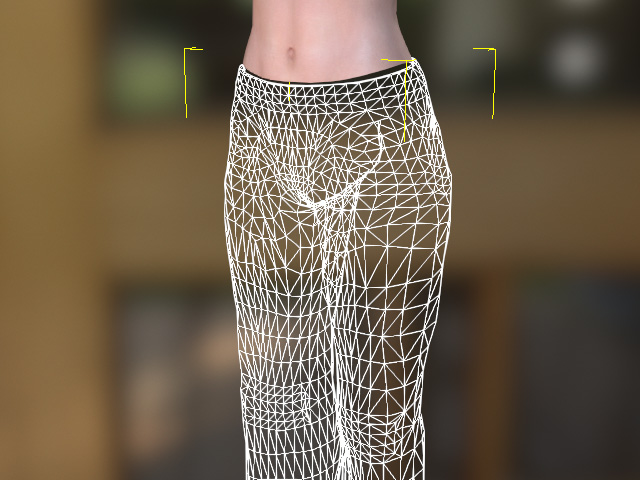
* Keep in mind that holding the Ctrl key and click on the dummy body parts makes it visible again. - Leave the Hide Body Mesh Tool by clicking the button again. Switch the cloth to wireframe mode and you can find the inner skin meshes are hidden accordingly.
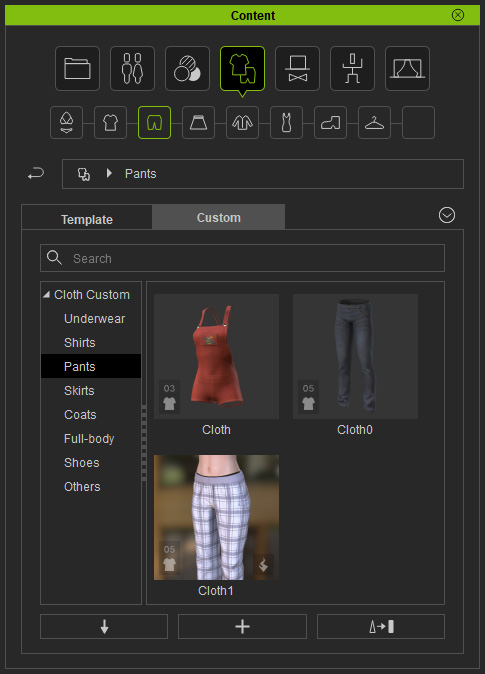
- You can save this cloth to the Content Manager.
The hiding information will be saved along the cloth as well.
- Create a new project with a new character.
- Switch the cloth to
X-ray mode and the hidden results
will be identical to the previous settings.
You can also set the mesh-hidden face by faces or use brush strokes to define the hidden areas.
