Adjusting Character's Bones (New for v3)
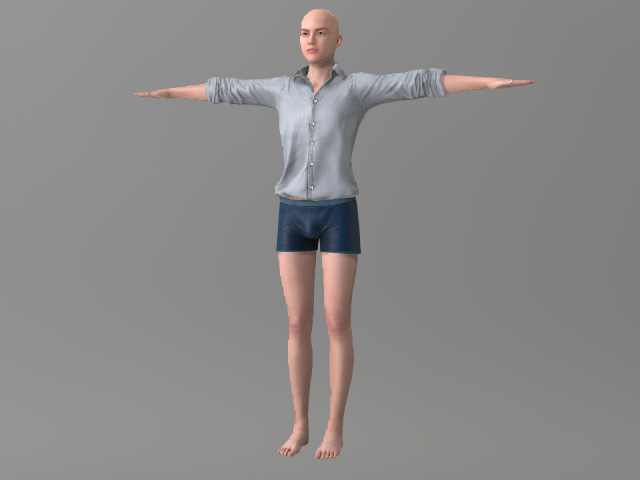
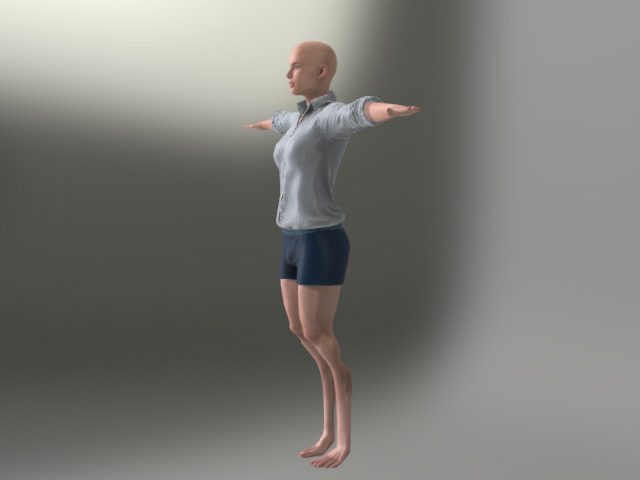
After you load a model to create a new character through Morph Slider, Transformer or GoZ feature, then shape of the loaded model does not always fit to the bone structure, which can cause issues for character's motion.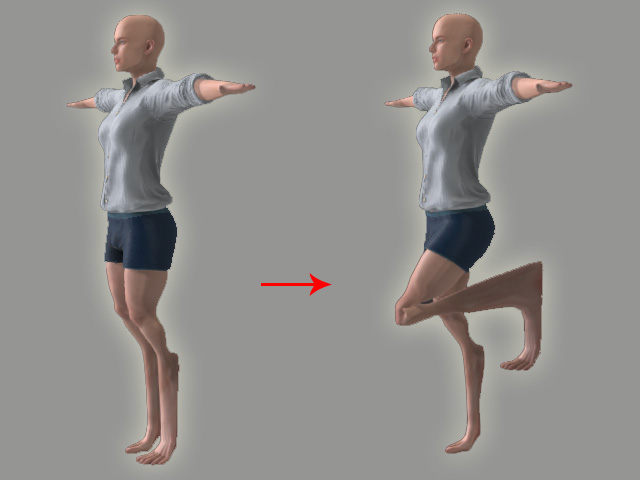
It is because the bones and the mesh of the character does not fit each other well.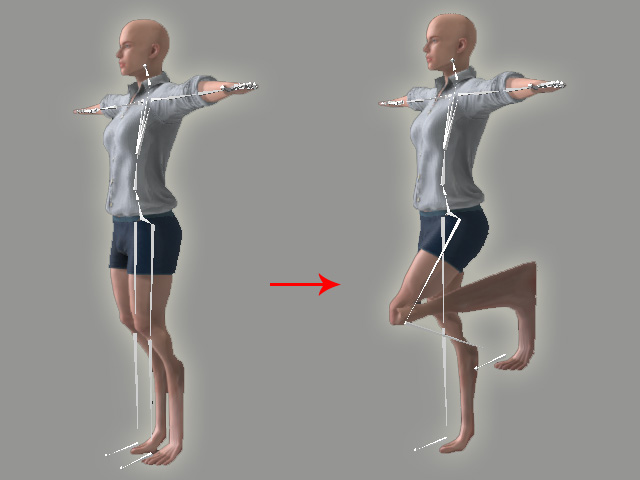
The Cause of the Issue
In this case, you need to adjust the bones to fit to the body shape of the character. Take the Creating Morph Slider as an example, the method to fixing the issue are listed below:
-
Create a new project.
-
Create a new morph slider with modified OBJ files.
- Increase the value of the slider to change the body shape of the character.
-
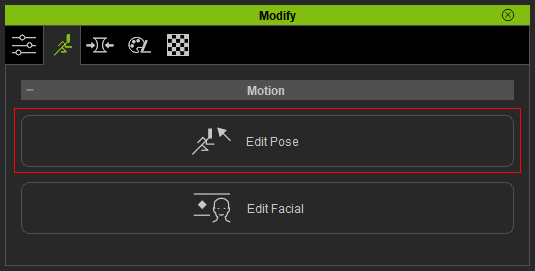
Launch Edit Motion Layer panel by clicking the Edit Pose button in the Modify panel > Motion Pose tab, and activate the Bone Edit Mode.
-
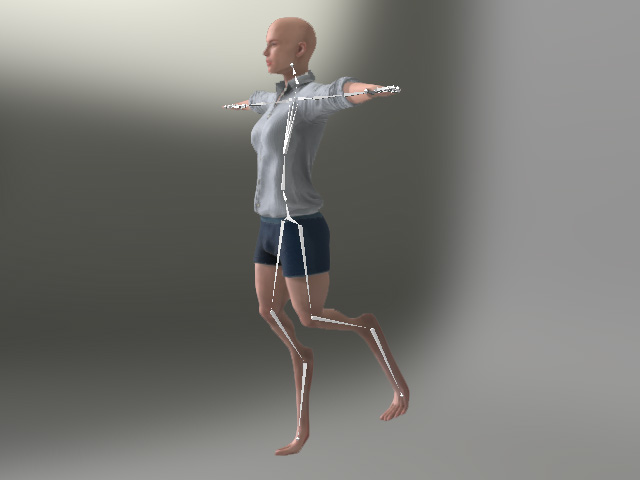
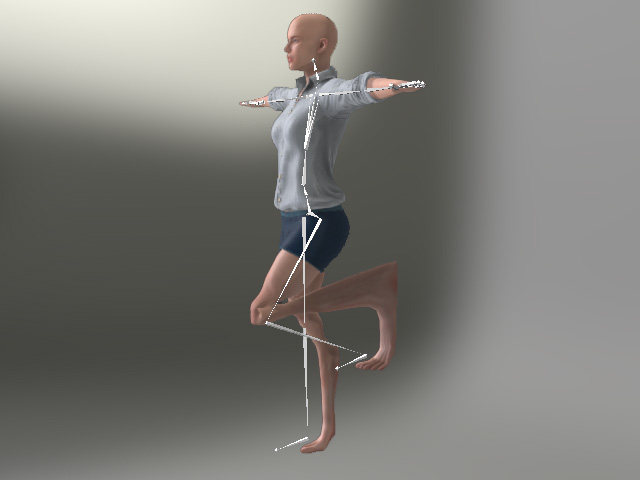
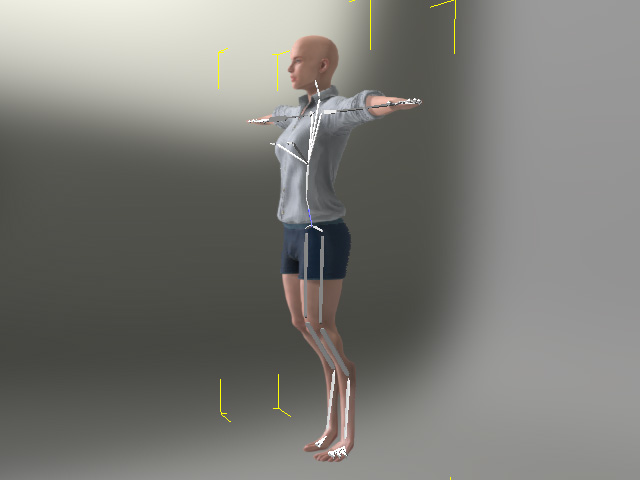
Adjust the bones and you will see the defect by setting a pose.
Adjusting Bones
When this issue happens, you can follow the steps below to solve the problem.
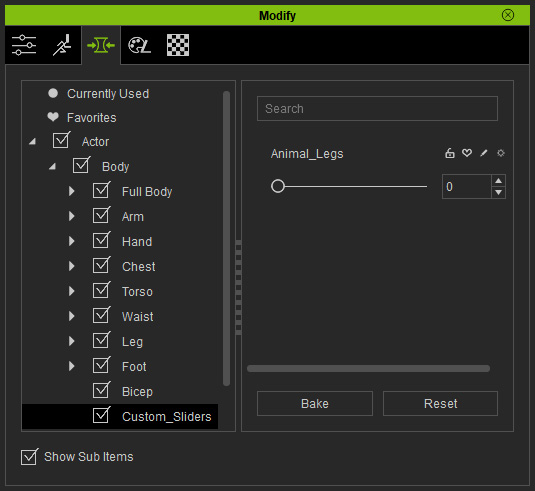
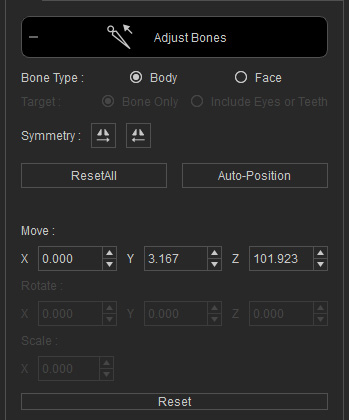
- Make sure the character is selected, click the Adjust Bones button in the Modify panel >> Attribute tab.

- Use the controls to adjust the bone positions.
 Note:
Note:Refer to the Adjust Bones User Interface Introduction section for more information.
- In this case, since the OBJ files contain OBJ Keys when it is loading, click the Auto-Position button to quickly set the position of the bones.
You can also click a specific bone and use the move tool for relocation and fine-tuning the bone's positioning.
- Click the Adjust Bones button again to leave this mode.
- Adjust the motion pose of the character. The defects are now resolved.