


Importing DAZ Assets with Morph Data (New for v3)
Some of the DAZ assets contain morph data; by using the Transformer tool in Character Creator, you can import these assets with their morphing data, and even use them to do the morph animations in iClone.
Exporting Assets with Morphing Data from DAZ 3D
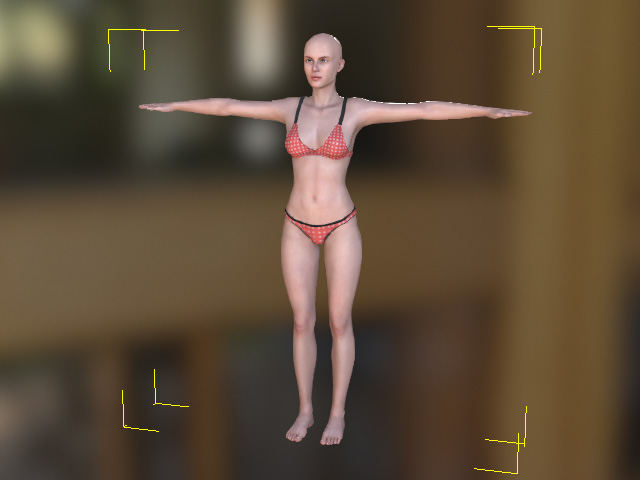
- Create a character in DAZ 3D, including the morphs and clothing.
- Drag and drop a DUF file, G8FemaleT_pose.duf, onto the character to set it to T pose.
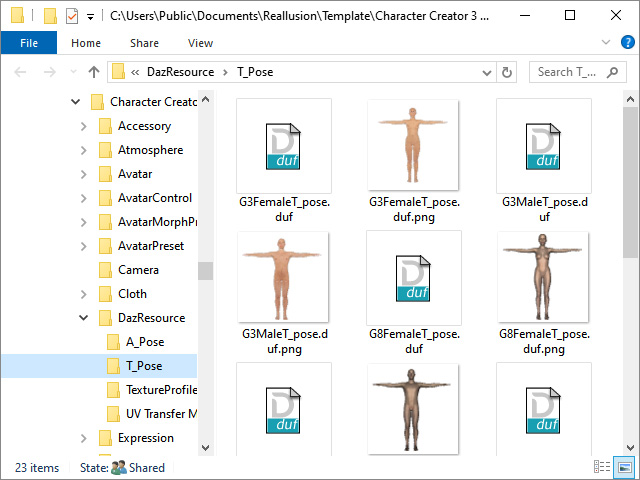
You can find the file in the path below after you have installed Character Creator 3 into the default path.
C:\Users\Public\Documents\Reallusion\Template\Character Creator 3 Template\DazResource\T_Pose - Export FBX with the settings as shown in the illustration (FBX 2012 -- Binary is a must). Make sure the Morphs box is activated.
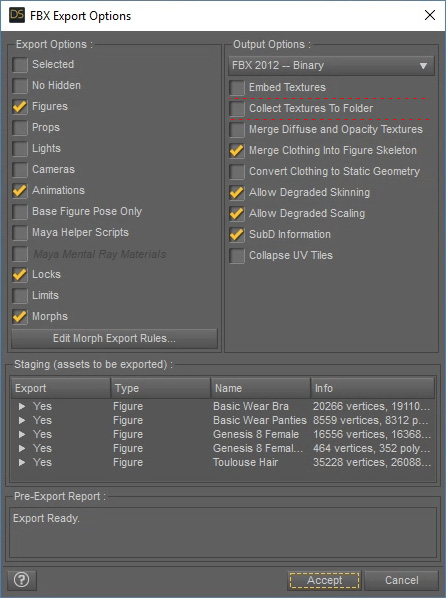
Notice that there are items in the Staging (assets to be exported) list are "Not Used".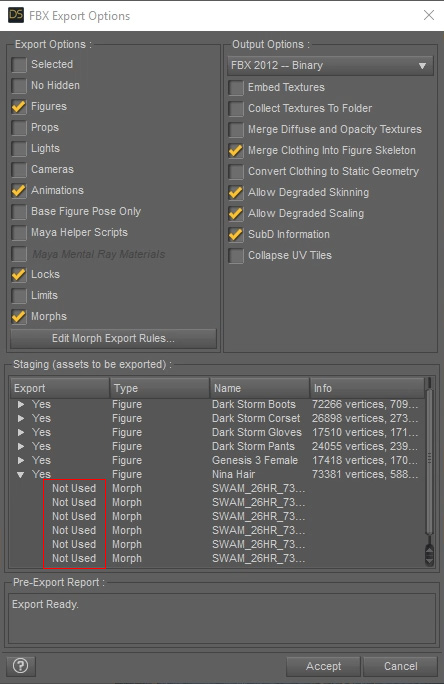
- Click the Edit Morph Export Rules... button under the Morphs check box.
- Add a new rule in which the Match set to the names of the Not Used morphs and the Action set to Export. Click the Accept button.
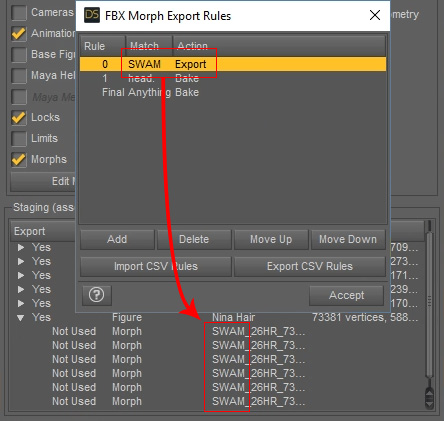
The Not Used text will be turned to Yes, which means these morphs are now ready to be exported.
- Click the Accept button to export the character in FBX format (morphing data included).
Importing Assets Character Creator
- Launch Character Creator.
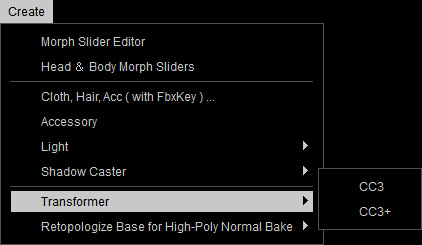
- Access the Create menu >> Transformer command.
- Select the file exported in the previous section.
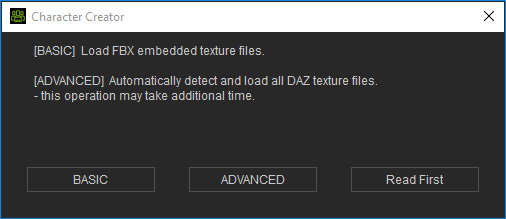
- When you encounter the dialog box, click on either the BASIC or ADVANCED buttons for loading textures the character ever be applied with in DAZ.
- Identify the types of the assets in the Asset Import Status Report panel (in this case, Hair).
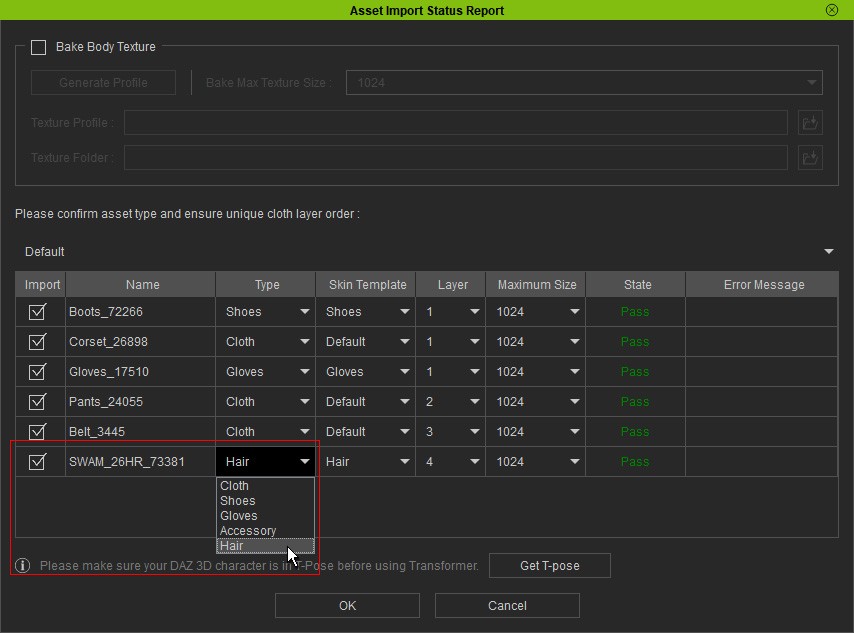
 Note:
Note:- Usually, the Hair type need to be manually selected.
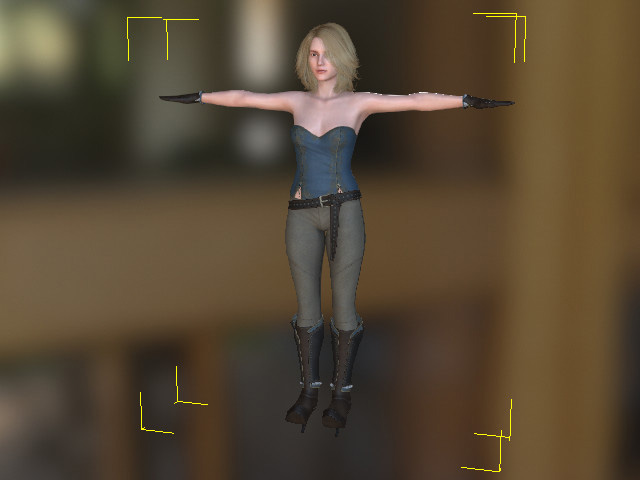
- If you skip the step 2 previously for applying T-Pose to the character, then you can click the Get T-pose button at this step to put on the T-pose to the character in DAZ.
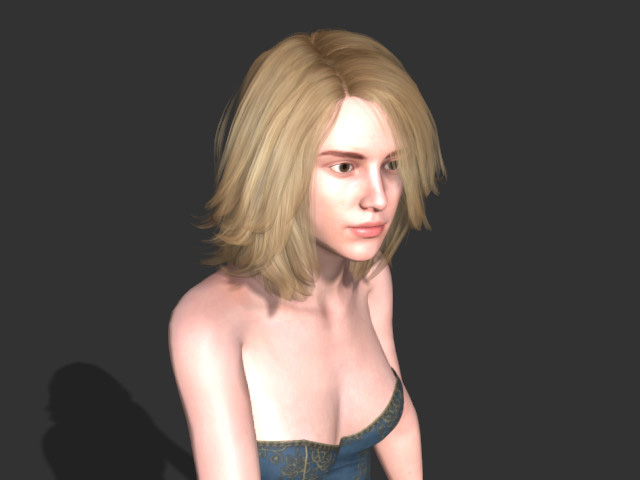
- Click OK to import the character and the assets on it. The DAZ 3D character thus is converted successfully into Character Creator.
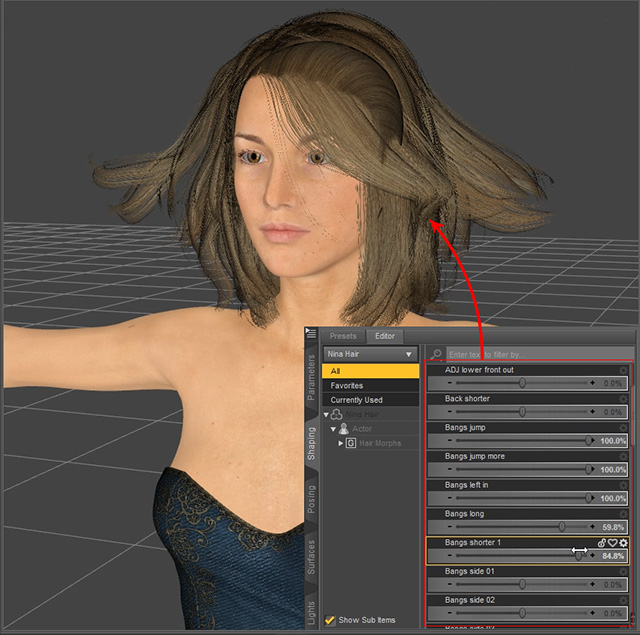
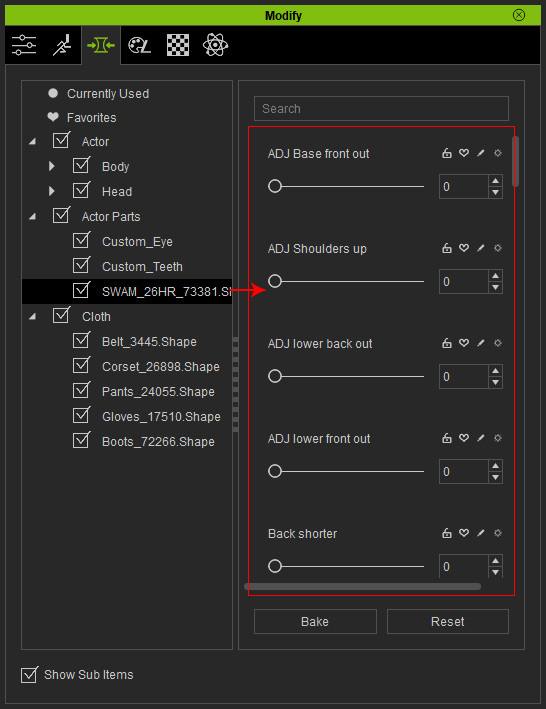
- Select the content with morph data.

- In the Modify panel, switch to the Morph tab. Under the Actor Parts,
you can find the asset's name. All the morph data related to the content are displayed at the right pane.
- Export the character as an iAvatar.
Creating Morph Animation in iClone
- Launch iClone and apply the iAvatar to the stage.
- Make sure the content is selected (the hair) and open the Morph Animator.
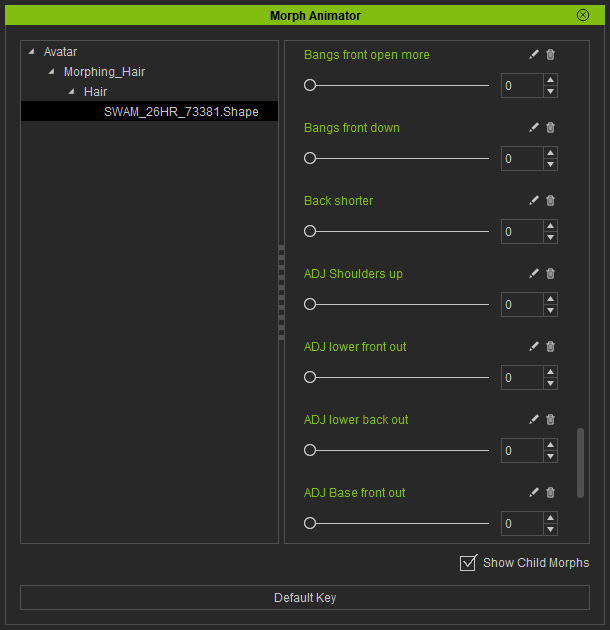
- Set different morph slider values in different time frames to create the morph animation.
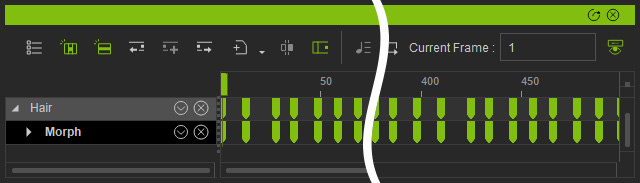
- Play back to view the morph animation.
