Dividing Cloth Material Areas by RGB Mask
Each cloth item in Character Creator can have more than one material. By means of using specially designed RGBCMY mask image, the cloth can be divided into different divisions of fabric materials.
Please note that you must have purchased Essential Clothing & Fabric and Professional Outfits content packs in order to have the input channel for loading custom images.
Examining Material Divisions on Cloth
Follow the steps below to check out the distribution of the materials applied on a piece of cloth.
-
Create a new project.
-
Apply a piece of cloth to the character.
-
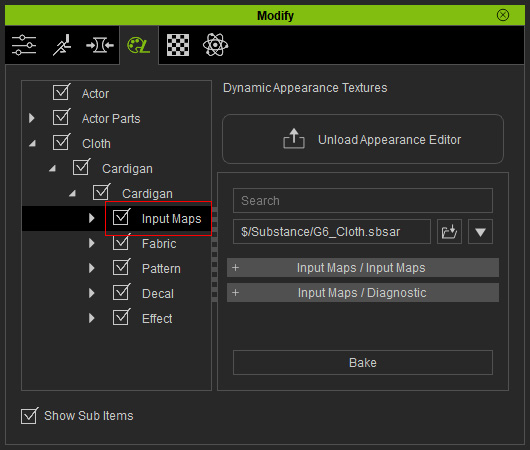
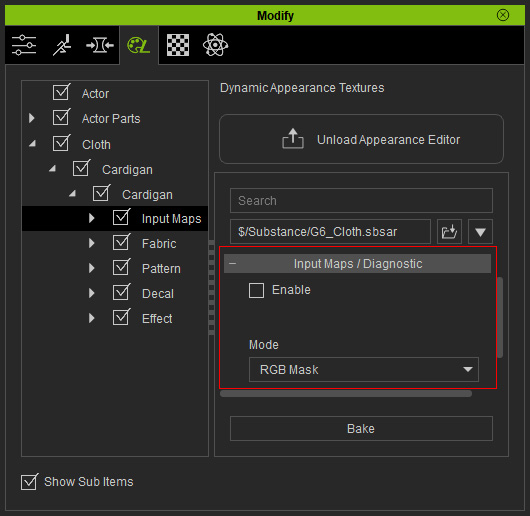
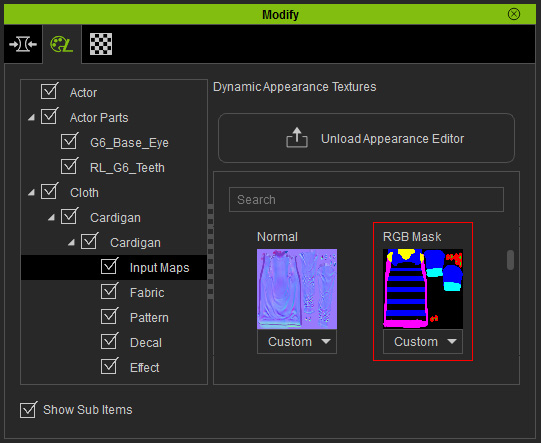
Make sure the cloth is selected. In the Modify panel, go to the Appearance >>
Cloth >> Cloth Item >> Cloth Item >> Input Maps node.
-
In the Diagnostic section, make sure the Mode drop-down list shows RGB Mask,
then activate the Enable box.
-
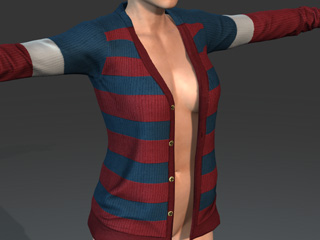
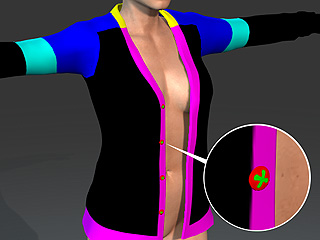
The distribution of the divisions for materials are displayed and covered on the entire cloth
(in this case, the RGB mask image is composed of all Black-RGBCMY colors to divide the entire cloth into several divisions
of materials).
-
The input mask for these divisions can be found in the Input Maps section >> RGB Mask channel.
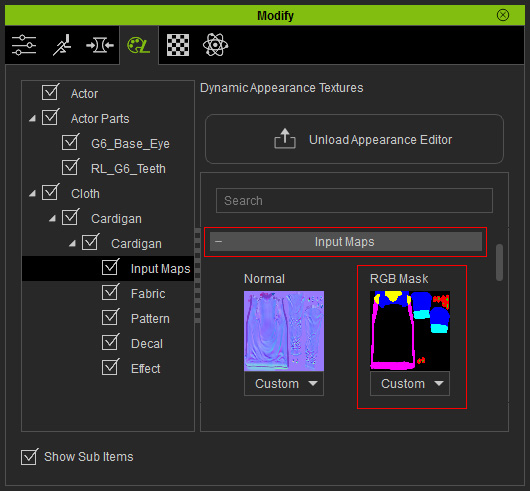
This image is made by Reallusion and embedded in the cloth.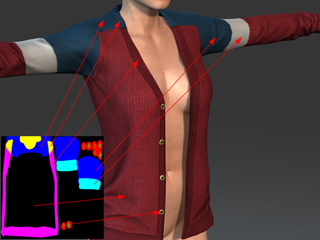
Customize Divisions by RGB Mask Image
You are allowed to customize the RGB Mask image to change the distribution for the materials applied on the cloth. Please follow the steps below:
Getting UV Reference Map for Creating RGB Mask
- Make sure the cloth is selected.
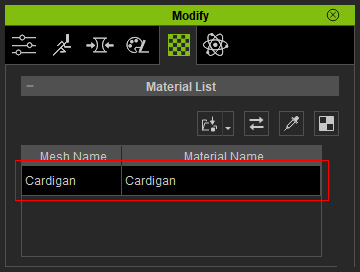
- Switch the Modify panel to Material tab.
-
Make sure the material is selected.
-
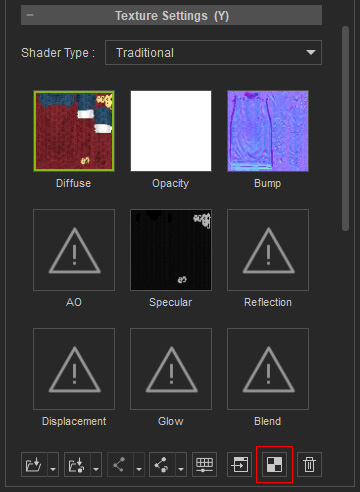
Click the UV button under the channels in the Texture Settings section.
-
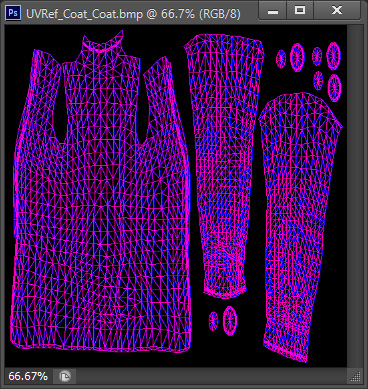
The UV map of the material will be exported to your favorite image editor
(in this case, Photoshop).
-
You may then use the image as reference for creating a grayscale texture
to form different areas with Black, Red, Green,
Blue, Cyan, Magenta,
and Yellow colors
(in this case, only the Cyan color is appended onto the black area).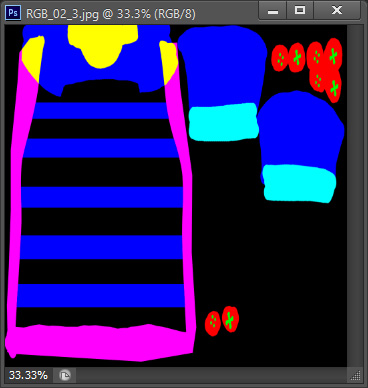
 Note:
Note:The values for the colors must be accurate for the best results:
Red: (255, 0, 0) or (#FF0000)
Green: (0, 255, 0) or (#00FF00)
Blue: (0, 0, 255) or (#0000FF)
Cyan: (0, 255, 255) or (#00FFFF)
Magenta: (255, 0, 255) or (#FF00FF)
Yellow: (255, 255, 0) or (#FFFF00)
- Save the image for further use.
Replacing RGB Mask Texture
-
Taking the cloth in the previous section as an example.
-
Go to the Modify (panel) >> Appearance
(tab).
- Select the Cloth in the tree view and click the Activate button at the top-right of the panel to show the sections of adjustable parameters.
- Go to Cloth >> Item Name >> Item Name >> Input Maps layer >> Input Maps section.
-
Double click on the RGB Mask icon and load the image prepared in
the previous section.
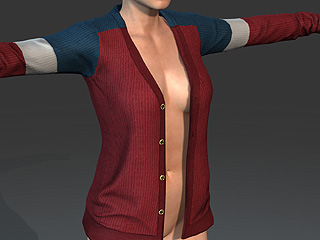
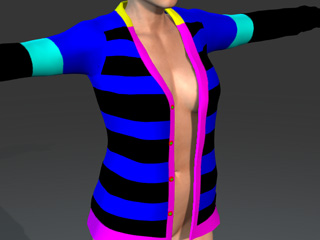
Check out the new distribution caused by the RGB Mask with the settings in the Diagnostic section.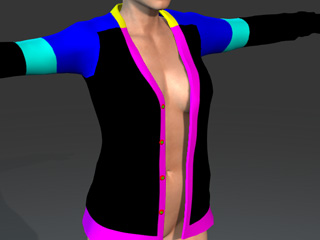
The original distribution of the divisions.
After the distribution is edited.
-
The fabric materials on the cloth will now be rearranged.