Full Conversion for DAZ Genesis Character (New for 5.4)
To reduce the need for repetitive facial or body bone mapping, 3DXchange supports preset profiles to automate the process.
Simply drag in your character and 3DXchange will automatically convert it into a talking walking iClone Actor
complete with the ability to utilize lip-syncs, face puppet and face key editing.
You can also save your custom profiles to simplify the mapping procedure.
To automatically convert a talk-capable, moving DAZ Genesis character to iClone, you need to get a hold of the
DAZ Genesis Extension, which
is a free bundle that comes with the
Facial Pipeline Character Pack.
With the DAZ Genesis Extension,
not only can you easily convert, and fully animate
all DAZ Genesis characters in iClone, but you can even define and customize your character's own unique
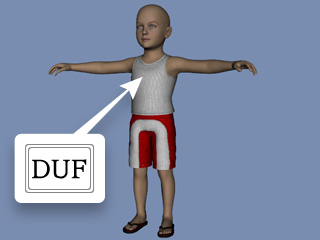
expression styles via the enclosed DUF file, or create body morph effects in iClone.
You can get this Extension as a free bonus after purchasing the Facial Pipeline Character Pack.
Note:
After purchasing the pack, you will also get a file named Designer's Source Pack.zip.
Extract the file and go to the Daz Genesis to iClone folder, in
which you will see:
iCloneFaceKey.duf: This file is provided by Reallusion, and contains optimized facial
expression data time-coded into different frames.
Daz Genesis Avatar Face Key Sequence.xls: This file contains two sheets; the Workflow
sheet shows the diagram for converting a DAZ Genesis character, and the Face Key Sequence sheets
lists the facial expression data time-coded into different frames.
Using the DUF File for Full Facial Expressions
In DAZ, create a custom character based on the Genesis rig.
Drag and drop the
iCloneFaceKey.duf file onto the character. Save as a DAZ project for
further modifications.
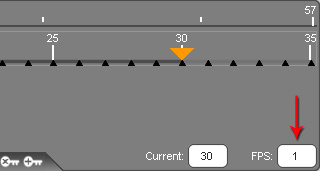
Note:
In order to accelerate the editing, previewing and exporting in DAZ, it is highly
suggested that you set the FPS to 1.
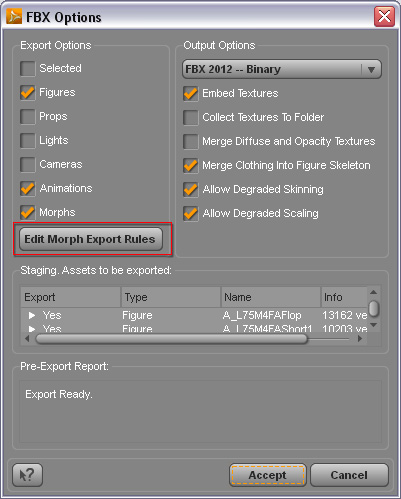
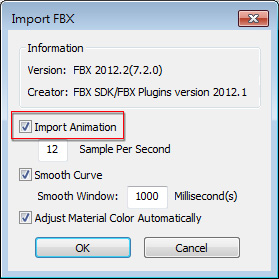
In the FBX Options panel, activate the boxes as shown in the illustration below and click the Edit Morph Export Rules button.
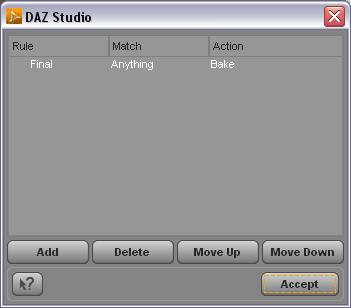
Edit so that only the default rule (Final) is kept in the list.
Click the Accept button.
Load the exported FBX into 3DXchange. Make sure the
Import Animation box is checked in order to import the facial expressions and
click the OK button.
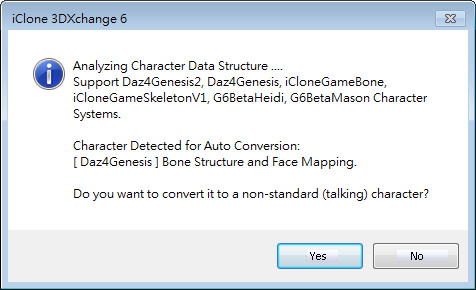
You will be asked if you want to auto convert the model into a Non-standard Character.
Click the Yes button.
Export the character to iClone, where you can enjoy animating the body motions and utilizing the
complete facial expression spectrum of the character.
Enhance, Exaggerate or Strengthen Facial Expression - iClone
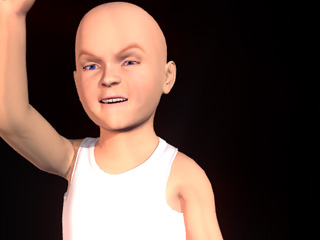
After being converted into iClone, the DAZ Genesis Character can be given facial expressions
with the facial puppet tools. You may find that the default settings are good for most pretty female characters,
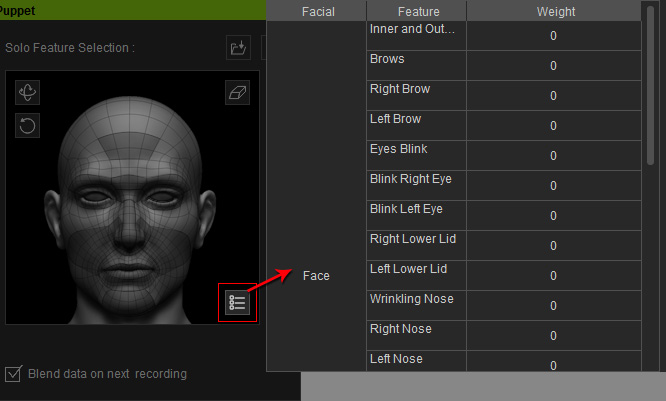
but could be too mild for monsters or cartoon characters. If you wish to achieve stronger facial muscle movements,
or perform more exaggerated expressions then choose specific facial muscles, give a strong weight, eg. 50 = 50% or 100 = 100%,
and then bind the weight to the mouse movement.
View Video Tutorial.
In iClone >> Facial Puppeteering >> Property >> Advanced
panel, you can determine the percentage of the maximum value
according to the mouse direction by entering in your own custom
values to the cells next to a specific item.
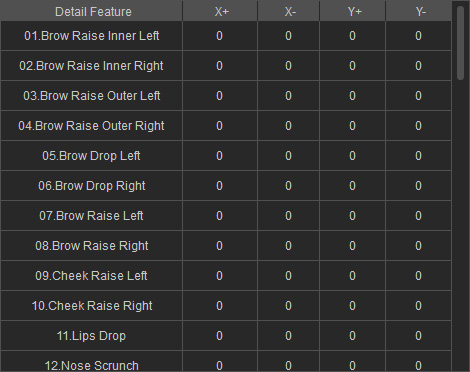
If the expression is still too mild, then you can open the detailed muscle panel by pressing the
F2
key and
adjusting the weights in the four cells next to the specific muscles.
Please refer to the
Relation Between Puppet Profile and Muscle Mapping
section for more information.
Enhance, Exaggerate or Strengthen Facial Expression - DAZ
Apart from binding specific facial muscle movements via the Facial Puppeteering Panel -
shown in the previous section to designate stronger weights, you can also consider directly
change the original muscle setting and making it look stronger; all facial muscle (or expression)
mappings from DAZ to iClone are described in the DAZ DUF file (iCloneFaceKey.DUF).
View Video Tutorial
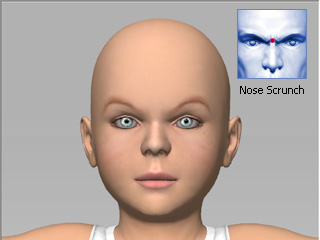
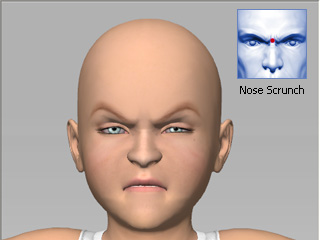
In 3DXchange, open the Expression Editor and select the specific thumbnail from one of the tabs
you want to customize (in this case, the Nose Scrunch in the Muscle tab is taken as an example).
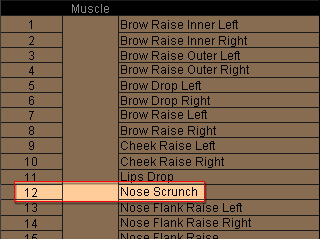
Refer to the
Daz Genesis Avatar Face Key Sequence.xls >> Face Key Sequence sheet to find out the second corresponding to
Nose Scrunch (the index number is 12, which means the character displays a
nose scrunch expression at the 12th second).
Open DAZ and load the project file you created in the previous
section (step 2).
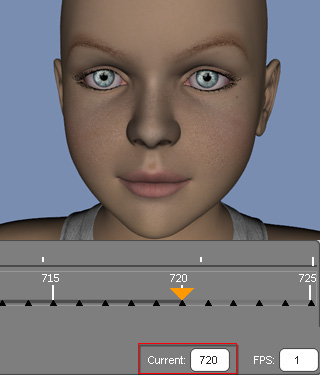
Note:
In order to accelerate the editing, previewing and exporting in DAZ, it is highly
suggested that you set the FPS to 1.
Go to the 12th second (the 720th frame).
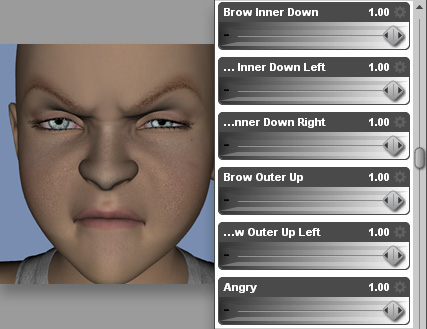
Use the sliders to adjust the facial expression to an ideal one.