Pick the mesh of the loaded model.
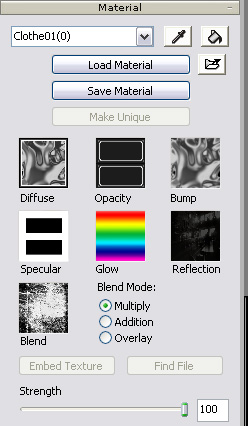
In the Material section, double click on one of the texture channels and select one image file.

-
The Strength slider defines the display weight of the channel as it is mapped to the object.
-
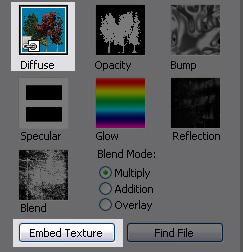
Please note that if you enable the External Texture box, as you load images, then the images will be excluded as the model is exported. In order to prevent any texture-missing issue, please make sure that the image files always moved along with the exported file.
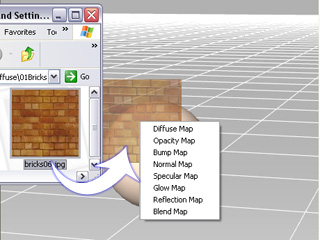
To show a channel menu, you may drag the image file with right mouse button from explorer and onto a target mesh node.


 : By clicking the Open
button or double-clicking on the icon of the channel, you may
directly select an image file to replace the texture.
 :
If you want to remove the texture, click the Delete button.