Preparing Custom Accessories
If you intend to create custom puppeteer-ready accessories, especially the
facial-feature-wise ones, then you need to follow the rules as shown in this
section.
Bone-skinned Models with Bilateral Parts
Puppet-ready accessories can be divided into two groups: single and bilateral. The objects in the single group can be common accessories such
as hats, necklaces or scarves etc. The ones in the bilateral group are composed of objects
side by side, such as eyes, ears, and eyebrows.
After you have created a bone-skinned bilateral model in another 3D tool such as 3ds Max or Maya,
the model can then be loaded into iClone and setup as a puppet-ready accessory. However, in order
to separately puppeteer the parts of the model, you need to follow the steps as described below:
-
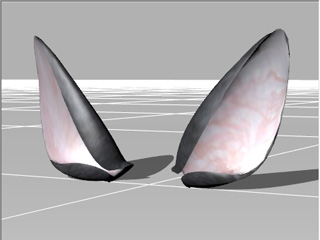
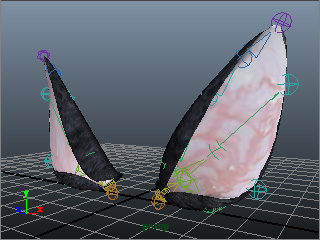
Create a bone-skinned model with bilateral parts in a 3D tool (in this case, a pair of ears in Maya).
-
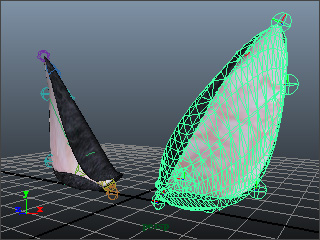
Select one side of the parts, include the mesh and the bone
structure.
-
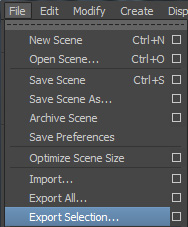
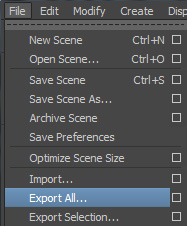
Export the selected model in FBX format by choosing the Export Selection... command.
-
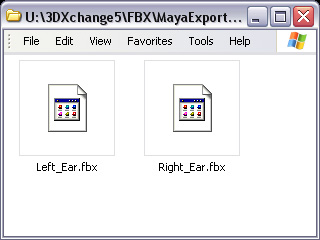
Repeat the same steps for the other component of the model. You may then get multiple FBX files
in which the parts of the model are individually exported.
|
Note:
|
-
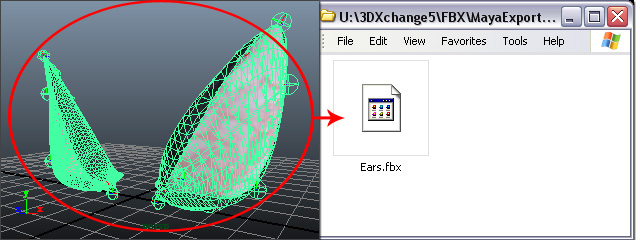
If you do not want to export multiple files, then simply skip
the steps above and export
the entire model as a single file with all parts.
-
However, the model thus is treated as a single model
and can not have inverse puppeteering
flexibility in iClone afterward.
|
Same-level Hierarchical Model Composed in iClone
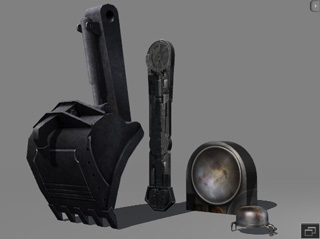
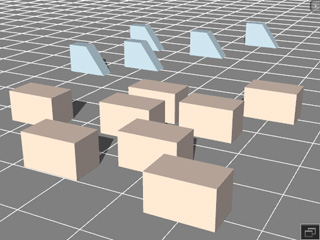
If your model is composed of the props in iClone and these props do not attach
to each other, then you may follow the steps as described below:
-
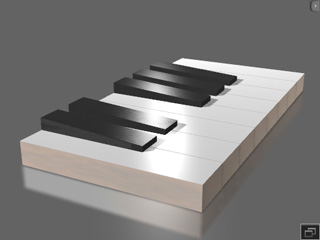
Drag and drop props from library.
-
Transform and adjust the materials of these props to ideal appearances.
-
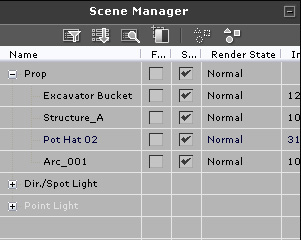
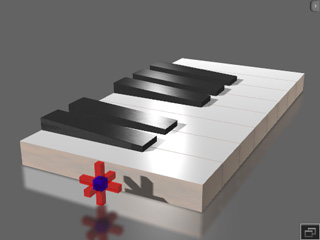
Apply a dummy prop provided by Avatar Toolkit pack.
-
Select all props (except the dummy one) and attach them to the end node
of the dummy prop.
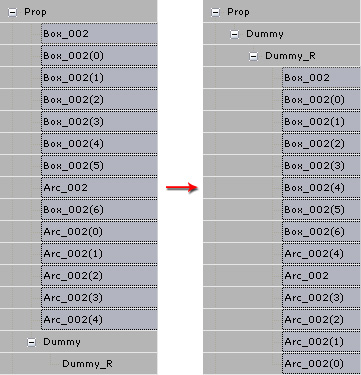
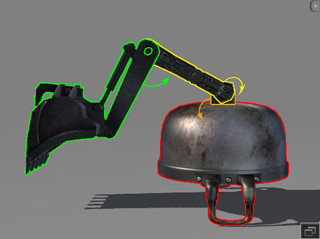
This composed prop is now ready for use as an accessory for a character. You may then skip the sections below if
your custom props are always created in such manner.
Parent-child Hierarchical Model Composed in iClone
In addition to using 3D tools to build bone-skinned models, you are allowed to create
a custom sequentially hierarchical model in iClone, especially when you do not have other 3D
tools at hand.
-
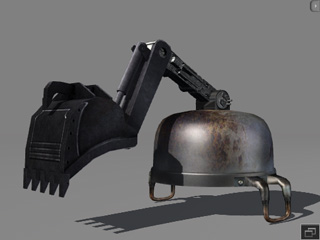
In iClone, apply props you want to use for composing a
custom accessory.
-
Transform and re-position the props to form an initial structure.
-
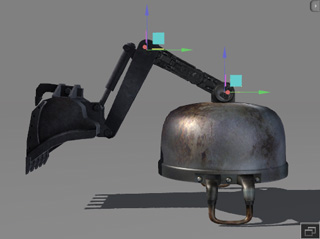
Adjust the pivot points to the joints area of the props in order to have
correct rotation centers.
-
Sequentially attach the props from the end prop to the base one (the
root of the structure).
-
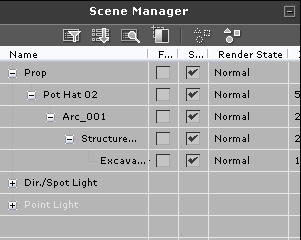
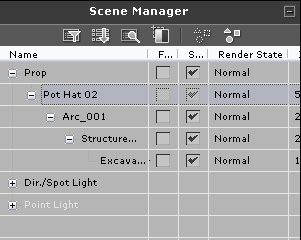
Make sure the base node (root) is selected in the Scene Manager.
-
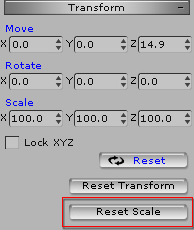
Scroll to the Transform section and click the Reset Scale to initialize the
size for all sub-nodes to prevent bone-structure distortions in the characterization procedure.
-
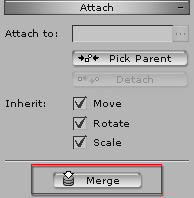
Scroll to the Attach section of the Modify panel. Click the Merge button.
|
Note:
|
|
-
This step is optional, but if you skip it, the
hierarchy can not be converted to a comprehensible bone
structure, which can give you a hard time using the Edit Animation Layer
panel to adjust the postures of the accessory.
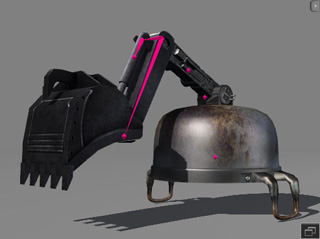
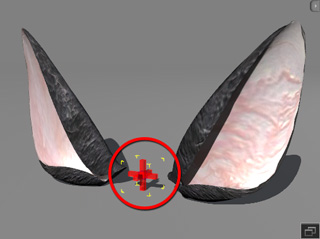
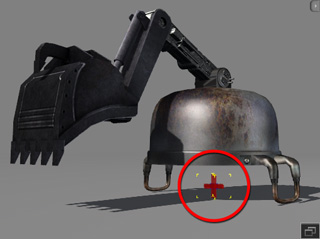
You must select the parts of the group one by one within the Scene Manager
to display the individual pivots (shown in the illustration above) when the
Edit Animation Layer panel is on.
-
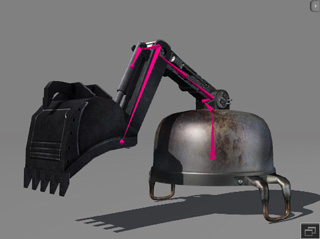
After being merged, the pivots of the props can thus be connected
and form a new bone structure.
|
-
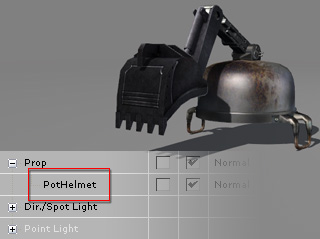
Save the merged prop into the Content Manager.
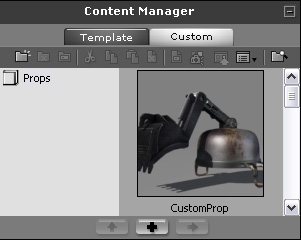
The custom prop is now ready to be loaded into 3DXchange
for further adjustments (see next section).
Converting through 3DXchange
The exported models from 3D tools must first be converted via 3DXChange before
you can use them in iClone.
|
Note:
|
|
-
Although a model composed in iClone does not need to follow the steps below,
it is highly recommended that you do the procedure, especially when
the pivots of the parts in the model have be re-located.
-
By executing the procedure below, your model can be purged and purified without
redundant data left.
|
-
Load the bone-skinned or hierarchical model into 3DXchange.
-
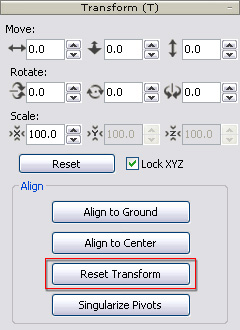
In the Modify >> Transform section, click the Reset Transform to initialize the angle
of the model to (0,0,0)
-
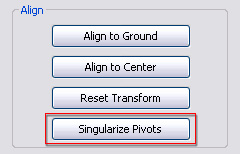
Click the Singularize Pivots button to clean up the model pivot data.
-
Export (Ctrl + E) the model to iClone as a custom prop.
Using Dummy in iClone
After the bone-skinned or hierarchical models are converted into iClone format, you'll need to
attach the custom prop to dummies provided in the Avatar Toolkit before
setting puppeteering data for them with the Builder.
The purposes of attaching props to dummies:
-
Take the dummies as the base for auto-alignment to different
characters.
-
Bilateral models will have the inverse-puppet ability.
Single Structure Models
-
Apply a custom prop.
-
Apply the Single dummy (provided in the Avatar Toolkit content pack).
-
Select the root node of the custom prop.
-
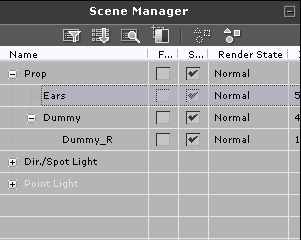
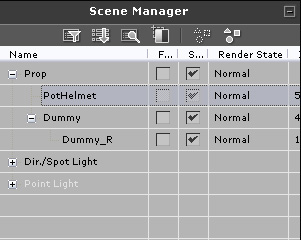
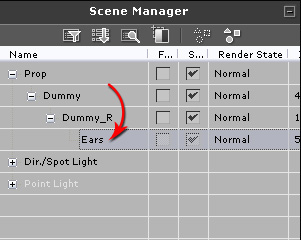
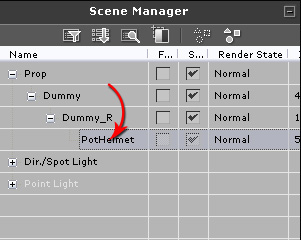
Attach it to the Dummy >> Dummy_R node.
Bilateral Models
-
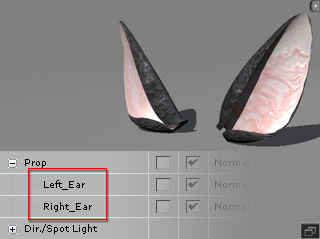
Apply two models that are a designated in a pair, such as left and right ears.
-
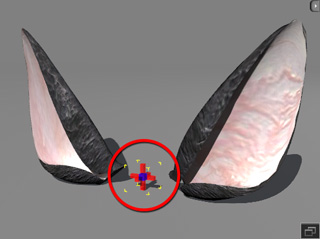
Apply the Pair dummy.
-
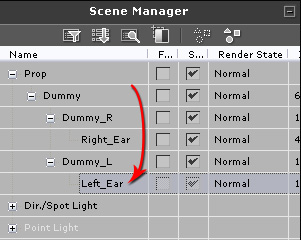
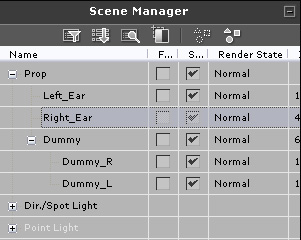
Select the root node of one element of the pair first.
-
Attach it to the Dummy >> Dummy_R node.
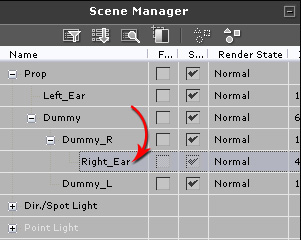
-
Repeat step 3 and 4 to attach the other element of the pair to the
Dummy_L node.
