


Copying and Pasting Angle Points Settings
The 360 Head Creator provides a feature for copying and pasting the attributes of one facial element to another of a different angle point. This feature is very useful, especially for the angle points at the four corners.
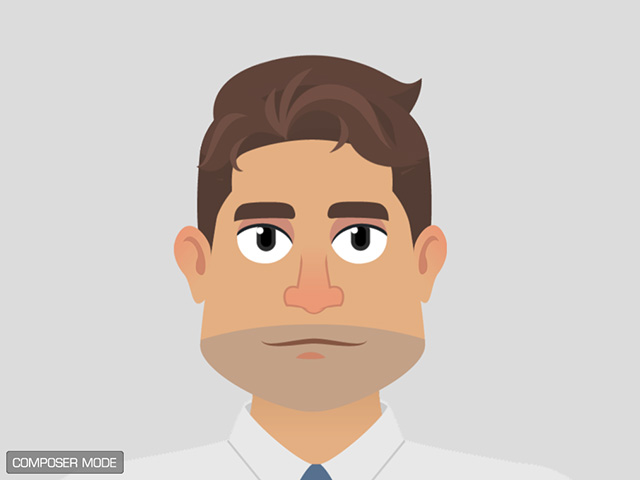
- Apply a default character and switch to the Composer mode.
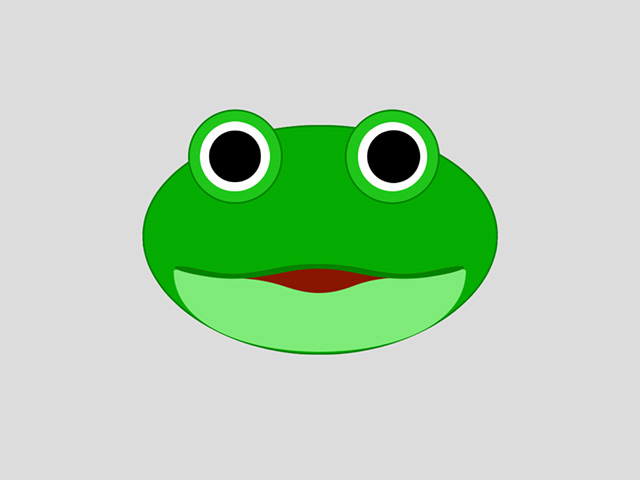
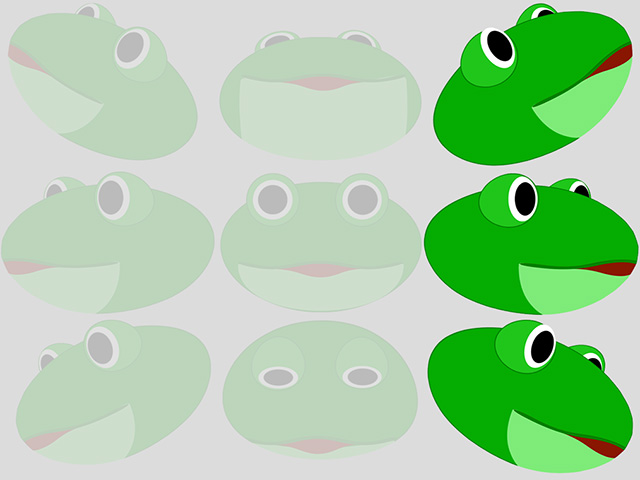
- Create a custom head by replacing the elements with the Sprite Editor (for better observation, the
body is removed).
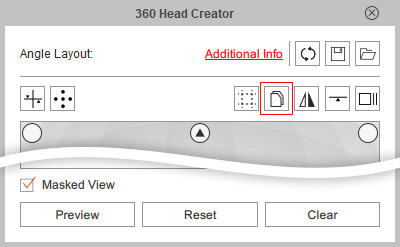
- Click the 360 Head Creator button on the toolbar.

Alternatively, you can execute the 360 Head Creator command in the Modify menu.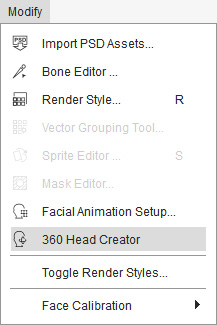
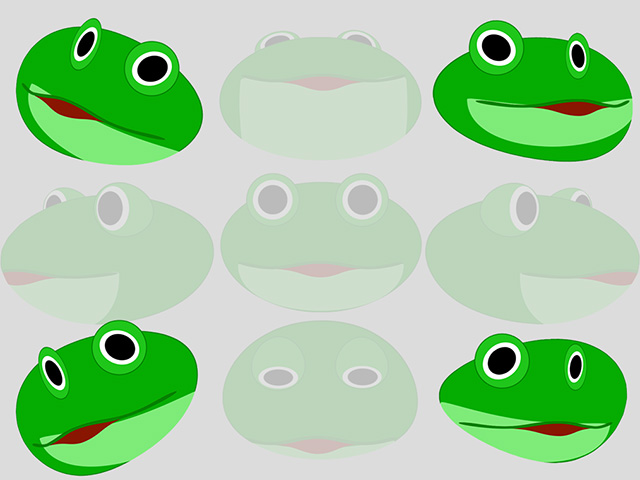
- Set the head turn with Transformation, Deformation, Sprite Switch and Layer Reordering techniques for Up, Down, Left and Right angle points because these four are the easiest angle to compose.
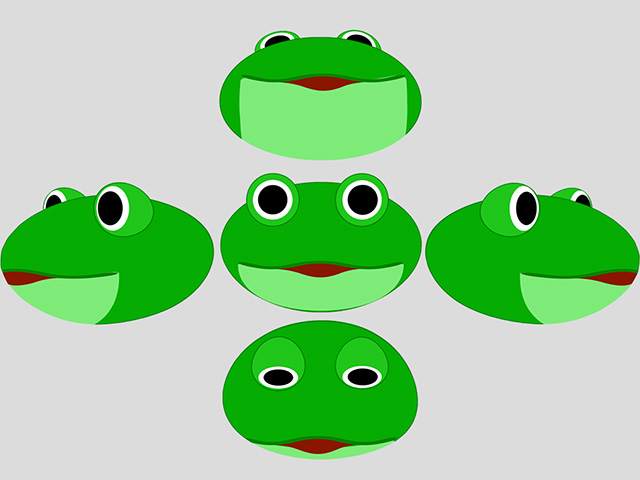
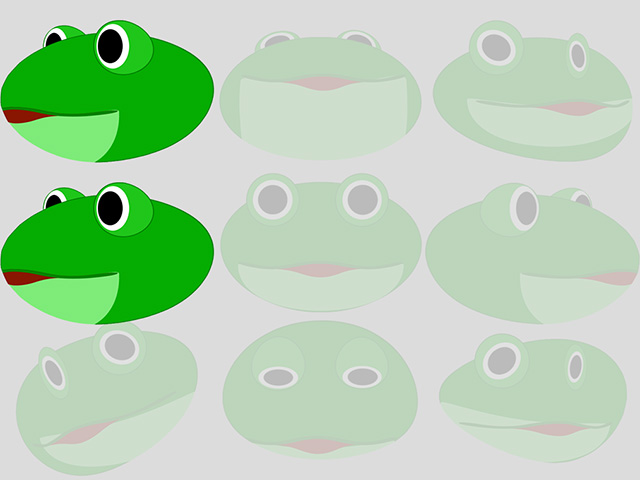
- Click to the Angle Points at the four corners. The default settings are apparently
not ideal and hard to correct.
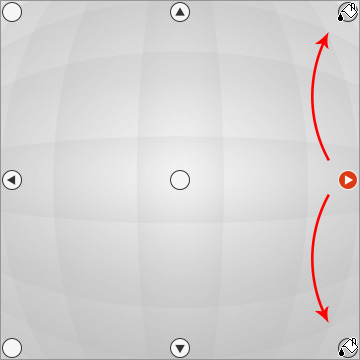
*You can adjust the face in these angle points one after another. However, you can also follow the steps below to expedite the process. - Click the Copy / Paste button on the 360 Head Creator.
- Click on the Left angle point to set it as the source.
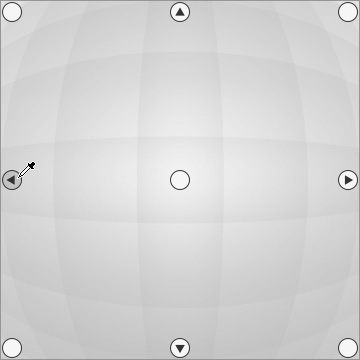
- Then click on the Top-Left angle point as the pasting target.
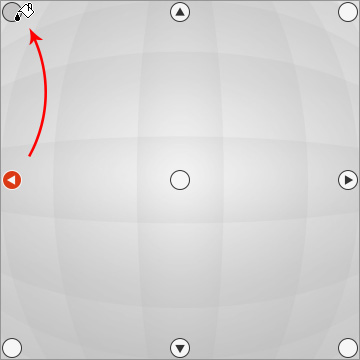
- The head of the Top-Left angle point will appear identical to the Left one.
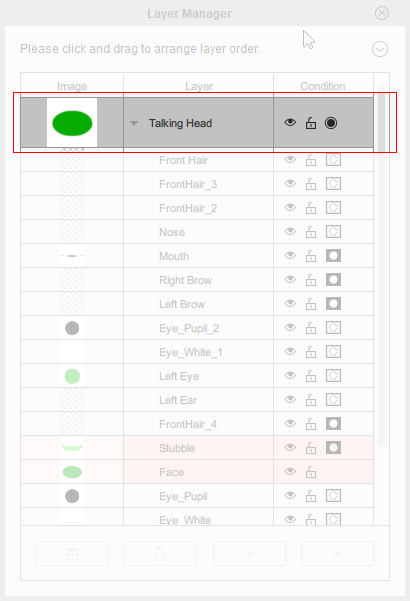
- Select the Talking Head layer in the Layer Manager.
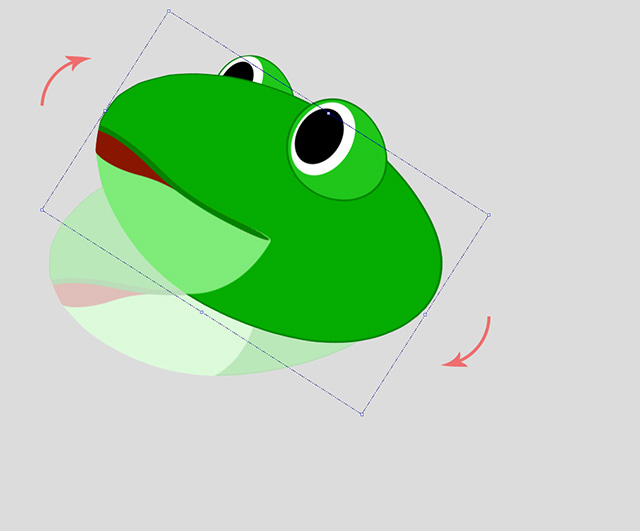
- Clockwise rotate the entire head.
- Repeat the same steps for the Bottom-Left angle point.
- Also copy and paste the head turn data of the Right angle point to the Top-Right and Bottom-Right angle points.
- Rotate the Talking Head layer again for these two angle points.
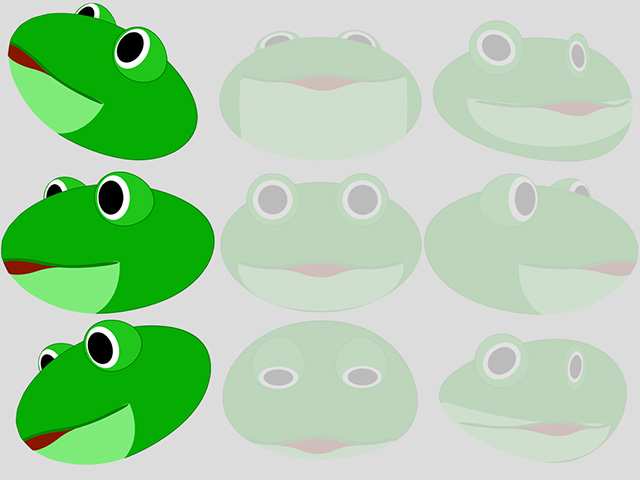
- Click the Preview button on the 360 Head Creator
to view the head turn in action.