Using Onion Layer for Reference
Instead of switching back and forth between different angle points to reference the states of the facial elements, 360 Head Creator provides Onion Layer to show the different angle points in transparency.
- Apply a G3 character. Enter the Composer mode.

- Click the 360 Head Creator button on the toolbar.

Alternatively, you can execute the 360 Head Creator command in the Modify menu.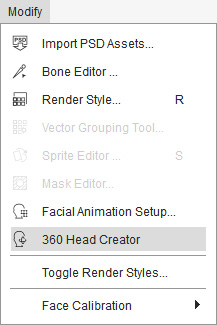
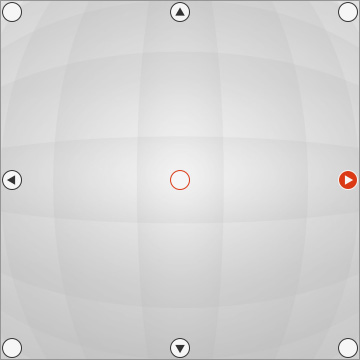
- In the 360 Head Creator panel, click one of the angle points rather than the center one (in this case, the right one).

- You can only see the character's head in this angle.

- Press down the Onion Layer button on the 360 Head Creator panel.
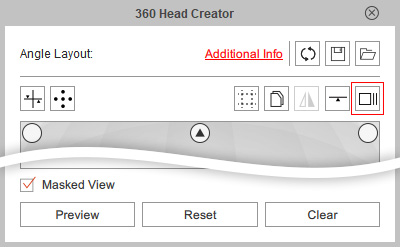
- Click on any other angle point you want to take as reference (in this case, the center one).
You will see an semi-transparent image of the target angle point overlapping on the working area.
 Note:
Note:- Click the activated angle points again to deactivate and eliminate the reference image from that layer.
- You can add as many as the angle points as reference onion layers if you want.
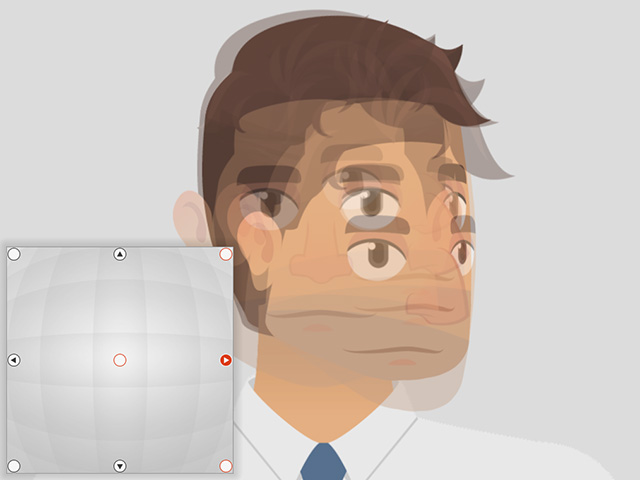
- You can then use the semi-transparent image as a reference for adjust the facial elements accordingly.

- Press up the Onion Layer button to remove the reference image from the other angles.