Importing CTA Objects to Video Editors
After exporting desired objects from a CTA project,
you can import them to a video editor with layer editing tools,
such as Premiere, DaVinci Resolve, or Hitfilm for special application.
In the following examples, we will show how CTA objects can take advantage of video editors.
 Importing full-scene CTA objects for special visual effects
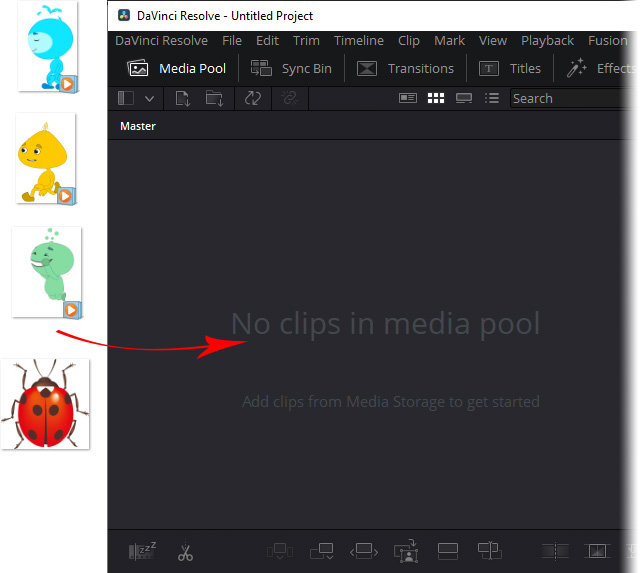
You can drag and drop the exported full-scene objects in a video editor to represent the original animation scene,
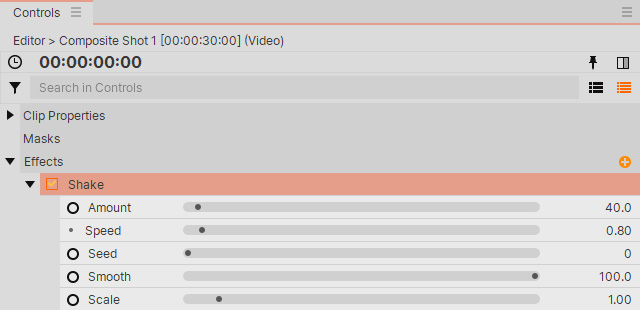
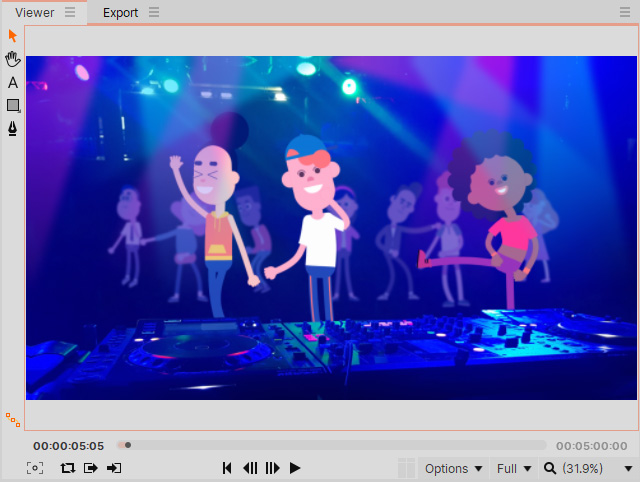
and then enhance the visuals by adding special layer effects.
( Watch Tutorial - Export Transparent Videos by Object )
| |
| Original CTA animation scene. | Enhanced with layer effects. (Hitfilm) |
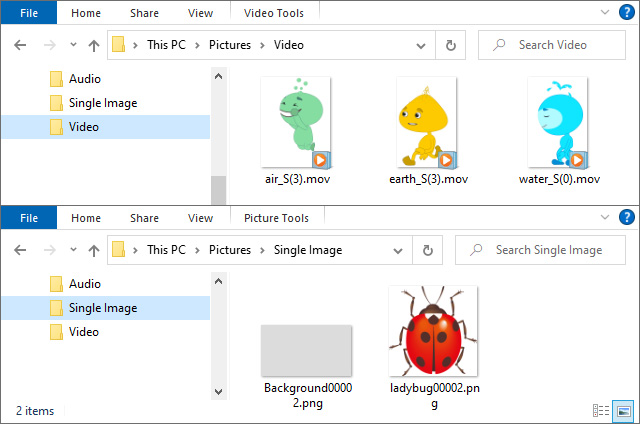
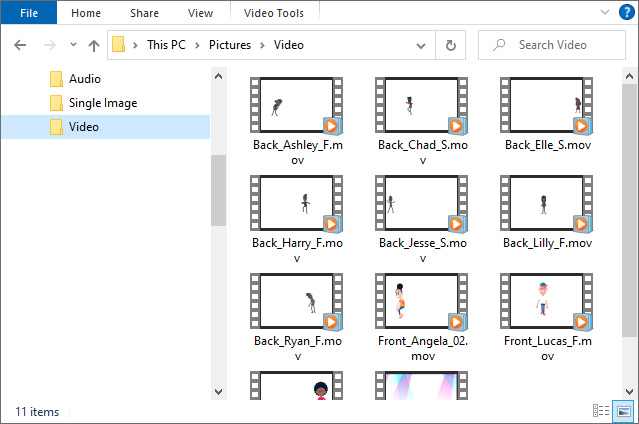
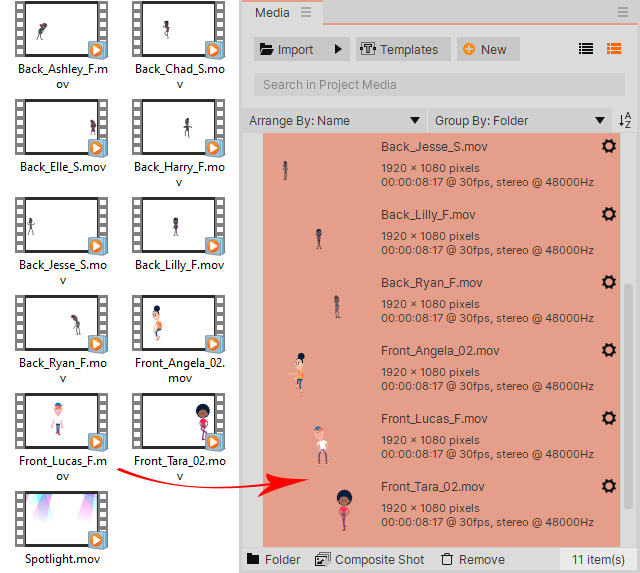
- Open the exported CTA Package and find the desired objects you wish to import.
In this case, all the object videos as shown.
- Open HitFilm.
Create a project with the same frame size as the CTA project in order to fit full-scene objects.
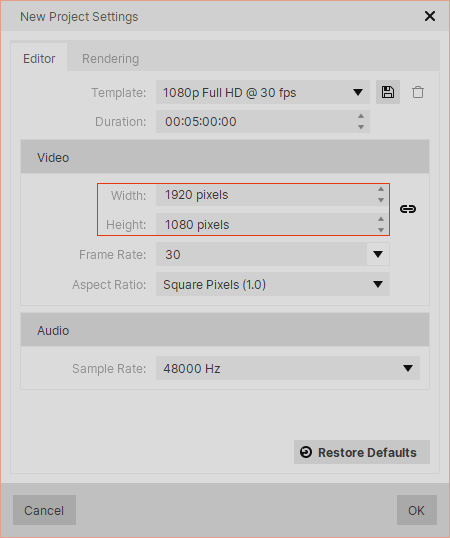
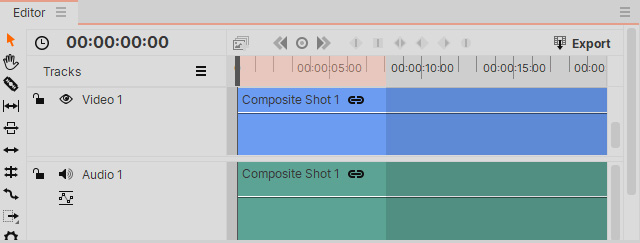
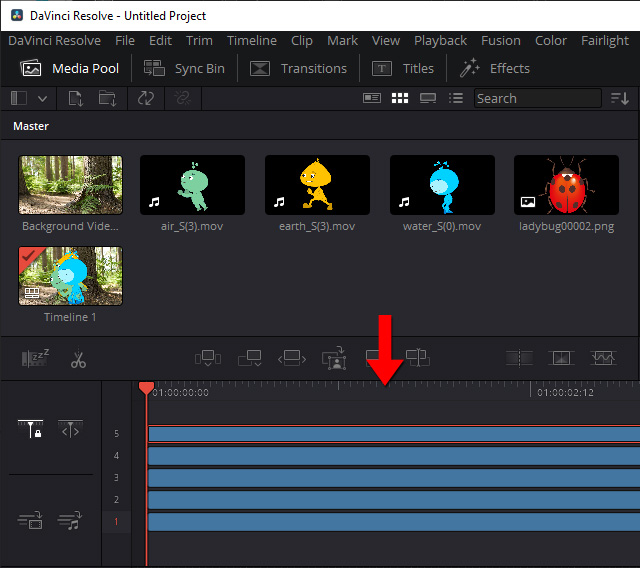
- Drag the exported objects in to create a new composition.
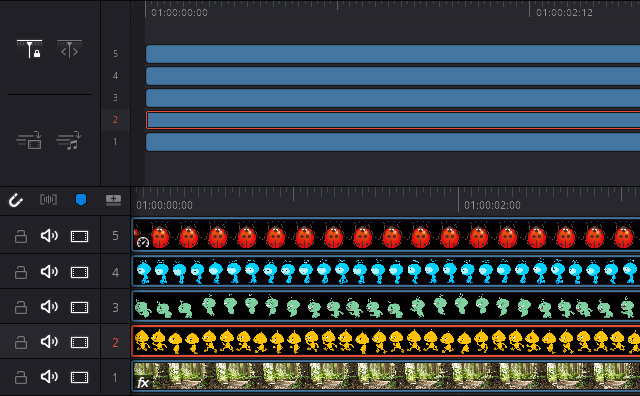
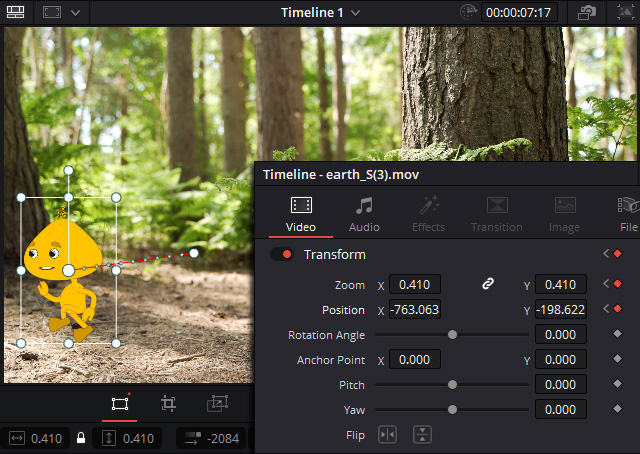
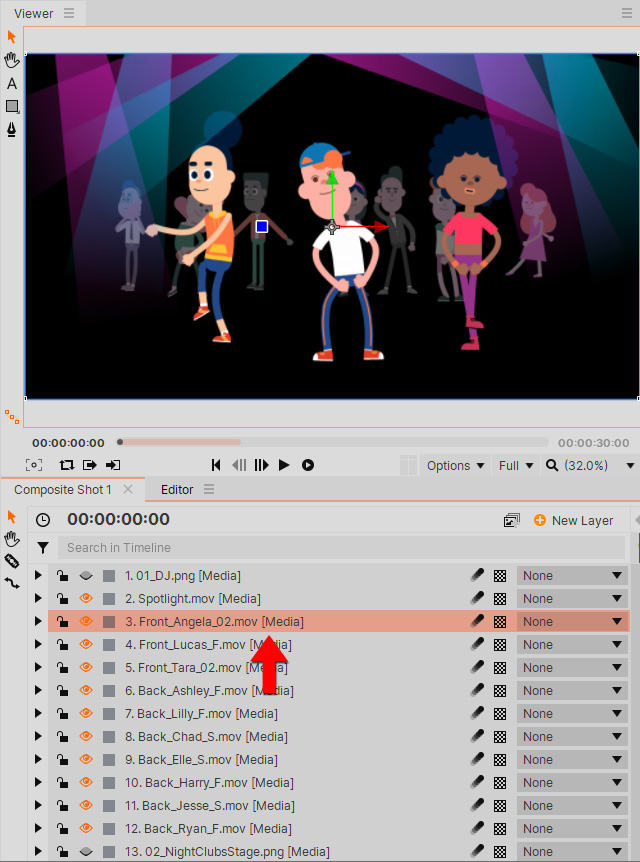
- As the transformation data (position, rotation, scale) is completely presented along with the objects,
you only need to arrange the layer order to represent the same layer relationships as in CTA.
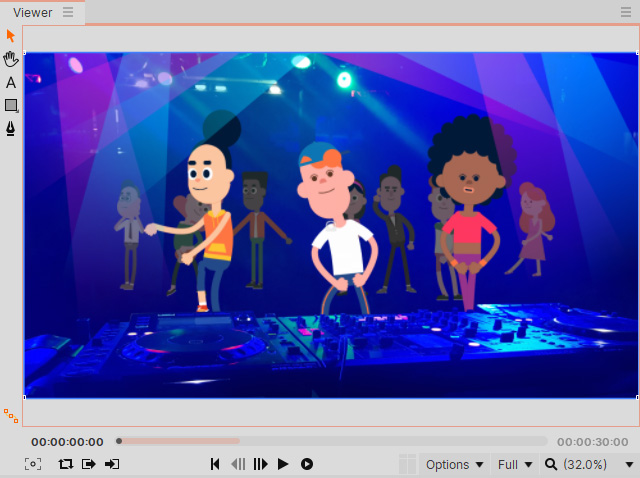
- Because these CTA objects are exported as transparent videos,
you can composite them with other 3D media with ease.
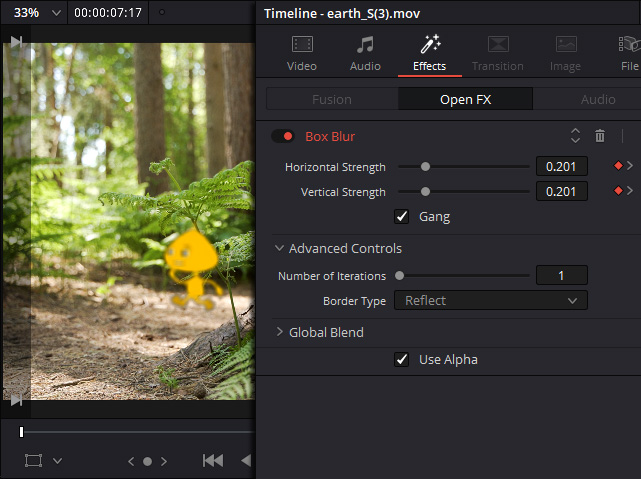
 Applying Blur Effect
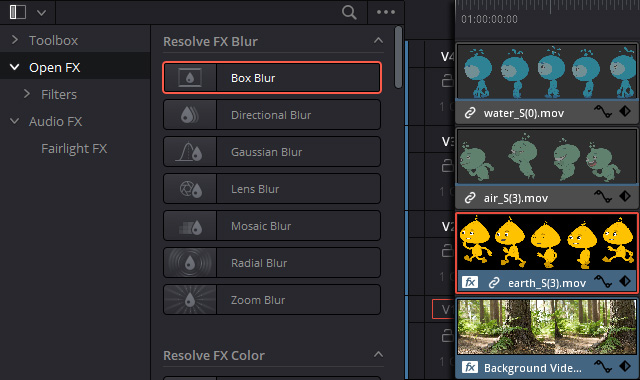
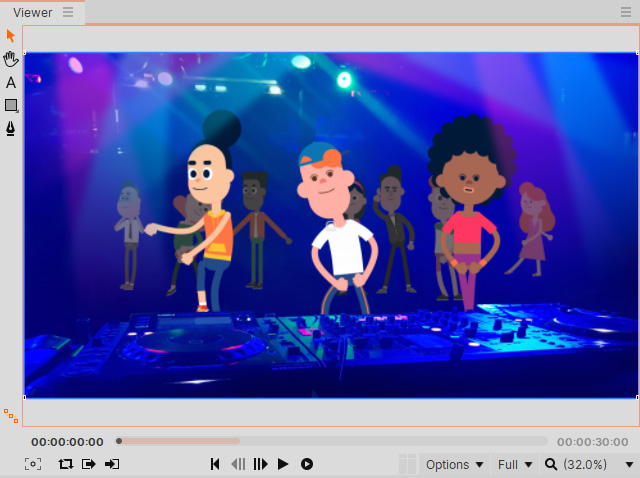
You can apply blur effects to increase realism.
- Select the layer of the Spotlight.
Click the Insert 2D Effect button on the Effects layer.
- Type in the keyword, Blur, in the Search field to find all related settings.
Click the Blur under the Blurs folder.
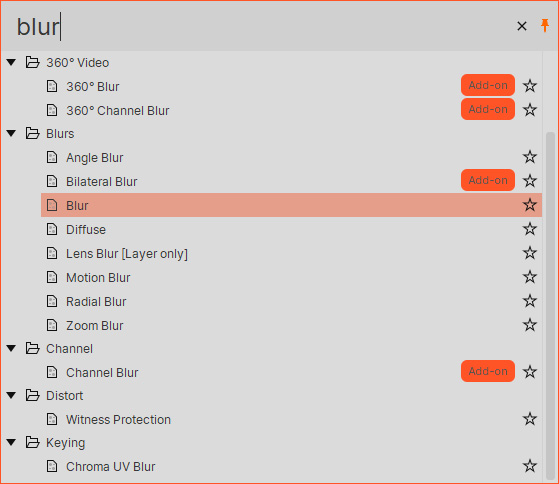
- The effect will be added to the layer.
Choose a blur preset, or manually adjust the values of radius, iterations, etc.
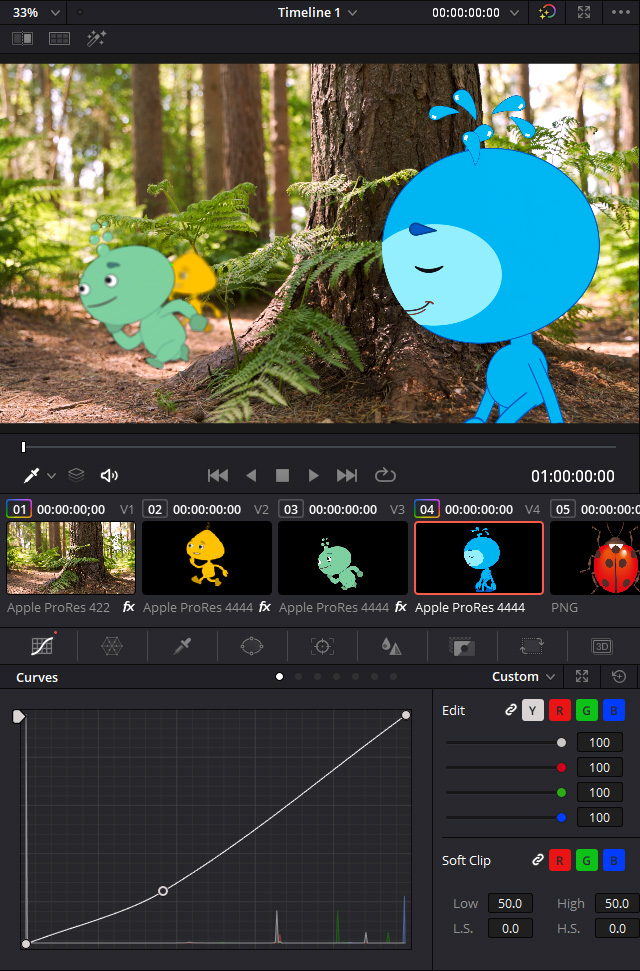
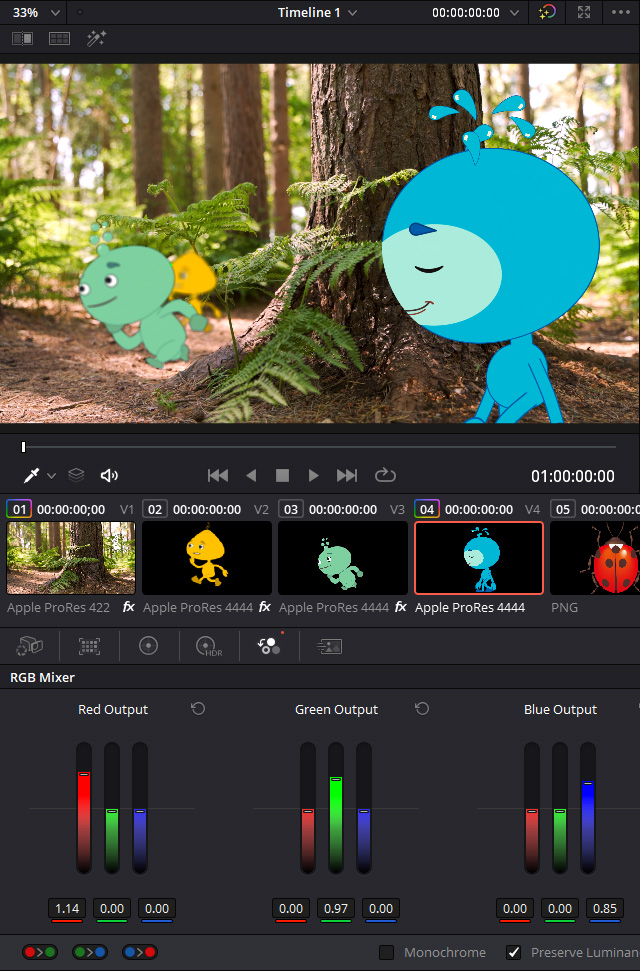
 Correcting Object Colors
Object colors can be changed for better composition.
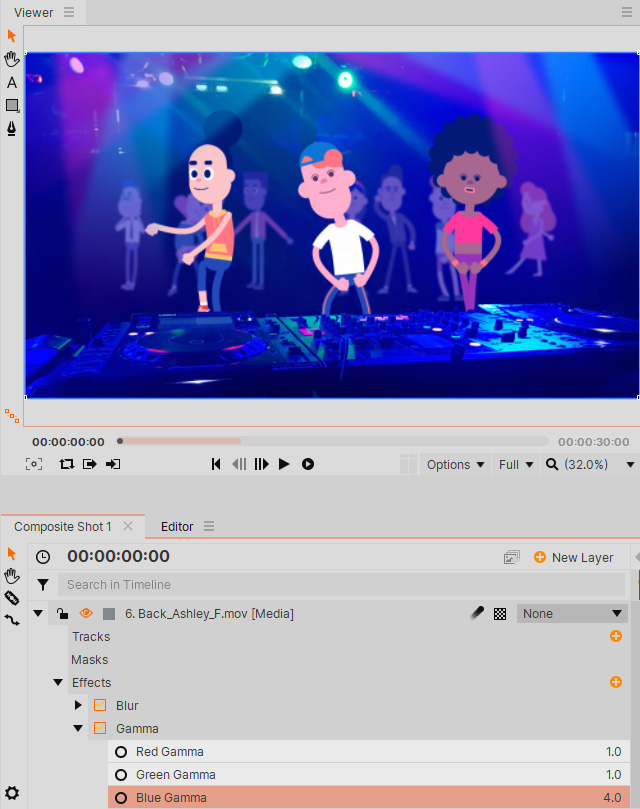
- Select the layer of the Back character.
Click the Insert 2D Effect button on the Effects layer.
- Click the Gamma under the Color Correction folder.
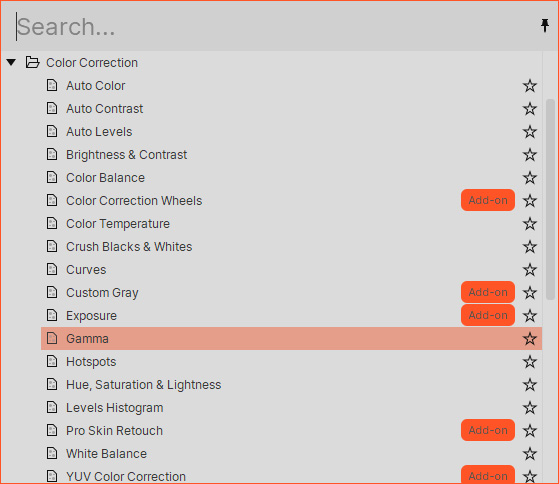
- Increase the value of Blue Gamma to illuminate the character with the color of the background media.
Copy and paste the effect to other characters at the back.
Correct the color of characters at the front in the same way.
