Flipping Hip
Unlike the object flipping setting that have a character or prop flip to the opposite side of the object pivot, the Flipping Hip mirrors the limb bones to the opposite side of the Hip bone. You can then use this feature to create back and forth motions.
- Create or apply a character.
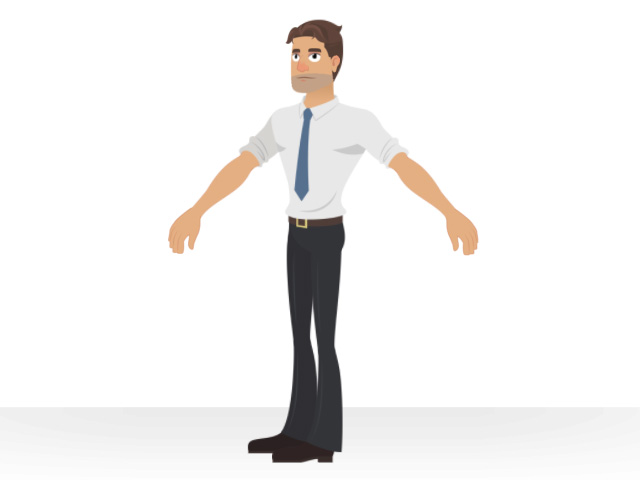
- Apply a motion for the character (in this case, Walk Forward).
- Make sure the character is selected and open the 2D Motion Key Editor.
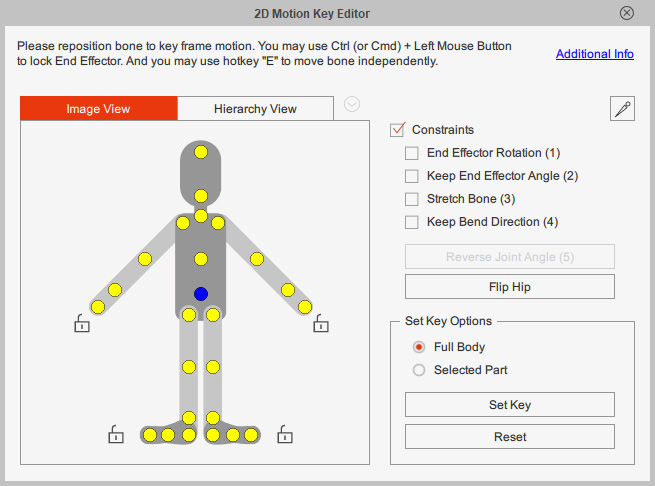
- Go to a desired frame where you wish the character to make a turn to the other side.
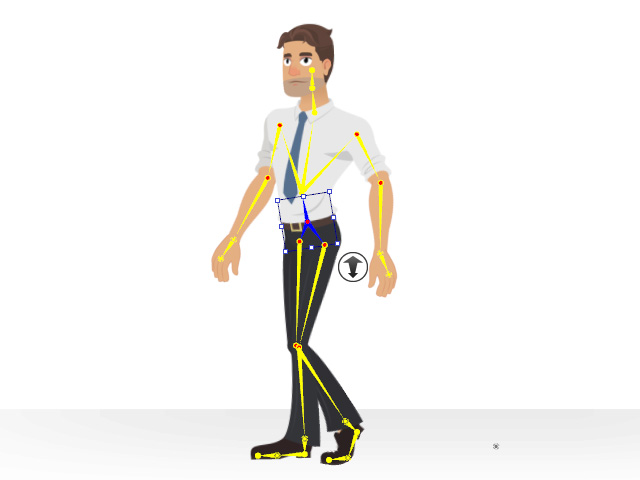
- Click the Flip Hip button.
As you can see the character flips to the opposite direction of the Hip.
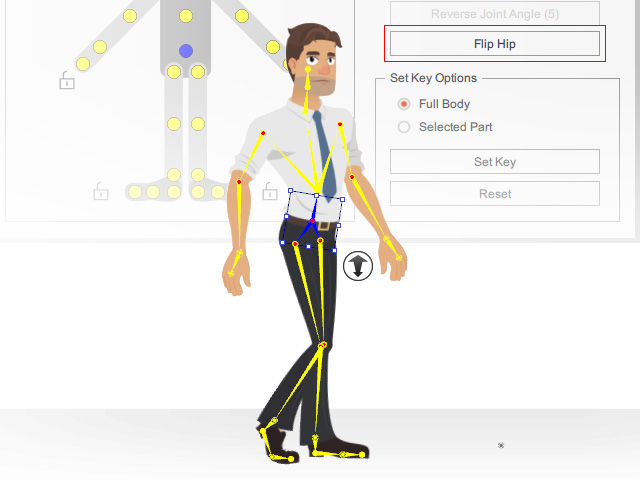
- Repeat the Steps 4 and 5 to create back and forth motions.
The Flipping keys will be recorded on the Flip Hip track under the Motion main track.

-
Right click on the motion clip and execute the Flatten Motion Clip command from the context menu
to merge the Flipping keys into the motion clip.
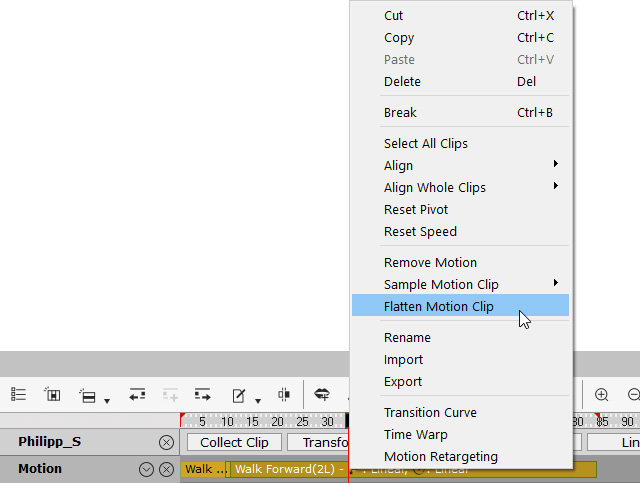
-
Collect the clips and export it to the Custom Motion Library.
Drag the flipping motion to another characters.
If your character's body part is attached with a prop or accessory, after clicking the Flip Hip, not only the limb bones, but the prop or accessory attached on them is also swapped to the opposite side. You can follow the steps below to make the prop or accessory look like staying on the same bone.
- Create or apply a character, and attach a prop (like this pointer stick) to the character's left hand.
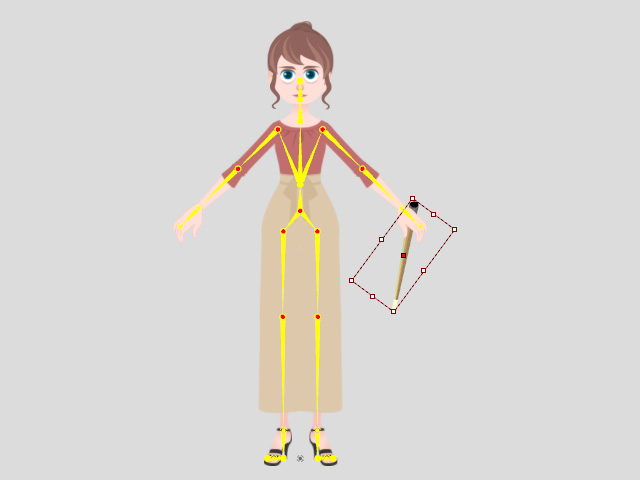
- Go back to the Stage and apply a motion to the character.
- Make sure the character is selected and open the 2D Motion Key Editor.

- Go to a desired frame where you wish to flip the character motion. Click Flip Hip button.
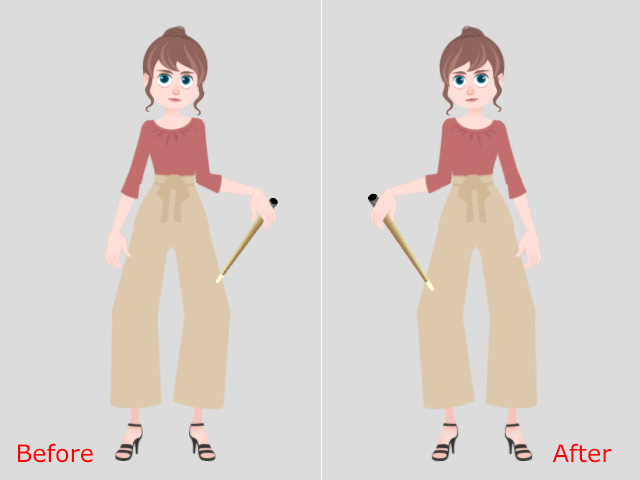
- Play back the project to observe the animation result.
During the flipping hip period, the prop attached on the character's left hand went to the right hand.
- To fix the result, go to the Composer and attach a same prop to the character's right hand.
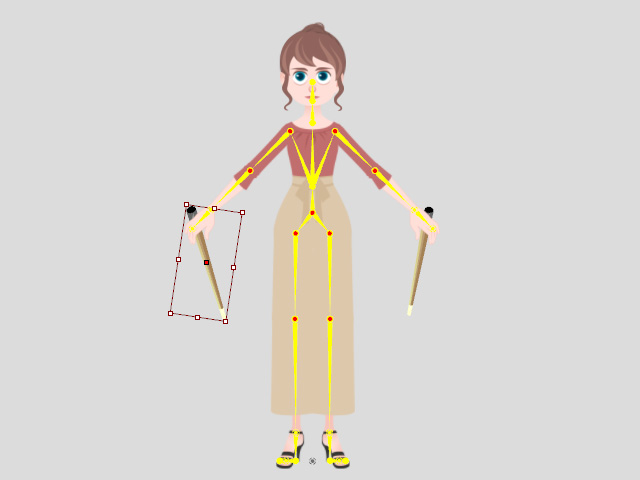
-
Back to the Stage.
Hide the prop attached on the right hand in Frame 0 until the frame you set a Flipping key on the bones.
And hide the prop again whenever you set a Flipping key.
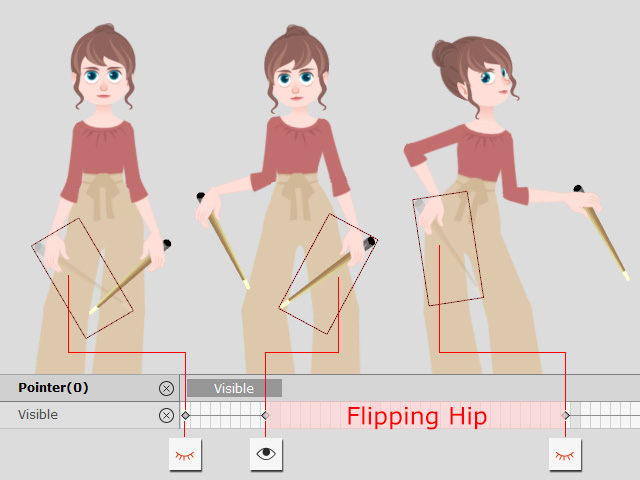
-
Next hide the prop attached on the left hand whenever it shows on the opposite bone.
And show the prop again whenever it is hidden on the opposite bone.
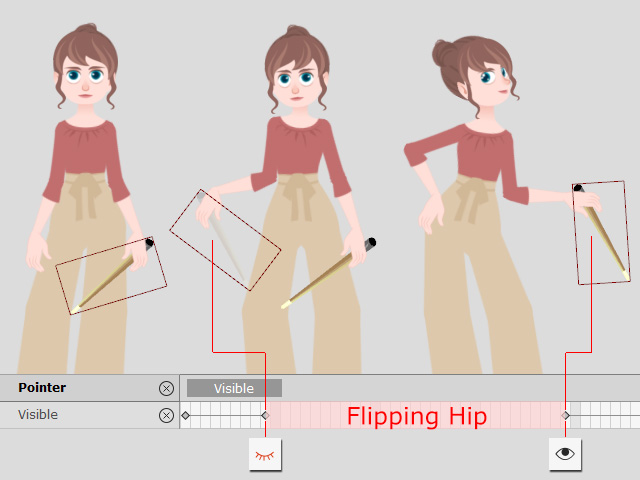
-
Play back to observe the animation result.
Alternatively, you can utilize the Launch Bitmap Editor feature to draw a new hand pose which includes additional image elements for symmetrical body parts and send to CTA. Then swap the hand poses of both body parts in Sprite Editor to correct the animation visuals after flipping hip.