Grouping Bones for Different Spring Effects
The object's bones can be separated into different spring groups; and different spring settings can be applied to these groups. Grouped bones react to different spring effects along with the object's animation.
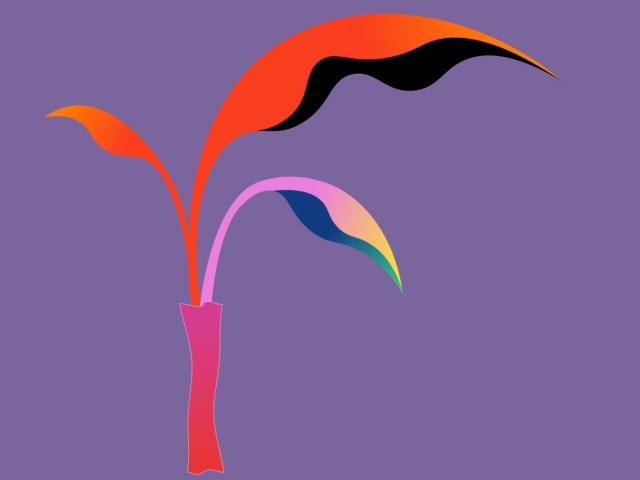
- Create a project like this plant and vase.
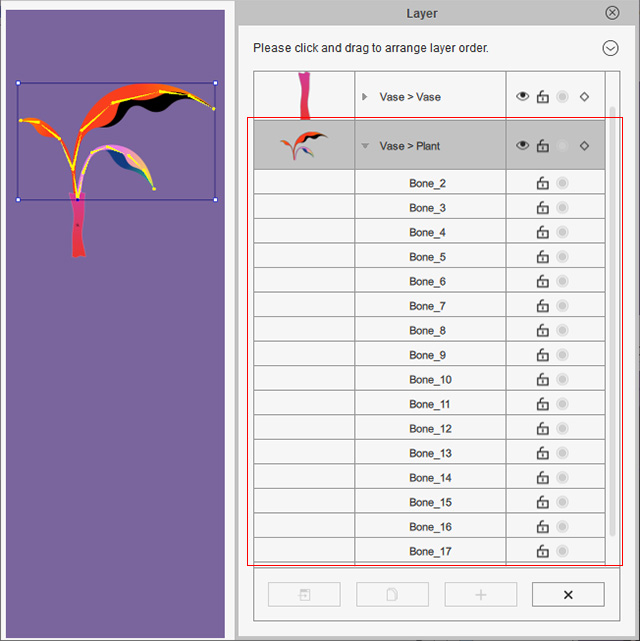
- In the Composer mode, add bones to the plant attached to the vase.
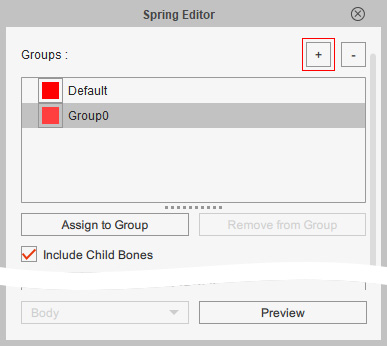
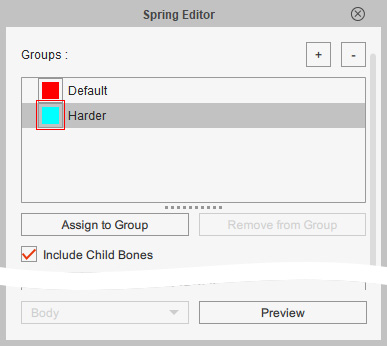
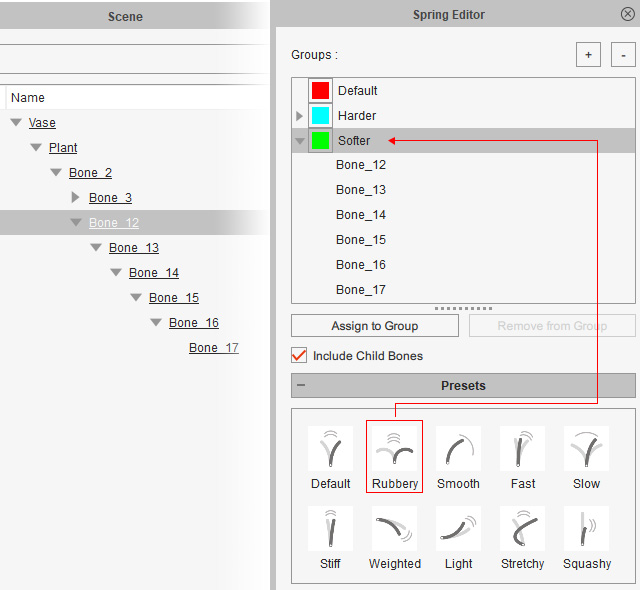
- Open the Spring Editor by clicking the spring button on the toolbar, click the Add button to add a new spring group.
- Double-click on the name of the group to rename it.
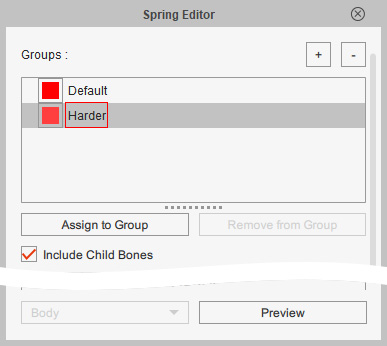
- Click on the color swatch to choose a desired color for the bones included in this group.
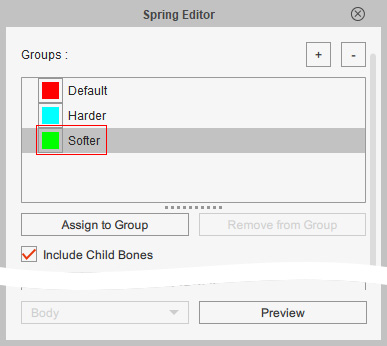
- Repeat the same steps to create another group.
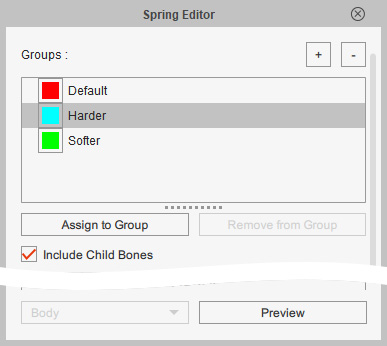
- Choose a desired spring group in advance.
- Select the start bone for applying the spring effect.
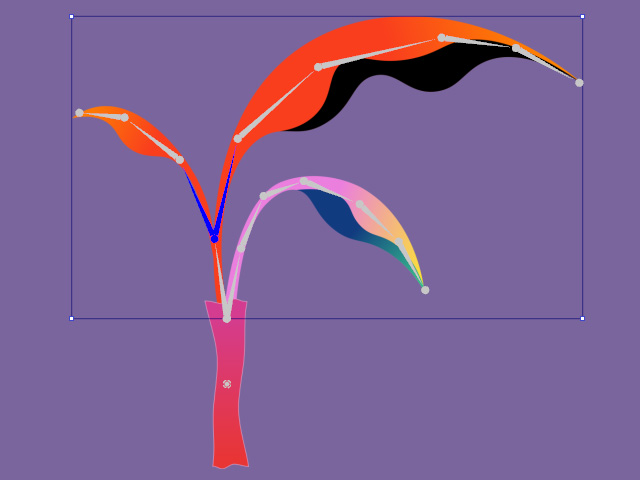
- Click the Assign to Group button to add the selected bone(s) into the chosen group
using either of the following settings:
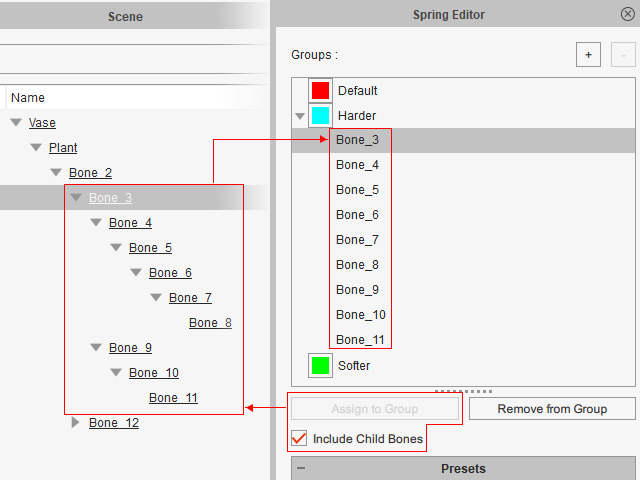
- With Include Child Bones activated: The child bones of the selected bone will be included into the group.
-
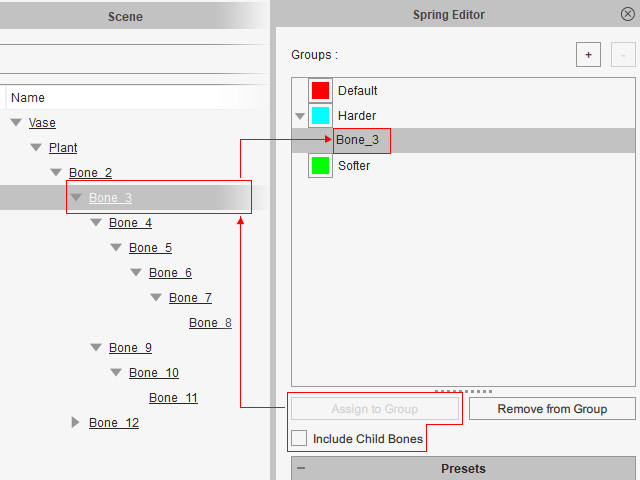
With Include Child Bones deactivated: Only the selected bone will be included into the group.
See the Moving Bones between Spring Groups section for more information. - With Include Child Bones activated: The child bones of the selected bone will be included into the group.
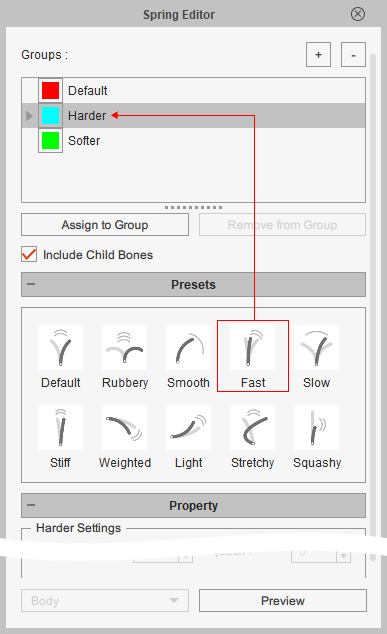
- Apply spring effect to this group by selecting one of the templates in the Presets
section.
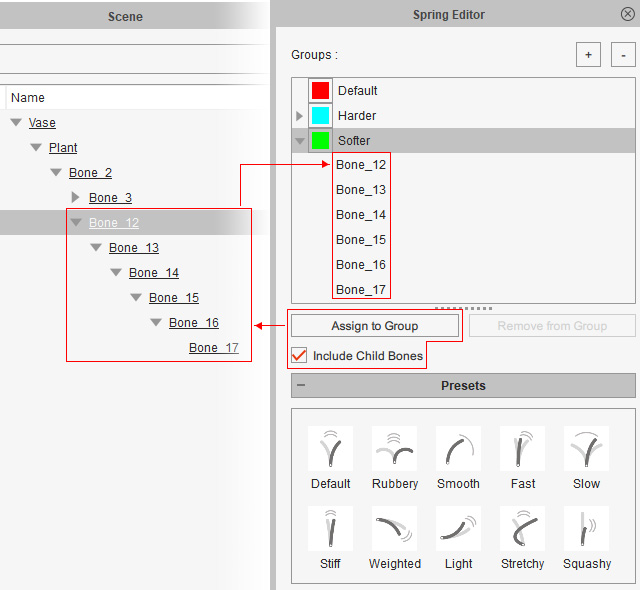
- Repeat step 7 to 10 to include other bones into the different group and set a spring effect to the group ("Rubbery",
for example).
- Assign Bones:
- Apply Spring Effect:
- Assign Bones:
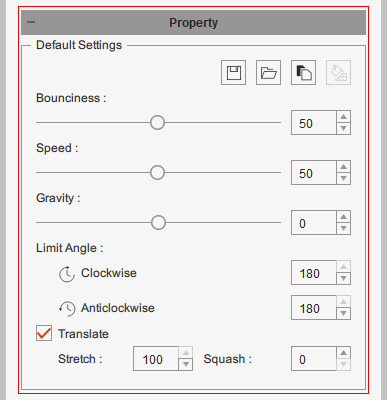
- Click the Preview button at the bottom of the Spring Editor (or on the Toolbar). Click to test different presets or adjust the properties to obtain the ideal spring effects.

- Close the Spring Editor when you find the desired spring effect, then exit the Composer Mode.
- Setting keys or applying motion/animation clips to the object. The spring effect will automatically perform.