Creating Accessories with Default Character as Reference
Although the accessories attached on the G3 characters cannot be exported along with the character in PSD format for further editing,
you can use the PSD Export feature to export the character as reference and then create accessories accordingly
in PSD format.
( Watch Tutorial - Adding Clothing to G3 Characters in Photoshop )
- Apply a G3 character.
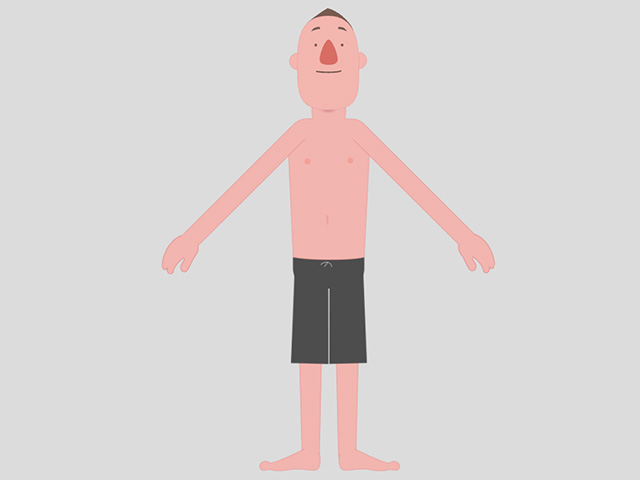
- Make sure that it is selected and enter the Composer mode.
- Open the image with the preset
bitmap editor.
 Note:
Note:- You will encounter the PSD Options panel. Please refer to the Exporting Ratio section for more information. In order to have a better resolution for the head and body, you can choose to export the head and body in different PSD files with larger scale values.
-
Even if the character initially began as vector, you will
receive a notification indicating that it will be converted to
bitmap.

- Your designated image editor, which is compatible with PSD
format files (such as Photoshop), will be used to open the character
file.
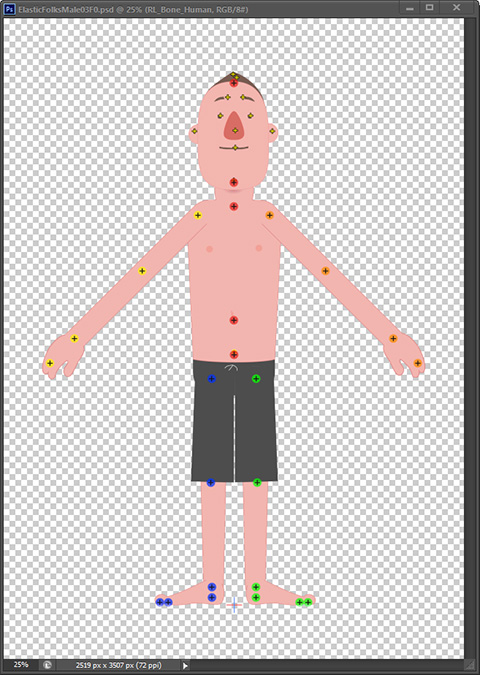
- You can add custom clothes to the character's PSD file.
Please refer to the Adding Cloth for G3 Characters in PSD Format section for more information.
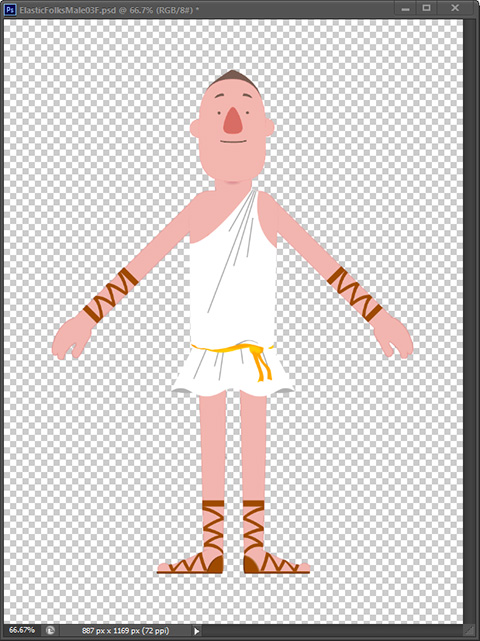 Note:
Note:- Save the character file and the one in the Composer Mode of Cartoon Animator will automatically update .
- Go back to the Stage for animating the character.
- To create an accessory (in this case, the head accessory) for the head or the body, it is suggested that you zoom in accordingly and hide the bones.
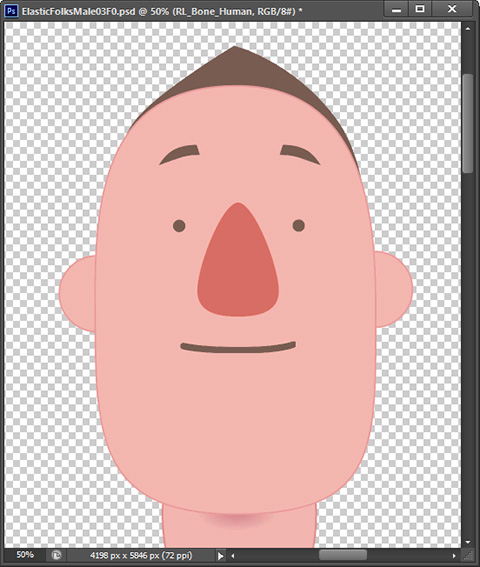
- Create a custom accessory for the character.
You can follow the Grouping Rules to create an independent group folder and add as many
sub-layers as you want under it.
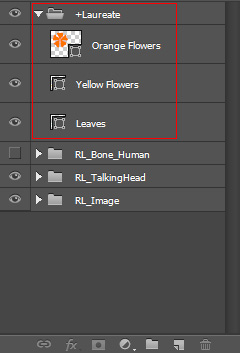
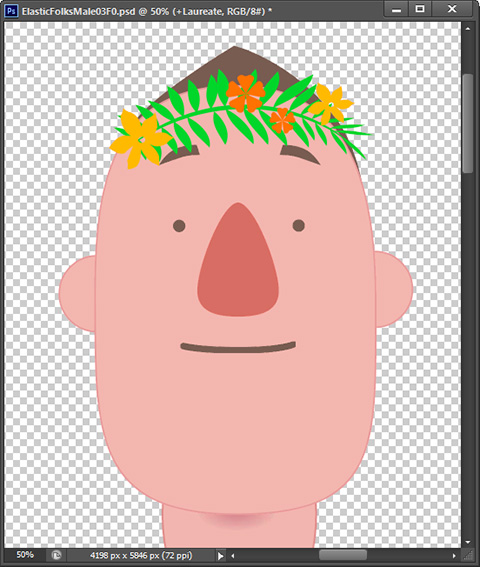 Note:
Note:- With the prefix, "+", you can modify the additional layers later on without manually flattening the layers. It is a convenient design if you want to adjust the cloth back and forth between your image editor and Cartoon Animator. Please refer to the Grouping Rules for more information about the prefix.
- If the accessory is composed of only one image layer, then you do not need to add any prefix.
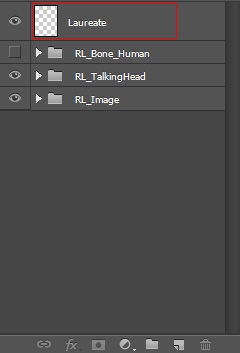
- Right-click on the layer for exporting and pick the Duplicate Group... item in the pop-up menu.
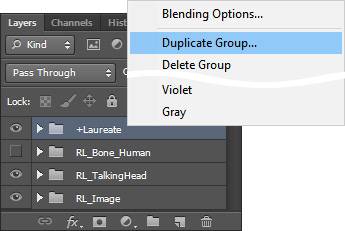
*Please note that this item changes to Duplicate Layer... if only a single image layer is selected for duplication. - You will encounter the dialog box as shown below. Click the OK button to duplicate this layer as a new file.
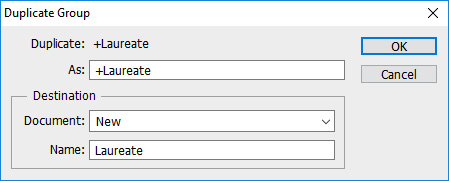
- The As field is used to determine the name of the layer in the new file.
- Choose New from the Document drop-down list and give it a name for the new file.
- You will see a new file created with only the layer you selected in it.
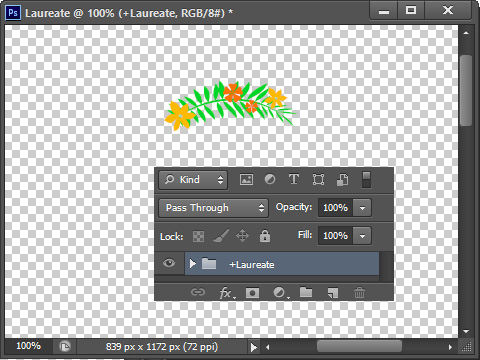
- Save the file as a new PSD or PNG file.
Note:
Please make sure that you rasterize the image layer before saving the project in order to flatten the effects. Otherwise, the effects will be ignored in Cartoon Animator.
- Drag and drop the file to the working area of Cartoon Animator and choose to create a new
prop. Cartoon Animator will bring the prop into the Composer mode directly.
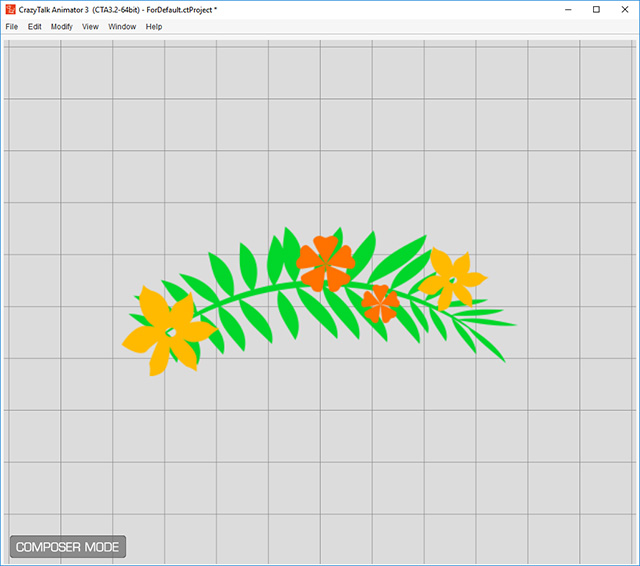
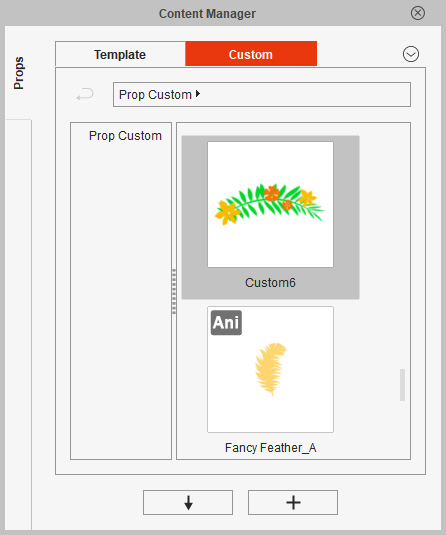
- Save the prop to the Content Manager > Custom > Prop library.
- Go back to stage and choose a G3 character. Enter Composer
mode again.
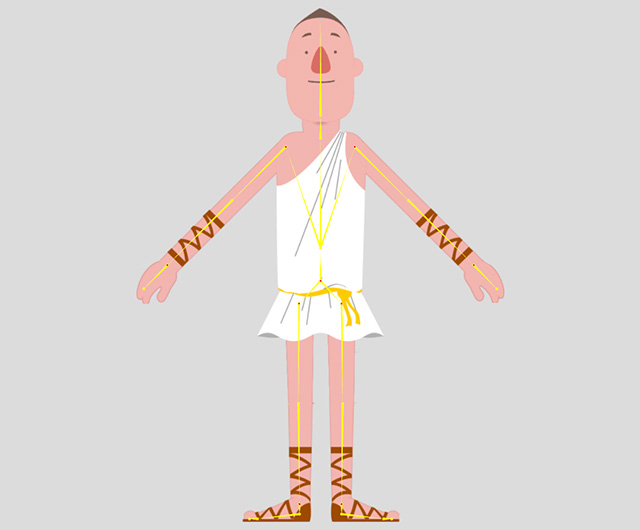
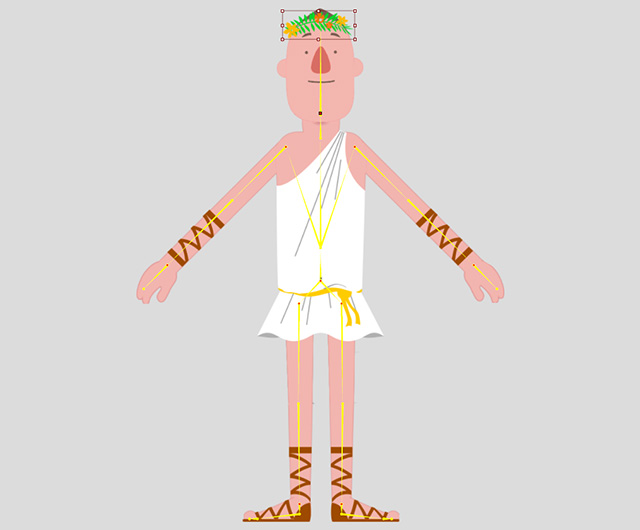
- Drag and drop the newly created prop onto the target body part
to attach it.
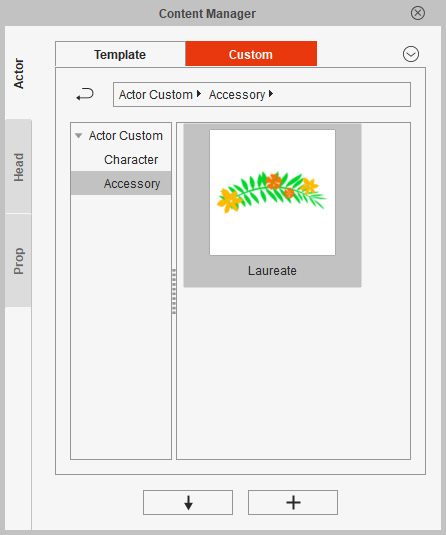
- Go to the Content Manager > Actor Custom > Accessory library and click the Add button at the bottom of the panel to add the new accessory into the library.
Please refer to the Converting props to Accessories section for more information.
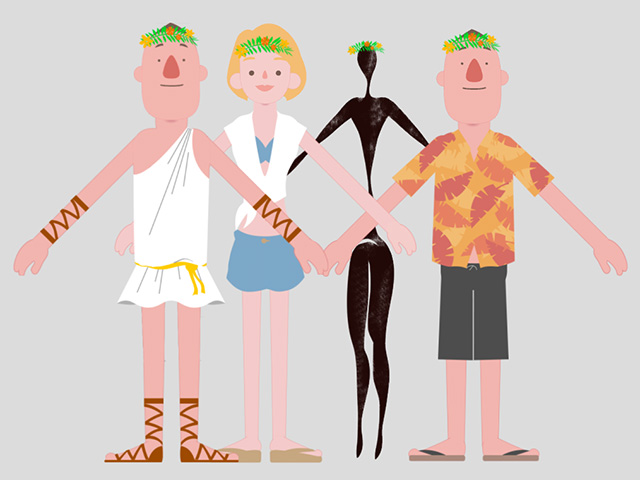
- Now this accessory can be applied to any character.
 Note:
Note:- Although the accessory can be applied to any character
in the Stage mode, the relative transformation data is based on the character you used for attaching.
Therefore, any character whose proportions are somewhat different, the accessory can offset from the target body.
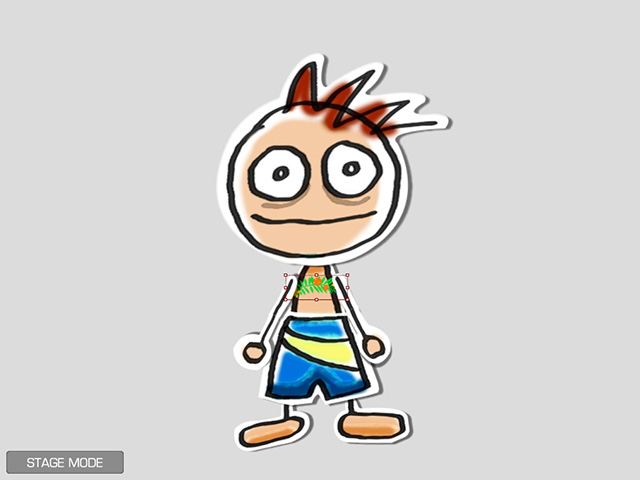
- You can transform the accessory in the
Composer mode if necessary.
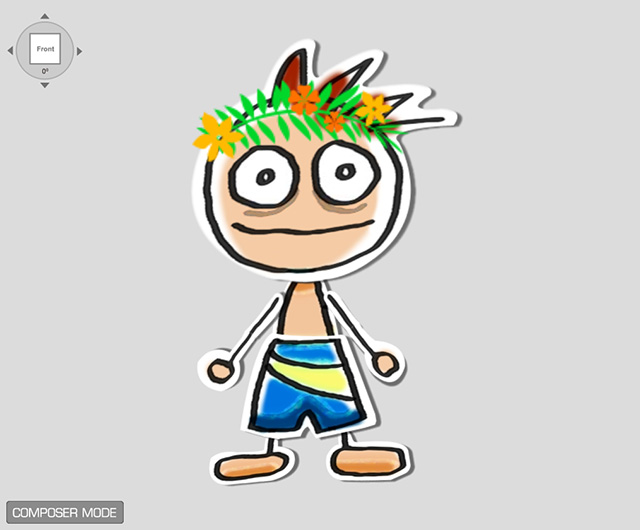
- Although the accessory can be applied to any character
in the Stage mode, the relative transformation data is based on the character you used for attaching.
Therefore, any character whose proportions are somewhat different, the accessory can offset from the target body.
