Setting Position Keys on Motion Path
Position keys enable you to establish specific points along the timeline where an object, prop, or character will be placed. These keyframes serve as reference points for generating animations that follow the designated Motion Path.
Position Value
- Once you've established a path for the object to traverse, its
progress along the path will be denoted by a percentage ranging from
0 to 100.
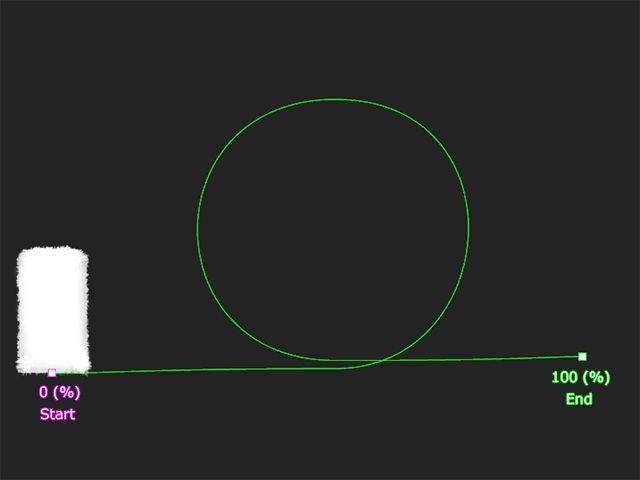
- Keep in mind that when you set a positive values, the object is moving from
the starting control point to end control point; and vice versa.
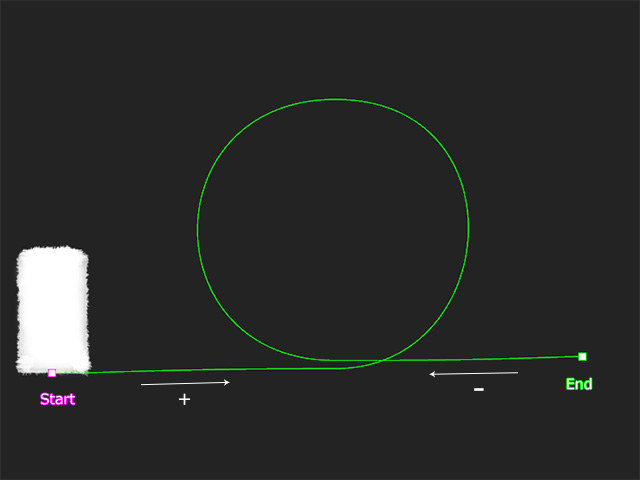
- You can create a continuous loop by setting the value to 200 to make the prop follow the path twice, 300 for three times, and so on.
Creating Path Animation
- Create a path and a box.
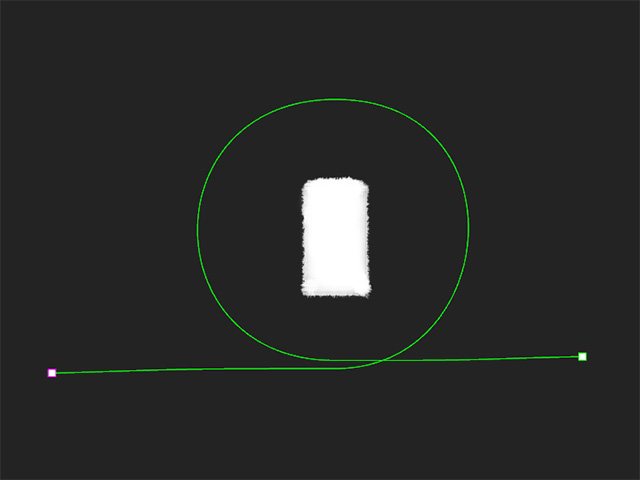
- Select the box and pick the anchor point on the target path
using one of several methods.
 Methods for Picking Anchor Point
- Right-click on the object and choose
Path Properties command from the context menu.
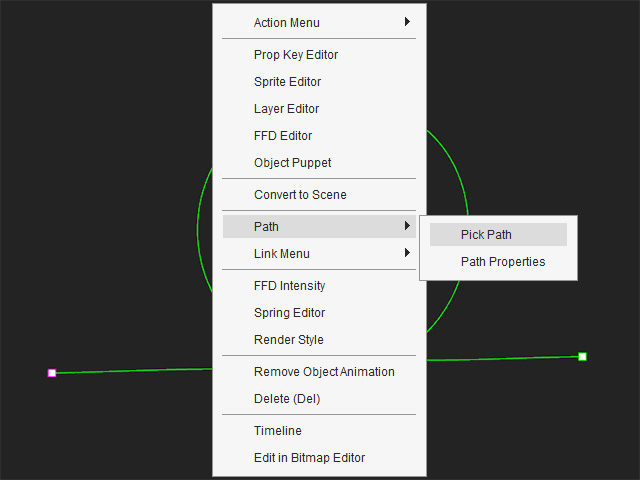
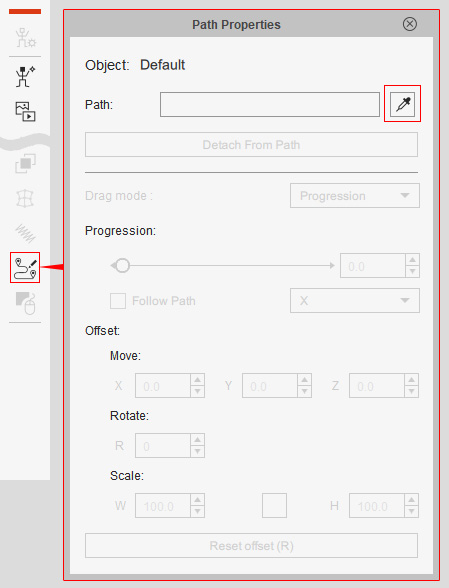
- Click the
Path Properties button on the toolbar and click the eyedropper in the
Path Properties panel.
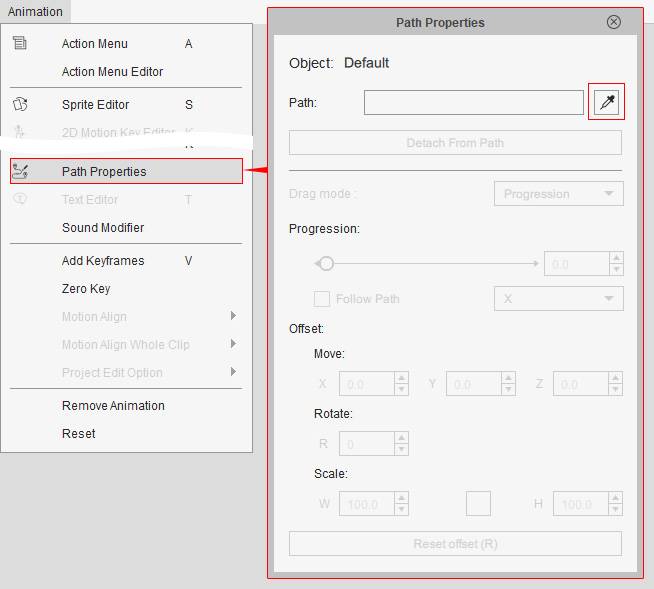
- Execute the
Animation Path Properties command and click the eyedropper in the
Path Properties panel.
- Right-click on the object and choose
Path Properties command from the context menu.
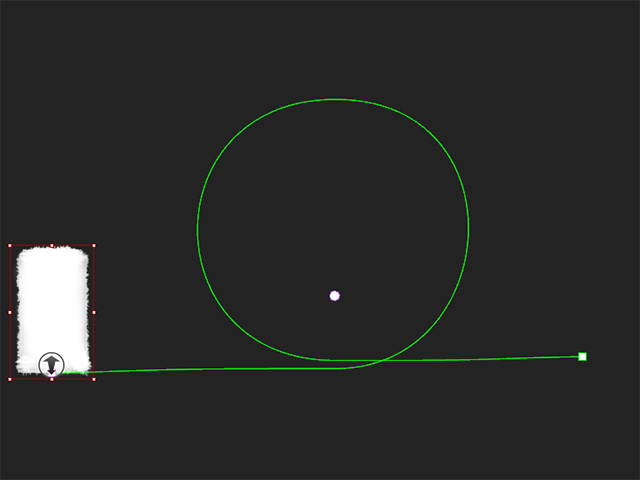
- Click on the desired anchor point of the path (in this case, the starting
point) and the box will snap to the anchor point.
- Drag the timeline slider to a later frame to set a new position key:
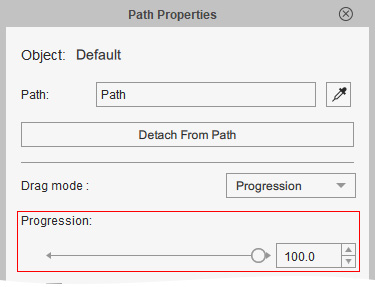
- Open the Path Properties panel, drag the
Progression slider to set the object's position on the path in percentage.
- Open the
Path Properties panel, set the Drag mode to
"Progression".
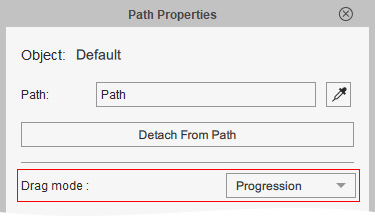
Drag the object in the viewport.
- Open the Path Properties panel, drag the
Progression slider to set the object's position on the path in percentage.
- Open the Path_Progress track of the object in the
timeline. You will see the position keys on the path track.

- Playback to view the result.
Release Constraint
Releasing the path constraint relinquishes control over the object's position on the path, returning control to the transform keys.
- Select the object attached to the path.
- Go to another timeframe.
- Open the Path Properties panel and click the
Detach from Path button.
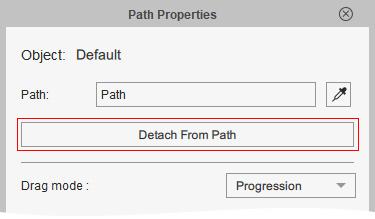
Alternatively, you can right-click on the timeframe in the Path_Progress track to execute the Detach from Path command in the context menu.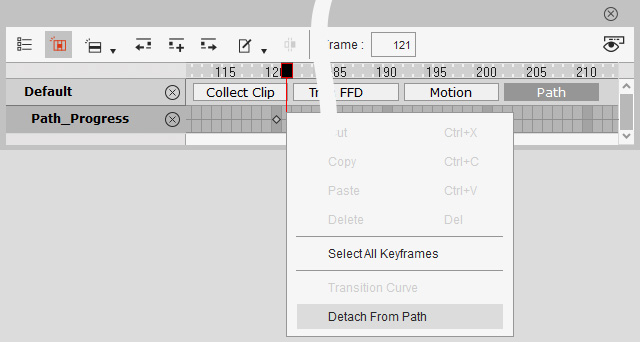
- A new release key will be added to the Path_Progress track.

- You can then start to transform the object freely.
- Playback to view the result. Notice the transform animation after the object is released.