Path Properties Panel
After you create a path, you can launch Path Properties for further editing. There are three ways to launch the panel:
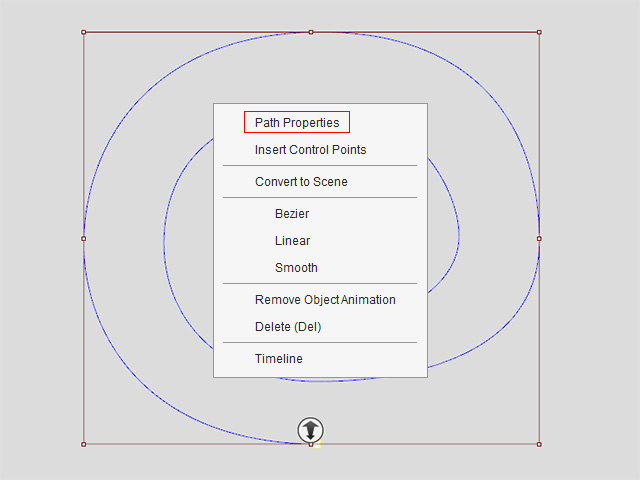
- Context menu: Select a path and right-click on it. Choose the
Path Properties from the subsquent context menu.
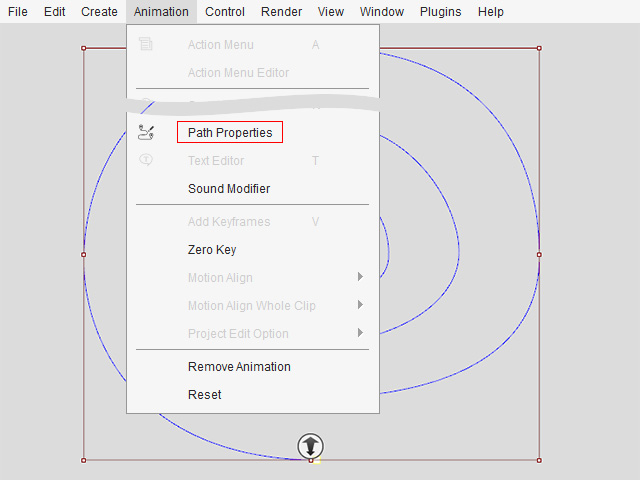
- Animation menu: Select a path and execute the Animation > Path Properties command.
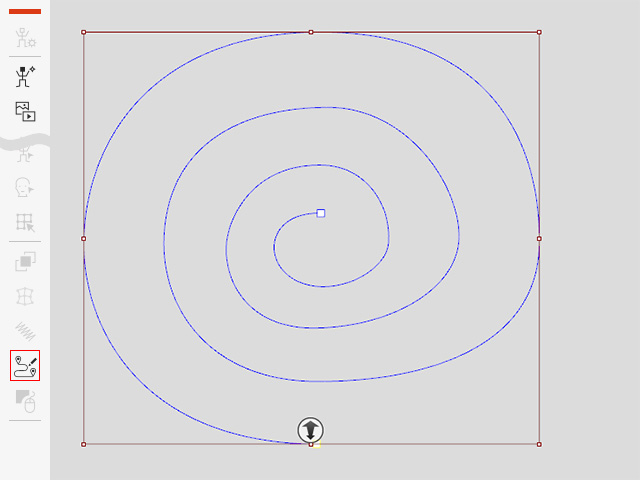
- Toolbar button: Select a path and click the Path Properties button on the toolbar.
The settings in the Path Properties panel change according to the selected objects:
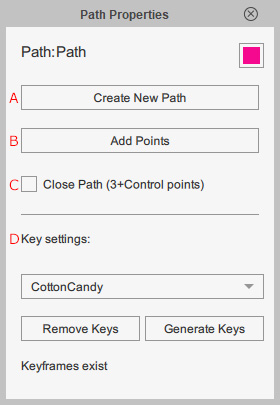
Selected Path
-
 Create New Path
Starts path creation by clicking in the viewport.
-
 Add Points
Adds more anchor points to reshape paths.
-
 Close Path
Makes the path form a closed loop.
-
 Key Settings
Stores the path keys for traversing objects. The keys can be reused with other objects attached to the path.
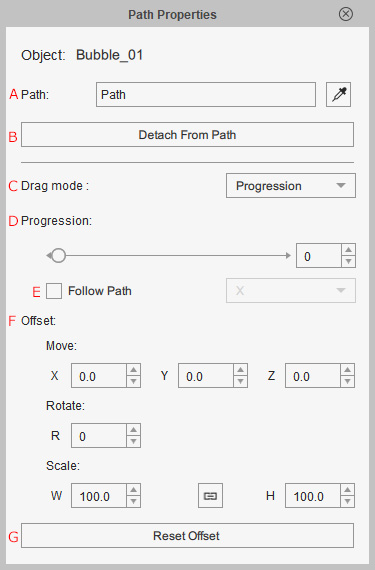
Selected Objects - Character, Prop, Text Bubble, Special Effect Object
-
 Path
Path
Displays the name of the currently picked path. You can use the eyedropper to click on a anchor point on the path to have the object snap to it.
-
 Detach from Path
Releases objects attached to the path.
-
 Drag Mode
Select an option from the drop-down list to specify whether you want to move the object along the path or offset it from the path by dragging it.
-
 Progression
Sets the object position on the path by percentage.
-
 Follow Path
Determines the local axis of the object to be aligned to the path direction.
-
 Offset
Sets offset keys to deviate, rotate or scale the object on top of the initial path animation.
-
 Reset Offset
Resets the RTS offset key values altogether.