Customizing Characters Using the Sprite Editor
In addition to applying a template bone character from the Content Manager, you are also allowed to create customized template bone characters with the Sprite Editor.
By changing the element image in the sprite of a default template bone character, you can create unlimited characters with custom images.
( Watch Tutorial - Character Creation with G3 Template )
The supported image formats are: PNG, BMP, GIF, TGA, JPG, JPEG.
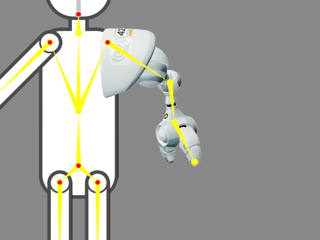
In this section, the initial character contains only one sprite and the entire sprite is driven by its original bone structure.
- Apply a template bone character from the Content Manager and make sure it is selected.
- Switch to Composer Mode.
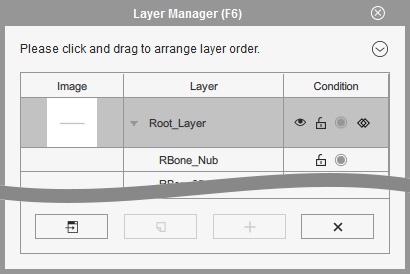
- Select the desired character body part for replacement. It is highly suggested that you select the desired part from the Layer Manager.
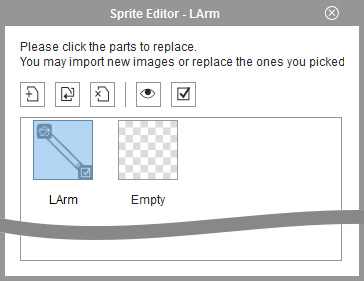
- Open the Sprite Editor.

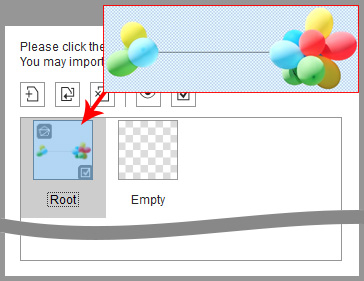
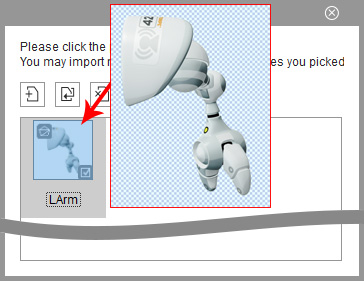
- Double-click on the element thats being replaced and load a prepared image to replace the original image.
- Leave the Sprite Editor.
- Optionally, adjust the position and angle of the bones if necessary.
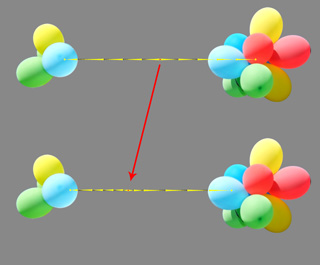
- Switch back to the Stage Mode.
- The template bone character is ready for applying the embedded animations that are compatible with the original character before the replacement.
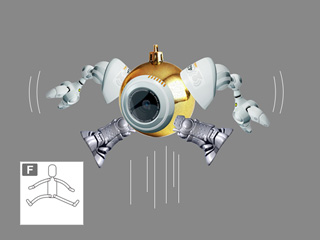
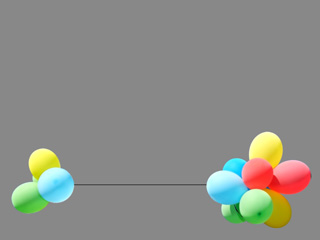
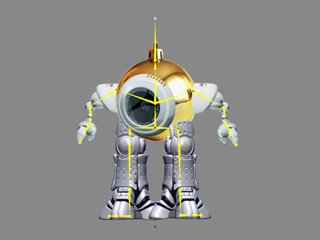
In this section, the initial character contains several body part sprites. You need to replace them in order to create a custom template bone character.
It is not necessary that you replace every element in every sprite.
- Apply a layered template bone character from the Content Manager and make sure that it is selected.
- Switch to Composer Mode.
- Select the desired character body part for replacement.
It is highly suggested that you select from the Layer Manager.

- Open the Sprite Editor.
- Double-click on the element that's being replaced and load a prepared image to replace the original image.
- Adjust the position and angle of the sprite if necessary.
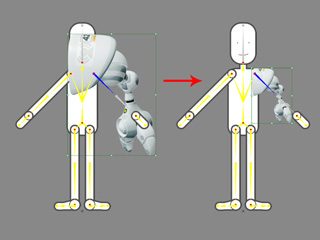
- Adjust the bone so that it drives the image movement.
 Note:
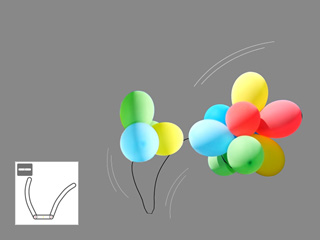
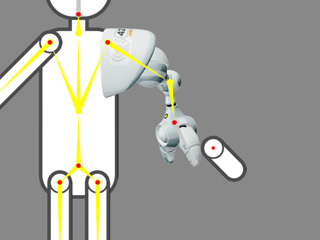
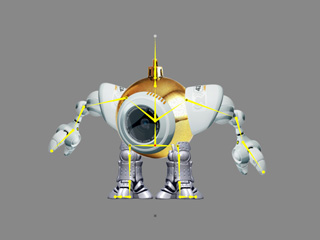
Note:- In this example, the hand bone turns gray because it is moved outside of the hand sprite.
- Select the hand sprite and delete it in order to remove the layer of the hand, this will release the gray bone that influences the image overlapped under it.
- Select another body part and repeat from Step 3 to Step 7 in order to replace the elements of the other body part sprites.
 Note:
Note:- You do not need to replace elements of every body part. Cartoon Animator allows you to leave a bone without a sprite to animate.
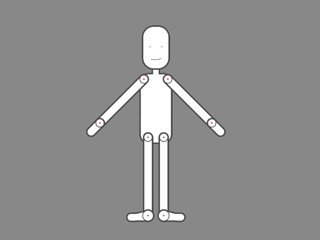
- If you want to completely remove the original head of the template bone character, then please click the Remove Head button on the Toolbar
(In this example, the head is completely removed by this method).

- You can optionally adjust the body parts by selecting the target layer from the Layer Manager and transform it.
 Note:
Note:Make sure that the Freeze Pose button is OFF when you wish to transform the body parts.

- Switch back to the Stage Mode and the custom template bone character will be ready for applying the embedded animations that have been made compatible with the original character, before the replacements.