


Creating a Scene from PSD Files (New for v4.1) 
Design scenes in a layered PSD and send to Cartoon Animator.
PSD layers (folders) appear as manageable scene objects in Cartoon Animator.
Then you can arrange the scene objects with Z-depth to easily create 3D parallax effects with animated cameras.
(Watch Tutorial - Create Parallax Scene with PSD Image Layers)
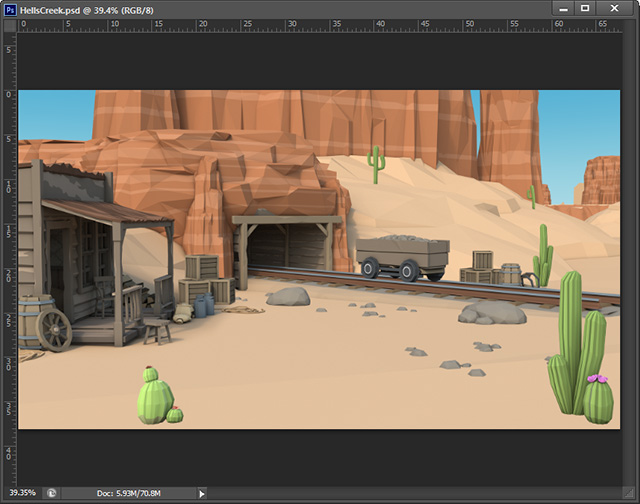
Take the PSD project made by Warwick Hays as an example.
There are separate layers for the background, trolleys, plants, etc.
-
To import the scene, drag the PSD file to the working area of Cartoon Animator
and choose Scene as the import option in the dialog.
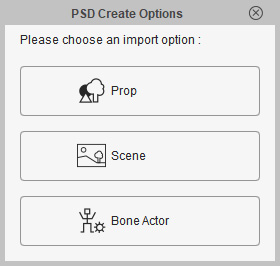
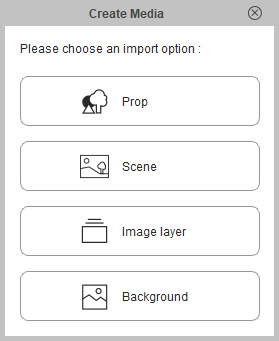
Alternatively, click the Create Media button on the Functional Toolbar,
and choose Scene as the import target in the dialog.
button on the Functional Toolbar,
and choose Scene as the import target in the dialog.
-
The scene will be created in Cartoon Animator.

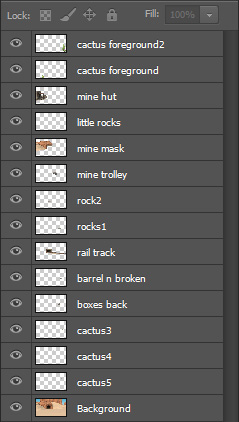
- Compare the PSD layers and the object list in Scene Manager.
You will find that these layers are converted into objects under the created scene.
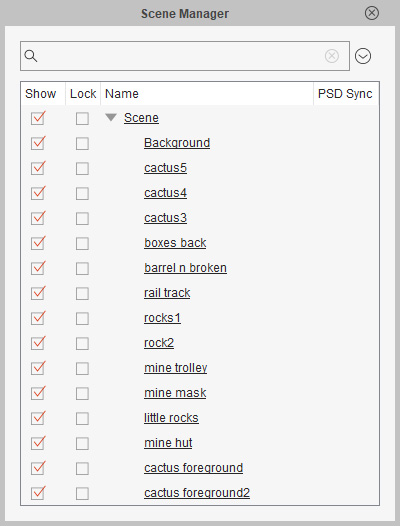
The original PSD layers.
The object list in Scene Manager.
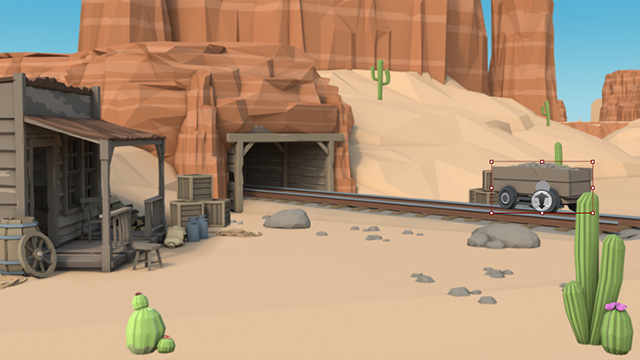
- Transform the objects by mouse dragging or using the Transform tools on the Property Toolbar.
In this case, to relocate the mine trolley.
-
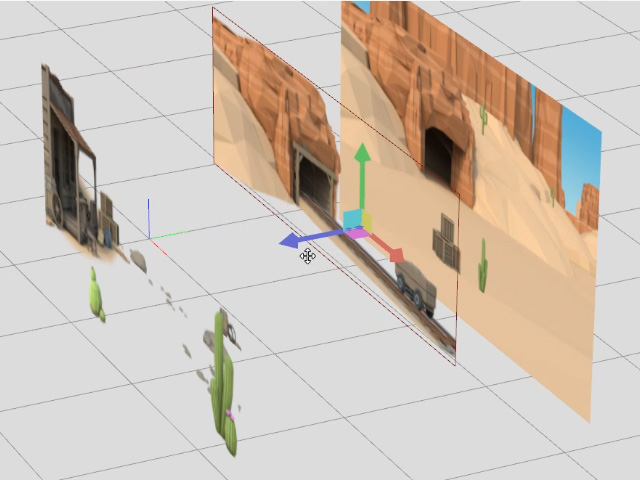
To create the parallax effect,
click the 3D View
 button on the Camera Toolbar to change the Z orders for the objects in the 3D mode.
For example, drag the blue arrow to modify the Z-depth of the selected mine trolley and rail track.
button on the Camera Toolbar to change the Z orders for the objects in the 3D mode.
For example, drag the blue arrow to modify the Z-depth of the selected mine trolley and rail track.
-
Click the 3D View button again to exit the 3D mode.
-
Zoom in and truck the camera to check the depth relationships of each object.
In this case, the mine trolley and cactus.
-
Apply an elastic motion to the object.
In this case, drag the Stuttere_Right template onto mine trolley.

 Note:
Note:You can get this template in the Reallusion Content Store.
-
You may open the Timeline (F3) to fix the direction of the object’s movement in the Elastic Motion Editor.
-
Finally, click the Camera Record Mode
 button to switch your camera to the Recording Mode in order to animate the camera with transform keys in different time frames.