Setting Layer Keys for Characters
After you apply motions to character, the layer order will be determined by auto-calculating the bone structure of the character. However, the layer order is not always fixed throughout the whole project. You may set layer keys in different time frames by moving the body parts up or down.
-
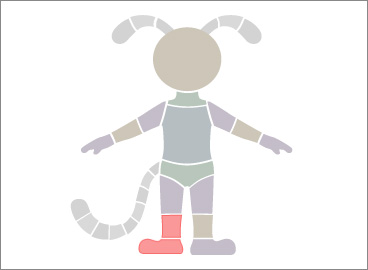
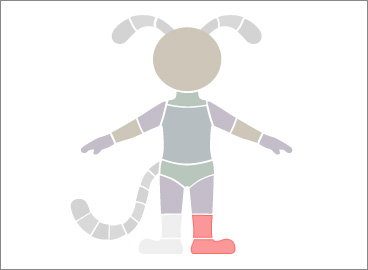
Select a character whose leg swings. With the initial layer order; the right leg will always be behind the left leg.


- Go to the time frame before the character crossed legs.
-
Open the Layer Editor by clicking the
 Layer Editor button.
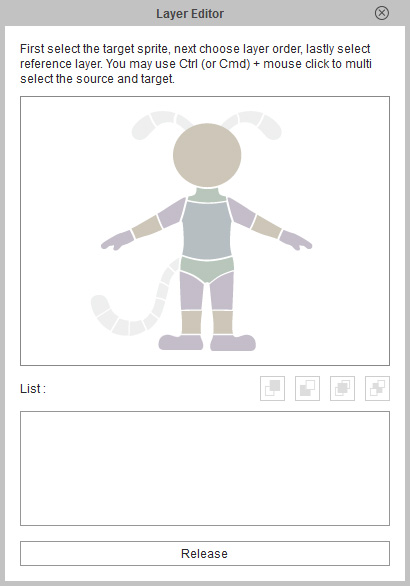
-
Select the body part of the dummy in the panel (you may hold the Ctrl key for selecting
multiple body parts).
-
Click the Send to Front button.
 Note:
Note: Send to Front: Send selected body parts one
layer above target ones.
Send to Front: Send selected body parts one
layer above target ones.
 Send to Back: Send selected body parts one
layer below target ones.
Send to Back: Send selected body parts one
layer below target ones.
 Move to Top: Send selected body parts to the top layer.
 Move to Bottom: Send selected body parts to the bottom layer.
-
Click on the target body part above which you want to move (you may hold
the Ctrl key to select multiple target body parts).
- Go to another time frame where you need the layer order to be reset.
-
Click the
 Release Key button to remove the effect of the key. The initial layer order will now be retrieved.
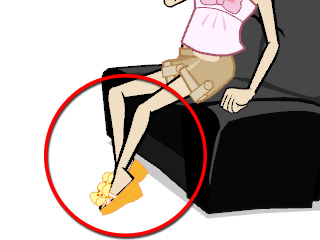
-
Play the project to see the result.