Creating Custom Category with Morphing Sliders
In addition to the categories embedded in the Expression node in the Facial Profile Editor, you are allowed to create custom categories in which you can keep custom morph sliders.
-
Apply a standard character or create a Humanoid character.
-
Export the character in OBJ format.
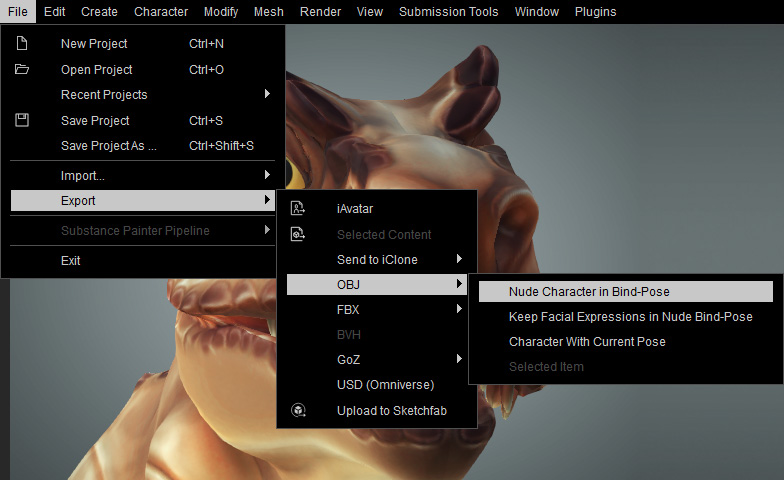
You will get an OBJ file and an ObjKey file. Do not edit the ObjKey file.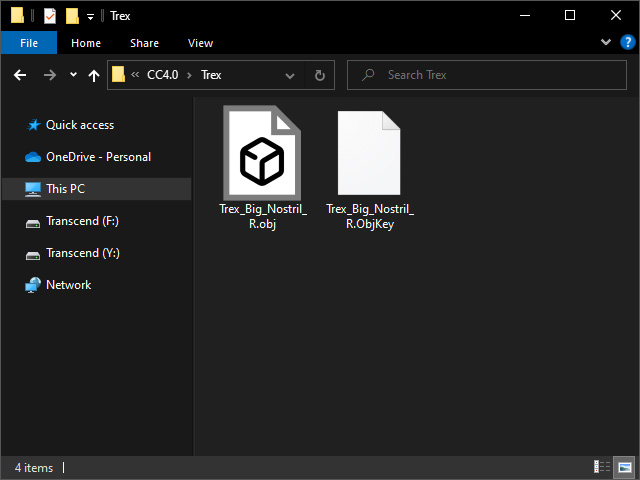
-
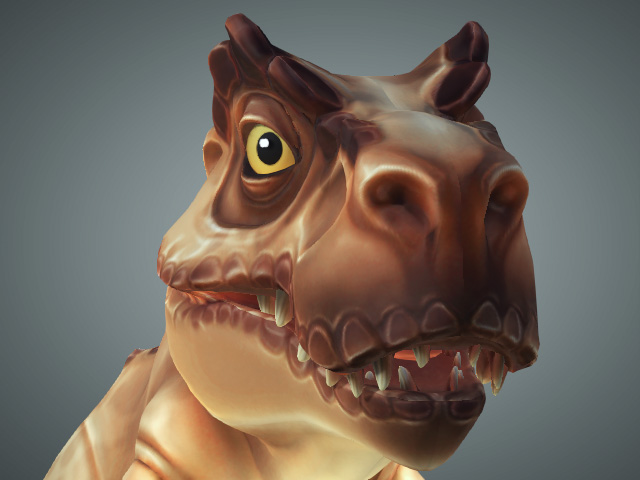
Import the OBJ file into your favorite 3D application and edit the mesh accordingly.
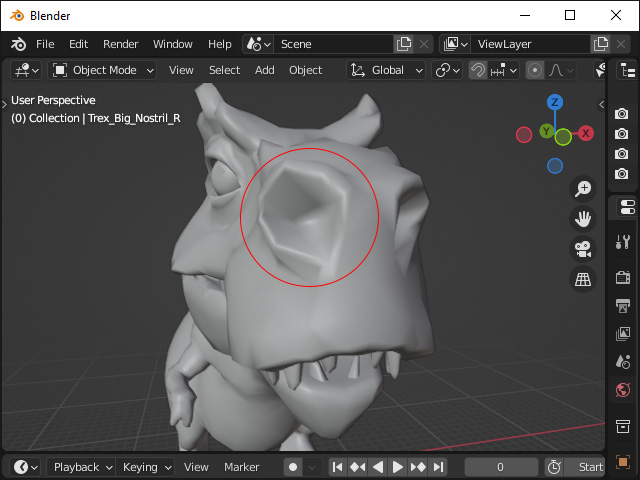
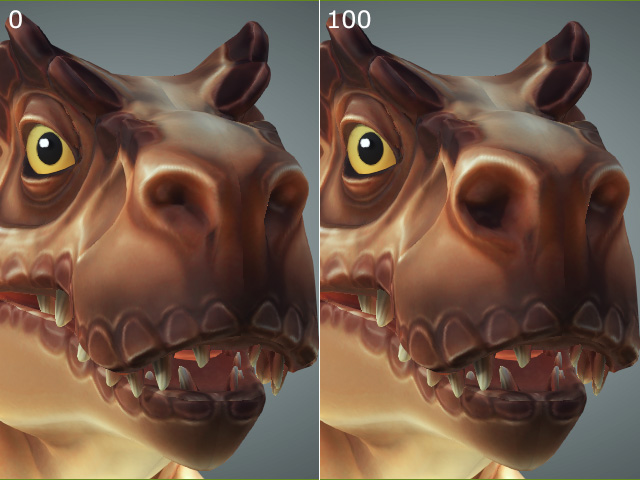
** Note that the vertex number should never be changed when you are editing the mesh. - Export the edited mesh in OBJ format and replace the one exported in step 2.
- In character creator, activate the Facial Profile Editor. Click the New Slider button at the bottom of the tree-view.
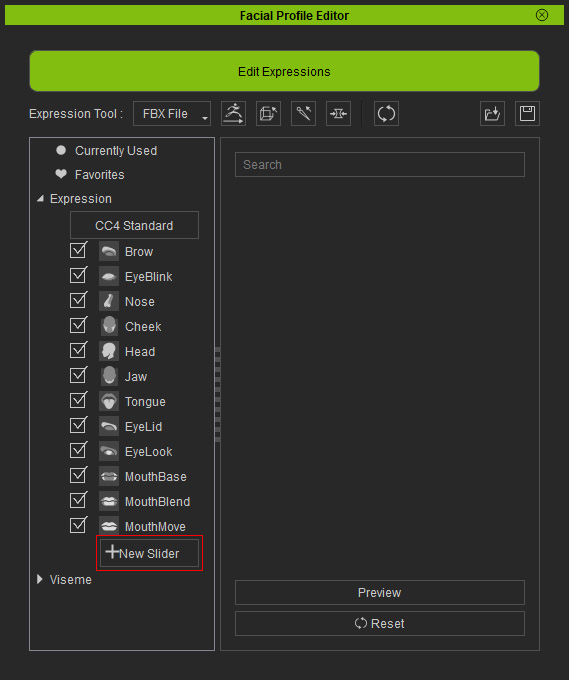
- The Expression Slider Editor panel will display.
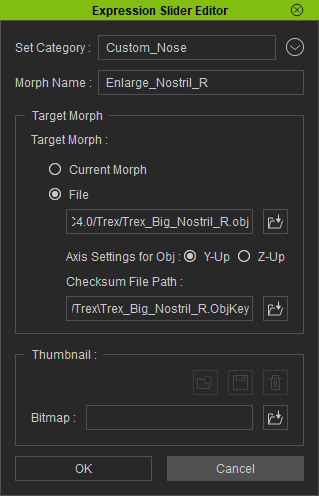
- Set Category: Enter the name for creating a new category in the tree view of the Facial Profile Editor.
- Morph Name: Enter the morph slider name.
- Target Morph: Choose the radio button to set the target blend shape.
- Current Morph: Choose this radio button to use the character on the scene as the target blend shape.
- File: Choose this radio button and click the Load button to load the OBJ file updated in previous step. The ObjKey file will be loaded automatically if it is left untouched.
- Bitmap: You can also load an image as the thumbnail for the slider.
- Click the OK button. You will see a new category and a
new expression slider is generated.
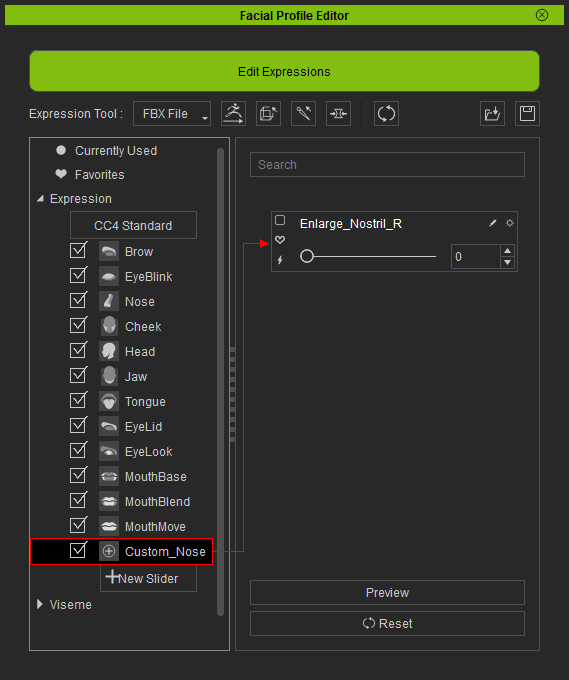
- Drag the slider to observe the result.