Setting Head Movement Data
In the Head node of the Facial Profile Editor, you are able to set the transformation limits of the head bones and meshes animations triggered by head movements. After the settings, the character can perform head movements in Character Creator and iClone.
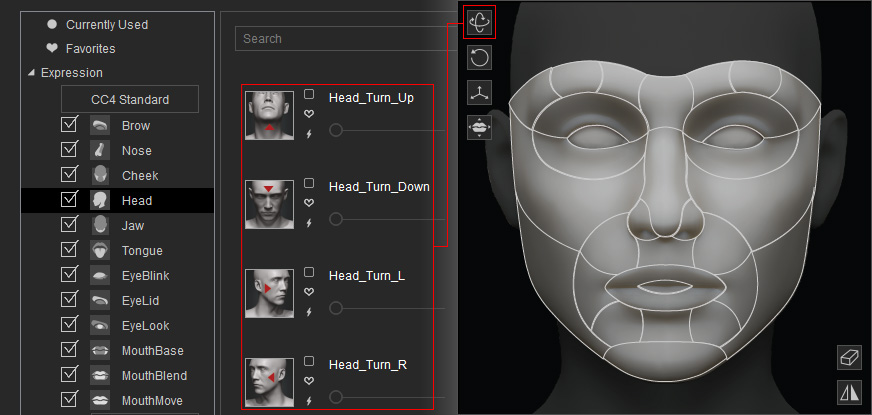
- Head Orientation
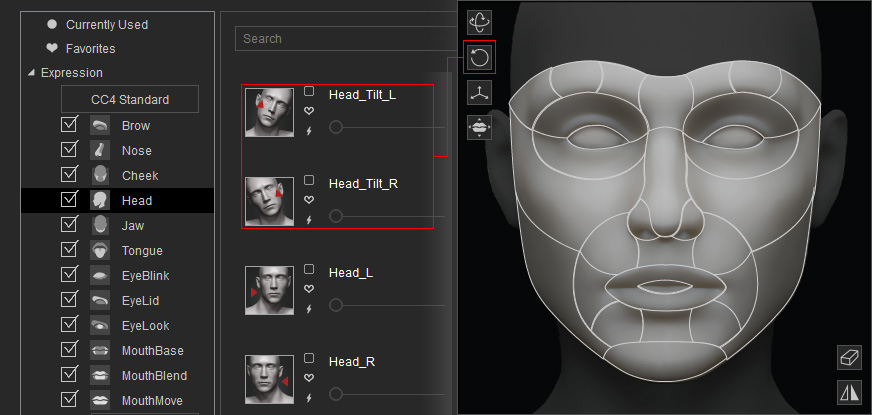
- Head Tilting
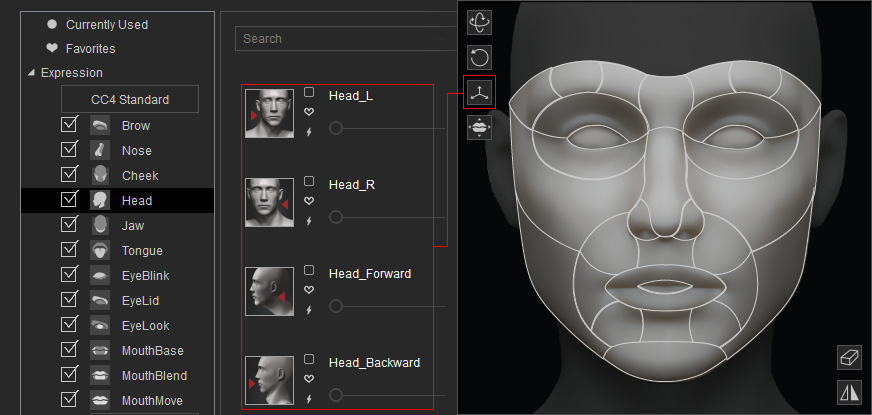
- Head Move
-
Make sure the character has been converted to a Humanoid character.
-
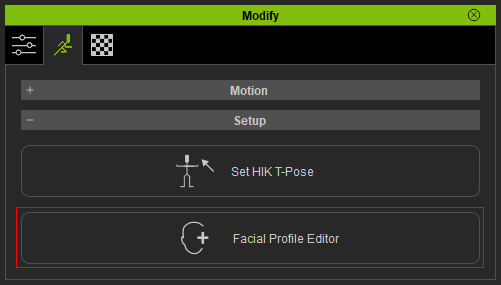
Click the Face Profile Editor button under the Motion Pose tab in the Modify panel.
-
Select the Head item from the left tree view, the related sliders will be listed in the right pane.
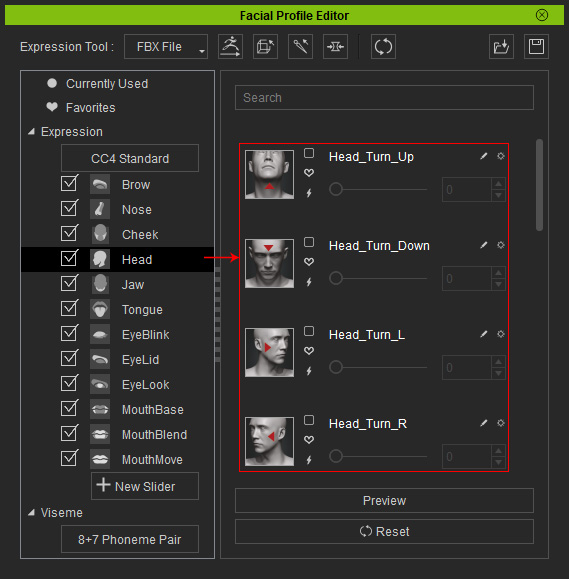
- Click the Proportion button at the top of the panel.

The Modify panel will enter the Proportion Mode.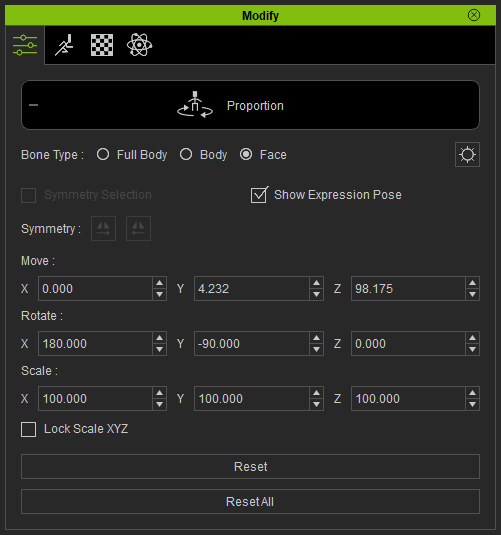
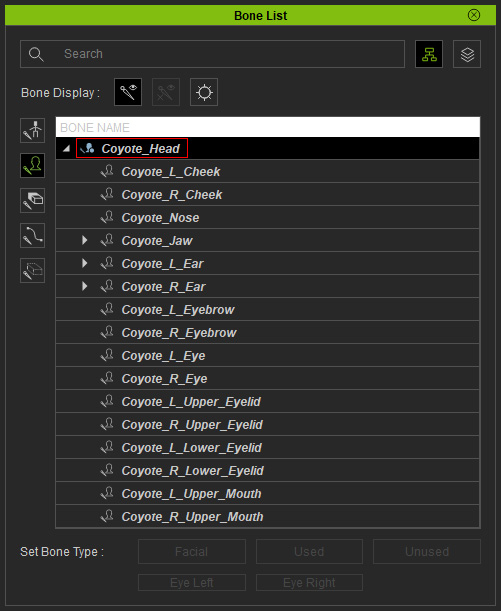
- Pick the Head bone from the Bone List panel (Shortcut: F3).
- Rotate the head to the desired limit direction in one axis.
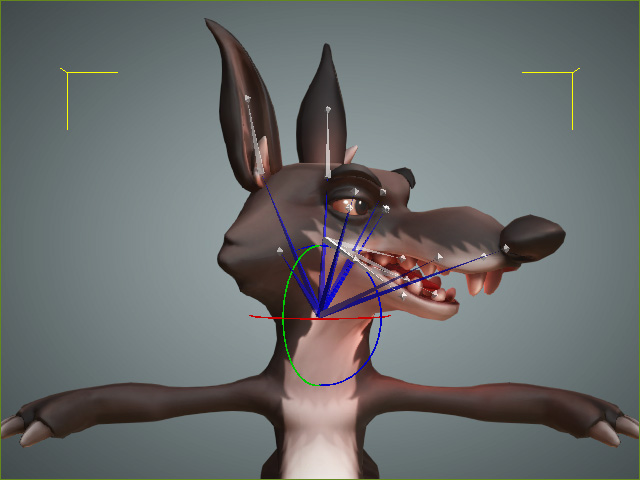
You can type in specific numbers in the Rotate fields in the Proportion panel.
-
Exit the Proportion mode by clicking the Proportion button again and click the Quick Update button of a slider for saving the limit data.
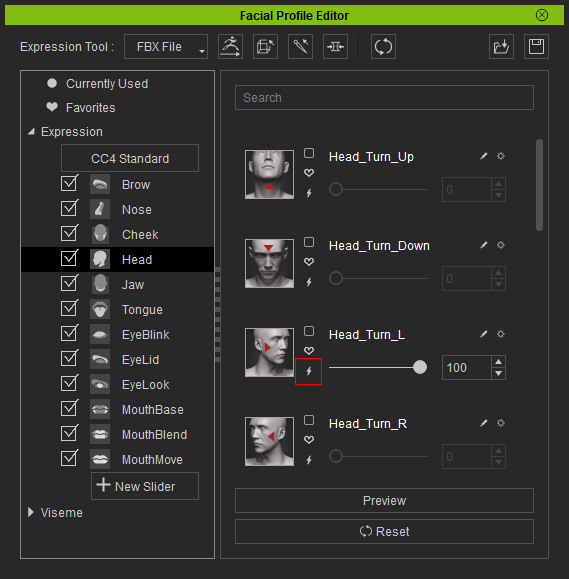
You can drag the enabled slider to check out the result.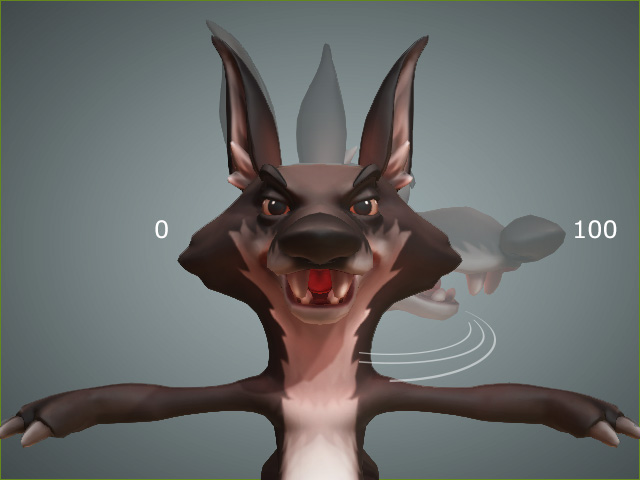
- Repeat the step for the rest of the sliders under the Head item and set adequate limit data.
-
Once you export the character to iClone, then its head can
be animated via the Facial Puppeteering and Face Key panels.
