Painting Skin Weights on Surfaces
Character Creator provides the paint brush as an easy way to edit the skin weights for vertices. You can then quickly assign or edit the influences from different bones to a bunch of vertices simultaneously. It is suitable for the upper body clothes in A shape. Furthermore, with the colors displayed, the skin weights can be clearly identified.
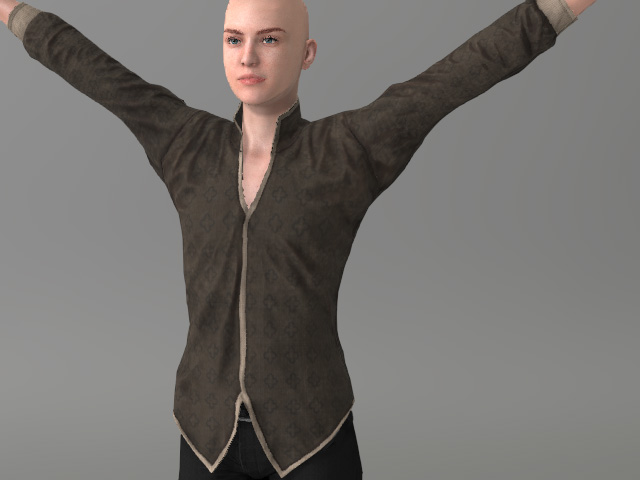
- Create a new project and load a custom model of A shape in OBJ format. By default, it is set as an accessory.
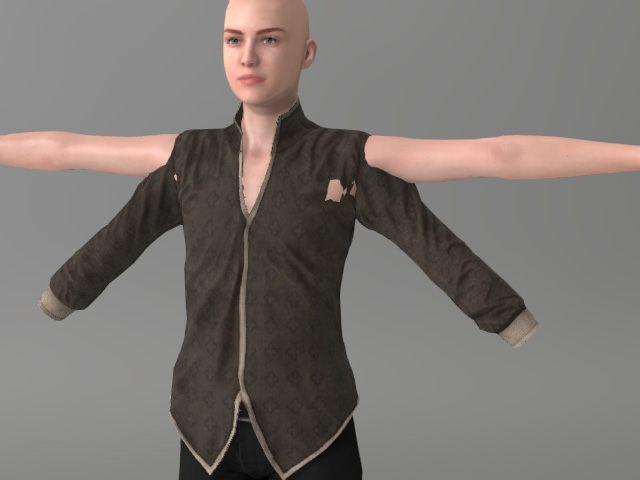
- Pose the character to fit into the accessory.
- Convert this accessory into a target type in the Transfer Skin Weight panel.
 Note:
Note:Refer to the Creating Assets with Transfer Skin Weights Feature section for more information about how to choose the target template.
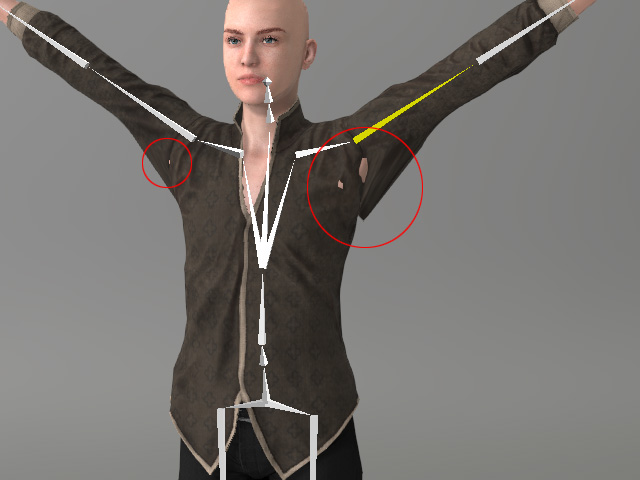
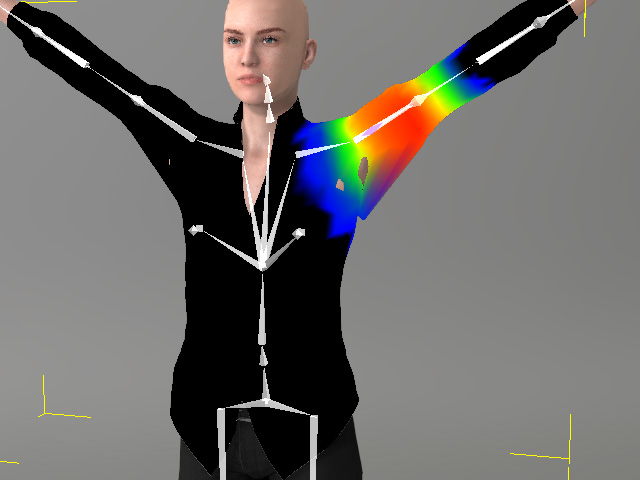
- You can pose the character to check if any skin weight result is inappropriate.
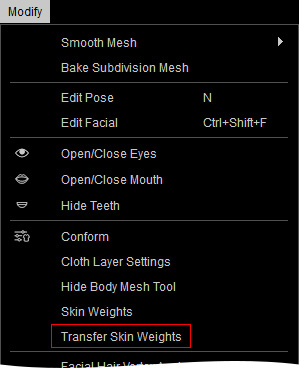
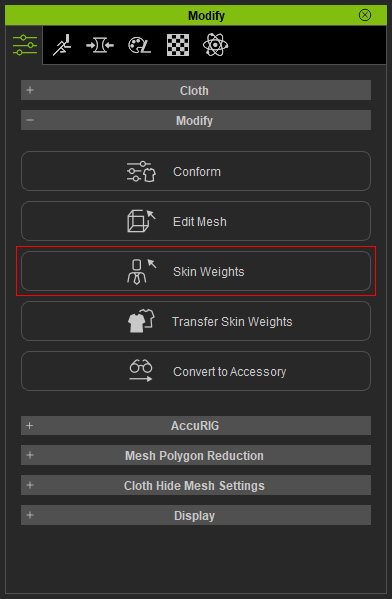
- If there are any flaws, then select the piece and click the Skin Weights button in the Modify panel >> Attribute tab >> Modify section.
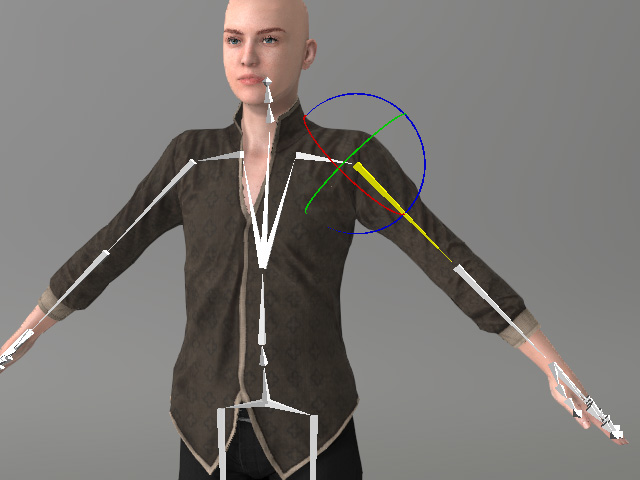
- Right click on the bone that are supposed to influence the vertices currently move incorrectly.
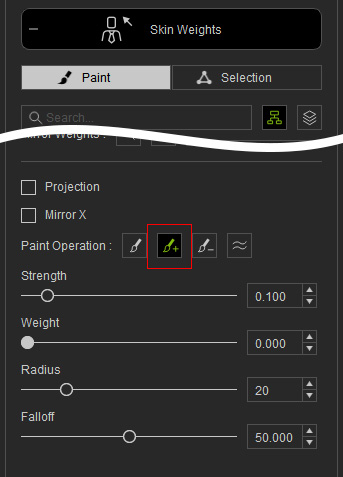
- In the Skin Weights mode, switch to the Paint tab and press down the Add button.
 Note:
Note:- Strength (Shortcut: B key + drag with left mouse button) and Weight (smooth brush is excluded): These two values determine the final weight painted on the surface. And the formula is Strength x Weight.
- Radius (Shortcut: B key + drag with right mouse button): The diameter of the brush.
- Falloff (Shortcut: B key + drag with middle mouse button): The status of the color gradient on the edge for each brush stroke.
- Refer to the Introduction of Skin Weight Brush section for more information about the settings in the Paint mode.
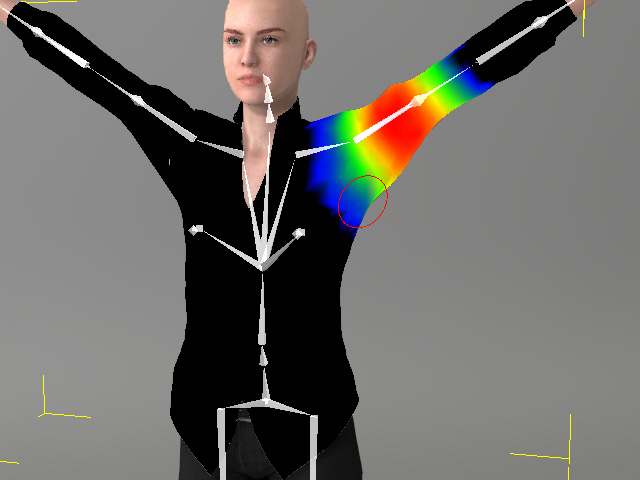
- Hover mouse cursor to the piece, you will see the red circle which represents the painting brush.

- Paint on the vertices that are supposed to be controlled by the picked bone. You will see the vertices change their position instantly.
- Repeat the same steps to any other vertices that moves oddly. Click the Skin Weights button again to leave this mode after you have fixed all the flaws.
- You can then set different pose for the character to check if any defects exist. Repeat the same steps if necessary.

