Welding Vertices
The meshes of an imported model from Poser and DAZ may look like one
uniform surface, but they are actually composed of separated faces or vertices.
The Weld Vertex tool merges adjacent faces and vertices together
so that they become one single surface. This helps to correctly represent the normal and texture alignments
making it compatible with the
Auto Smooth feature.
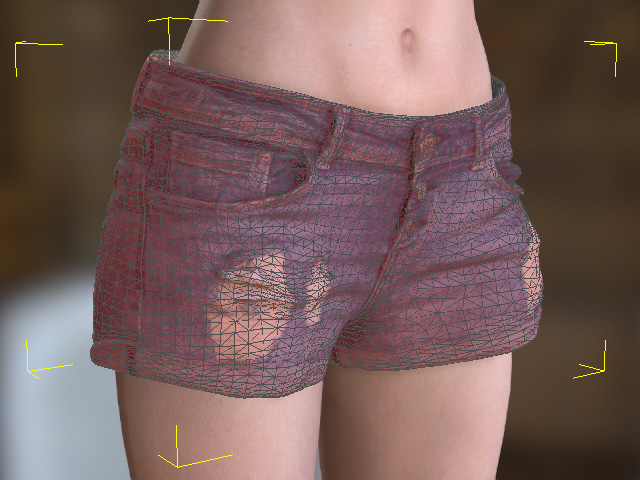
Examine Vertex Connection
- Select the imported accessory or cloth.
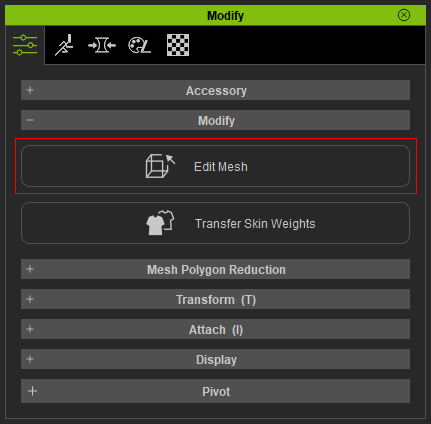
- Click the Edit Mesh button in the Modify section in the Modify panel.
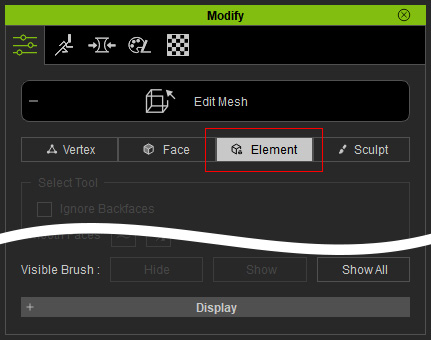
- Switch to the Element mode.
-
Click on different points on the
surface of the model (the
highlighted color displays detached
surfaces).
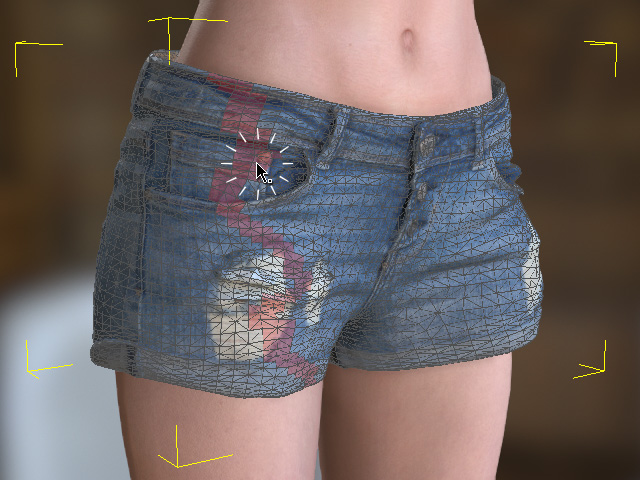
- Move the element to
ensure if the vertices are
disconnected.
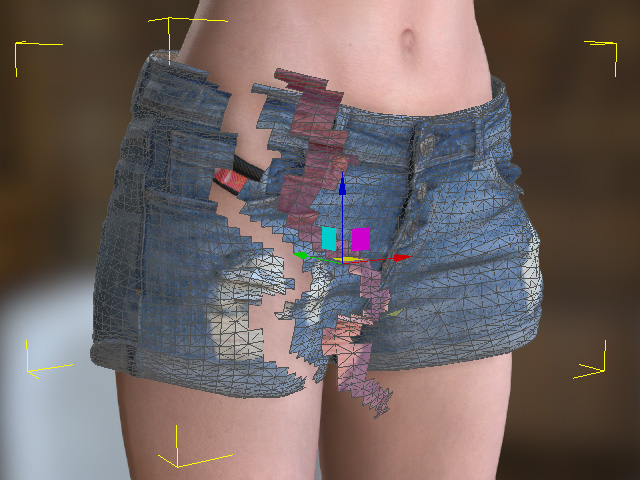
- Replay the movement to reset the position of the faces.
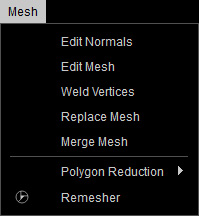
Using Welding Vertex Feature
- Make sure you leave the Edit Mesh or any other modes.
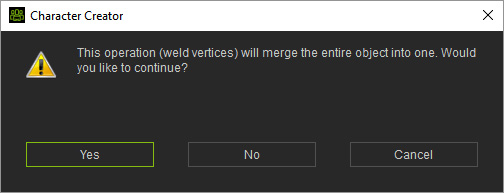
- Select the object and execute the Weld Vertices command under the Mesh menu.
-
Click the Yes button for the pop-up dialog to merge the elements of the object into one piece.
- Switch to the Edit Mesh > Element mode again.
- Click on the surface. The entire object will be highlighted for modification.