Using Quick Select Features
You can use the features in the Quick Select group to quickly select specific vertices, faces or elements.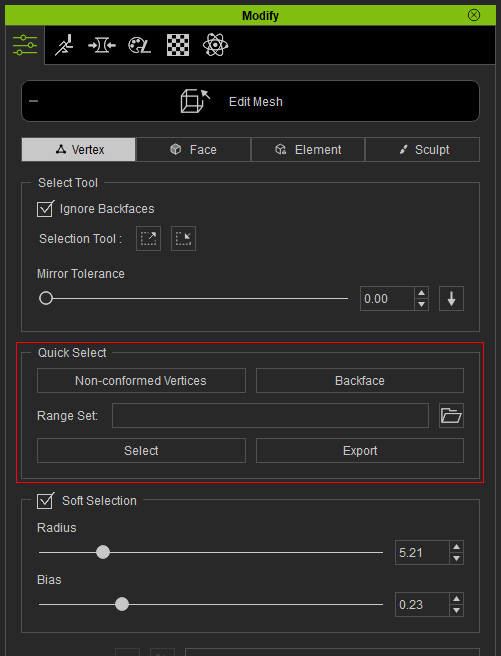
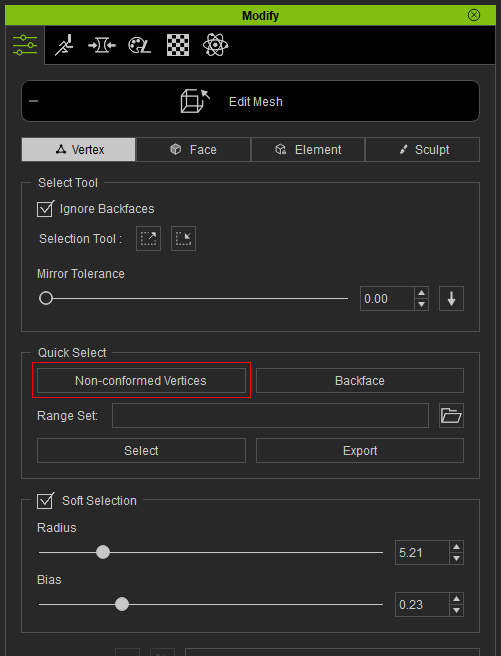
Click this button to select all vertices that are not to be conformed, saving time on selecting hard parts of the clothing.
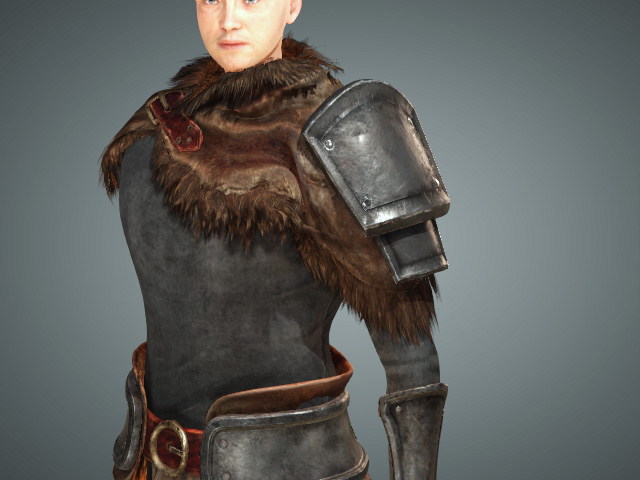
- Create a character with clothes containing hard pieces.
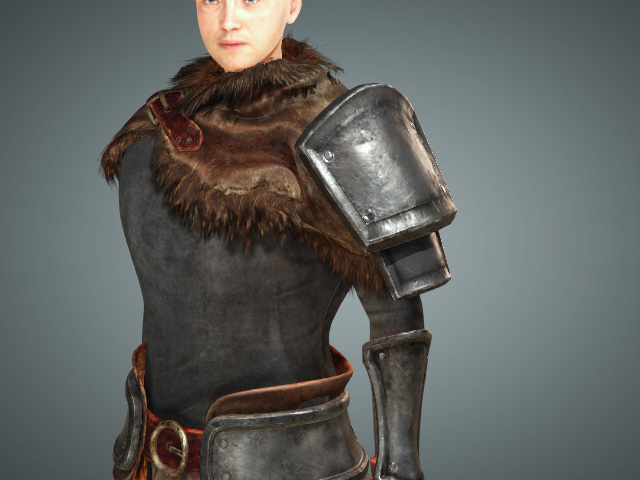
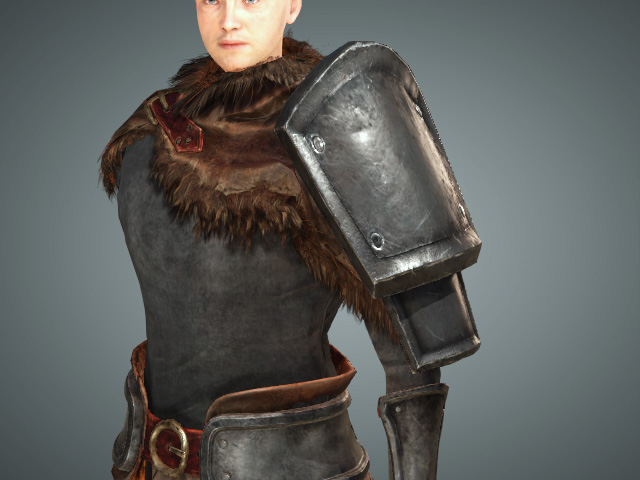
- Adjust the size of the upper arms in this case. As you can see the hard parts are distorted.
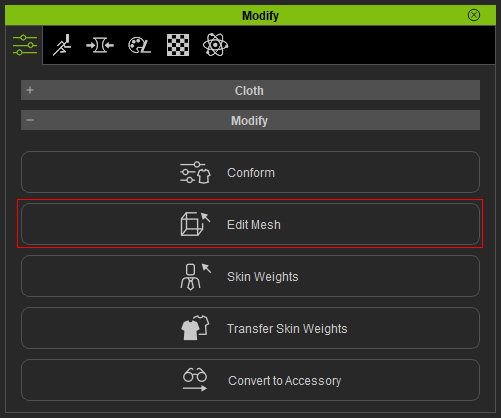
- Select the cloth and click the Edit Mesh button in the Modify panel.
- Switch to the Vertex tab and click the Non-conformed Vertices button in the Quick Select group.
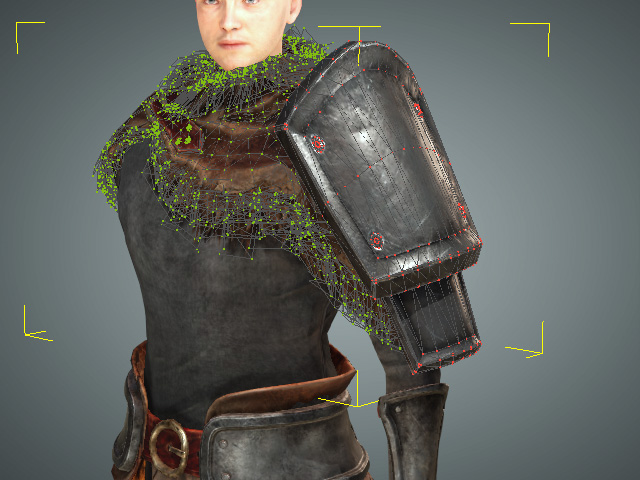
- The hard parts will be selected.
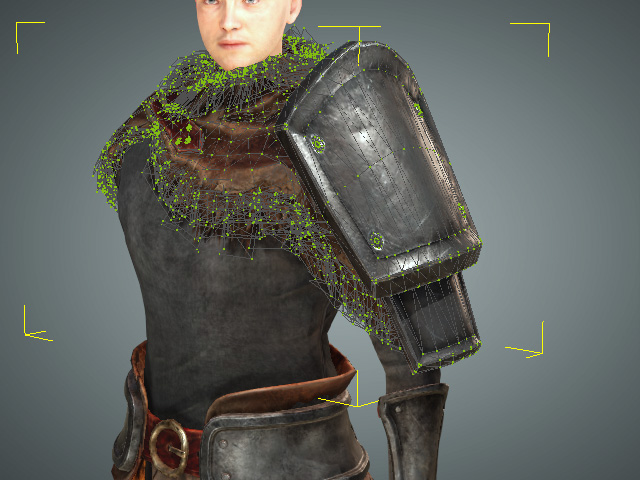
Before
After
- You can start to edit the vertices of the parts to ideal position, scale, and orientation.
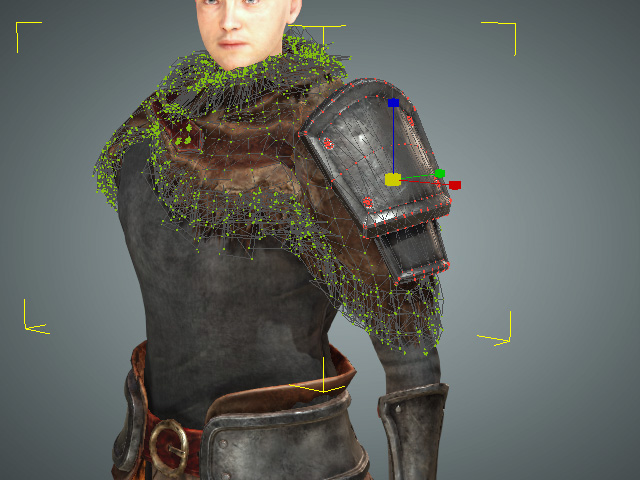
- Exit the Edit Mesh mode.
Character Creator provides feature for saving the selecting information of vertices or mesh faces into an ini file. If you need to repeated adjust some specific vertices or mesh faces, then you can use this feature to quickly select them.
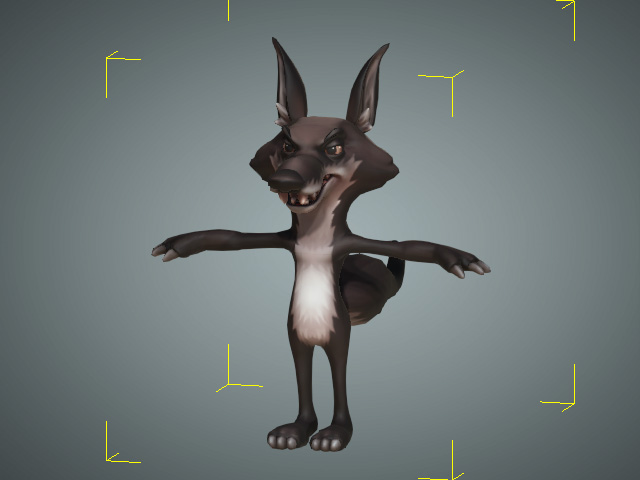
- Create a project, select the target object (character, prop, accessory or clothes).
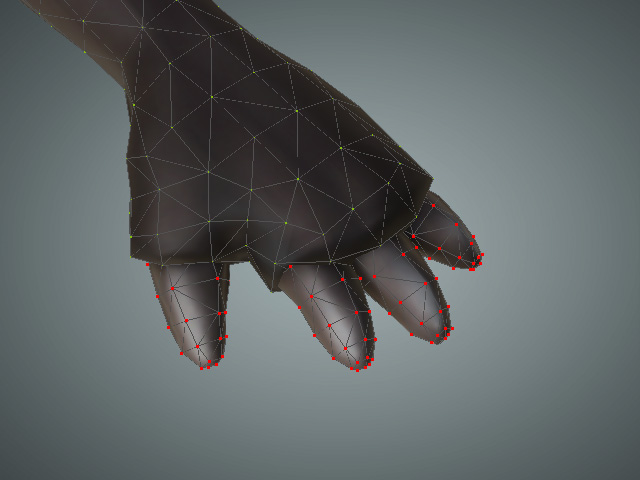
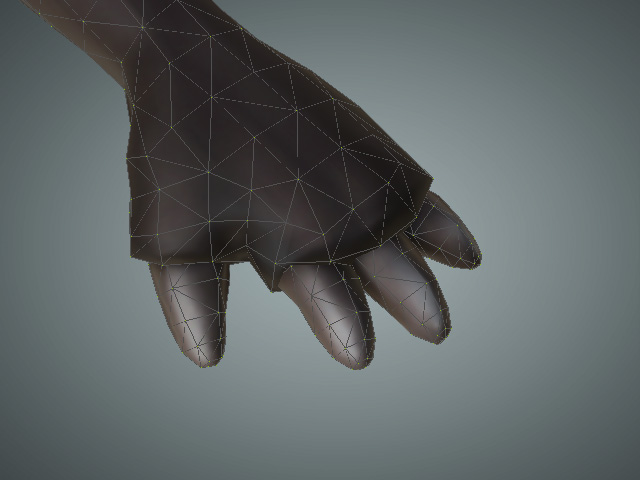
- Enter the Edit Mesh > Vertex mode. Carefully select the desired vertices.
Alternatively, you can select desired mesh faces in the Face mode.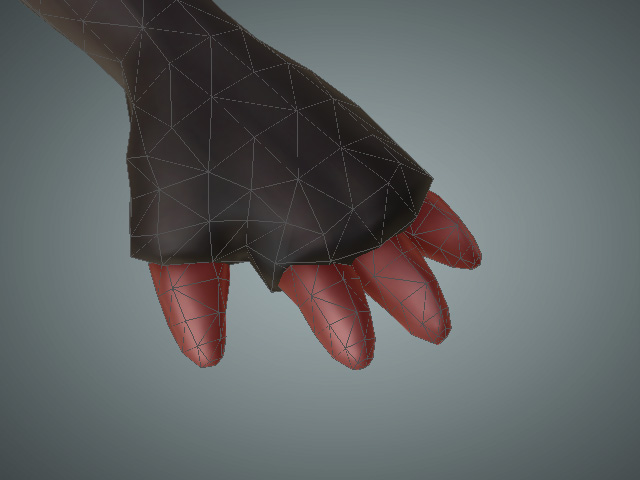
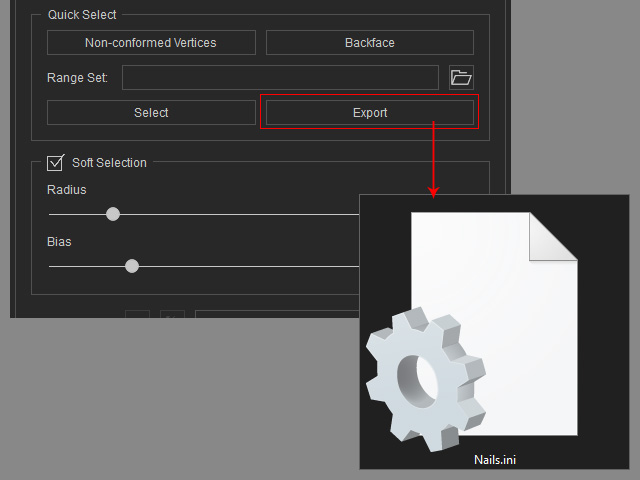
- Click the Export button in the Quick Select group. Save the selection status as an
*.ini file.
- Deselect vertices or faces.
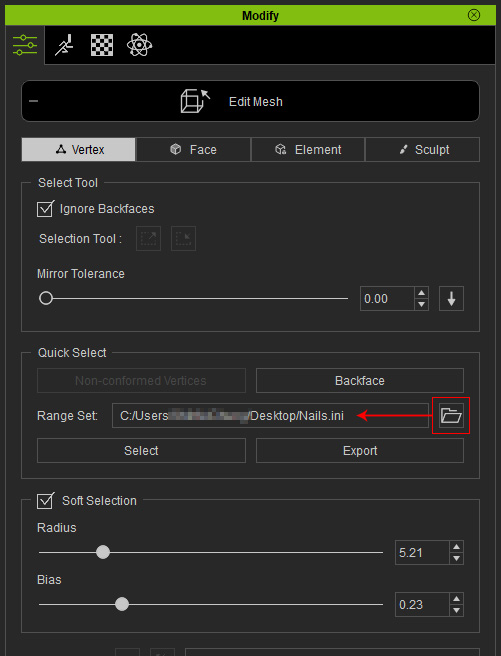
- Click the Open button to load the *.ini file.
- Switch to either the Vertex or Face mode.
- Click the Select button.
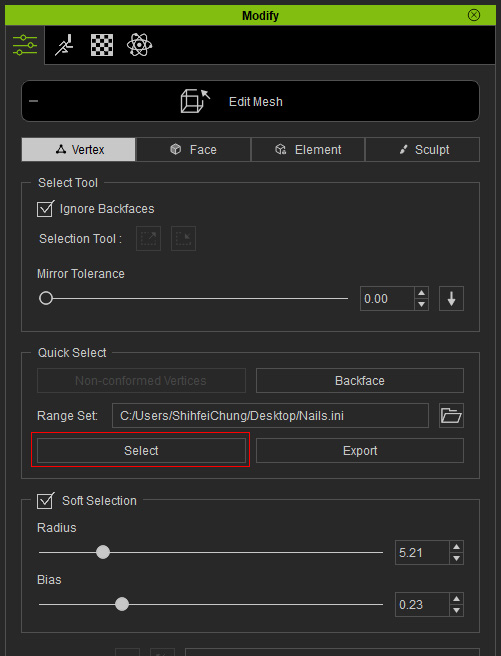
- The vertices or the faces that are selected previously will be selected again in accordance with the mode you are in.


In Vertex mode.
In Face mode.
