Upgrading Custom Objects with PBR
If you have created a custom objects, especially accessories, you are able to use the PBR Substance Preset provided in Character Creator to upgrade or even add material enhancements to your objects.
Converting Objects from 3D Tools
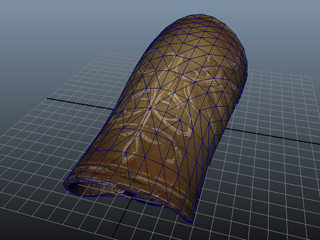
Supposed you have created a custom object in other 3D tools (in this case, Maya). You need to first convert it for iClone.
|
|
|
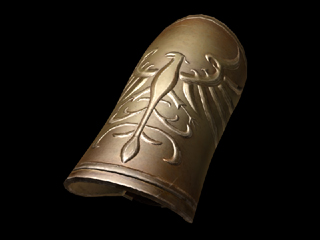
An object created in 3D tool and its render result. (Maya) |
|
- Export the object into FBX from the 3D tool (FBX Plug-in Version 2014.0.1 Released).
-
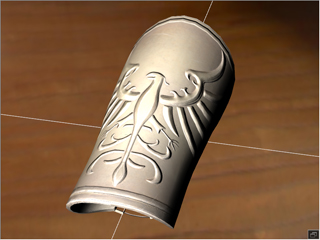
Load the FBX file into Character Creator.
-
Export the object as a prop to iClone.
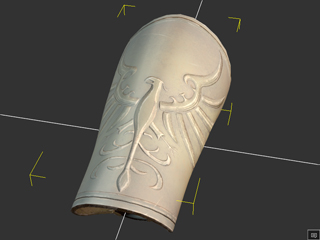
-
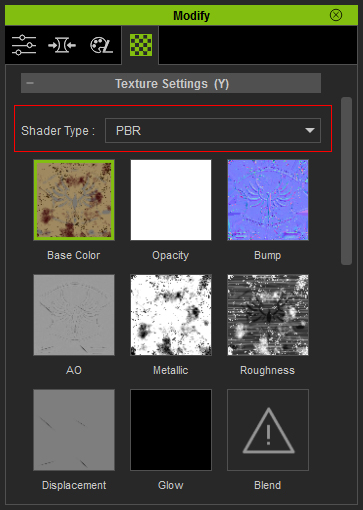
Optionally convert the Shader Type of the material assigned to the prop to PBR.
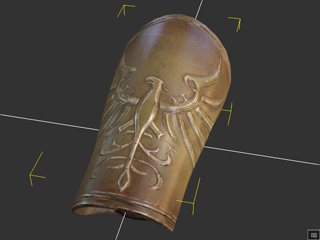
 Note:
Note:After you use the PBR Substance Preset provided in Character Creator, the Shader Type of the material will be automatically converted to PBR. For this reason, this step is optional.
-
Apply a character and then attach this prop to adequate position to the
character. The prop is now turned to an accessory.
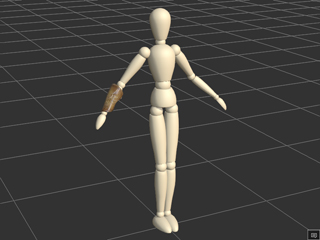
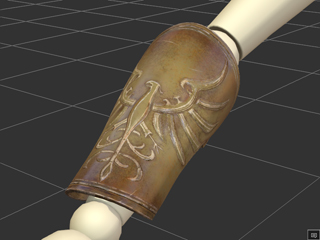
-
Add this accessory into the Content Manager. Now this object is ready for more
sophisticated effects with the PBR Substance Preset.
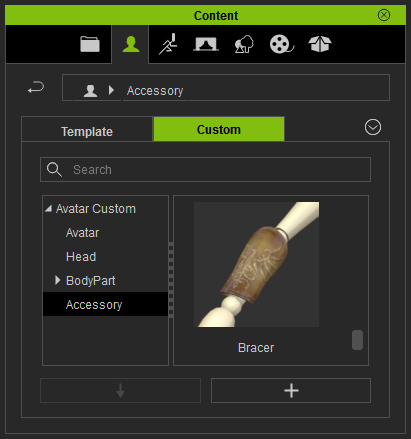
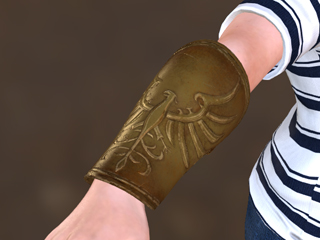
Apply PBR Substance Effect to Upgrade Accessory
-
Drag and drop the accessory to Character Creator.
- Make sure the accessory is selected and then switch to the Appearance tab in the Modify panel.
-
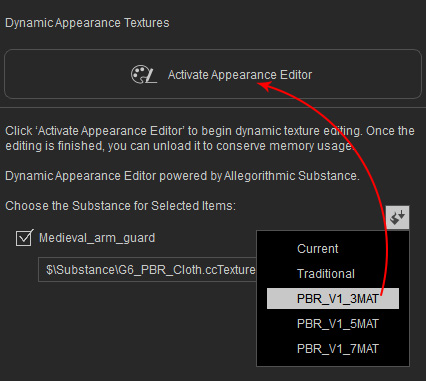
Click the Select Substance Material button and pick PBR_V1_3CH, PBR_V1_5CH
and PBR_V1_7CH in accordance to the number of the materials applied on this object.
Then Click the Activate Appearance Editor button.
 Note:
Note:You may sometimes encounter a message as shown below:

It is because the materials on the object does not contain any substance data. Using the PBR Substance Preset will overwrite the original appearance of the object. -
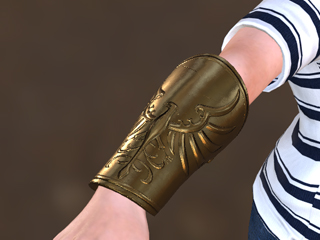
The Shader Type of the material of the object will instantly change to PBR.
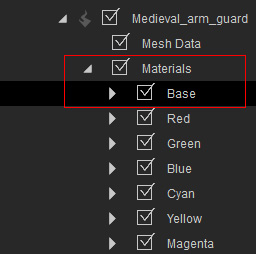
- Check out the material deployments by the Color ID channel in the Mesh Data node (in this case, there is only one color - Black represented for the Base material).
-
Open the Base section under the Material node.
-
With the settings in the sections under the Base node, add different effects onto the material.

-
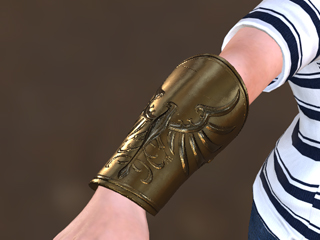
Add Abrasion.
-
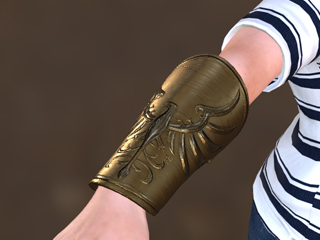
Add Blemishes.
-
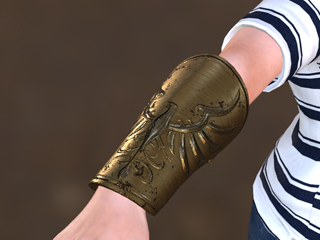
Add Rust.
-
Add Gashes.
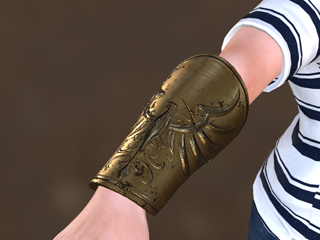
-
Add Dirtiness.
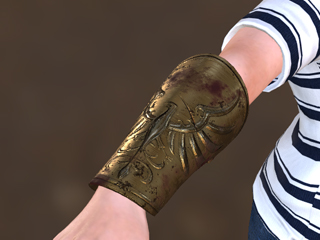
-
Click the Unload Appearance Editor
 button to bake the settings into different textures behind the scenes.
 Note:
Note:In the Material tab of the Modify panel, the material is not of PBR Shader Type with textures applied with effects from the PBR Substance Preset.
