Morph, Resource Maps and Projection Methods
In SkinGen, there are three systems are that connected and you should be aware of the relationships between them to get a complete picture of how they work on the skin. They are Morph Sliders in the Morphs mode, Resource Maps in the Skin Base layer and the Projection Methods in the SkinGen Random Tool.
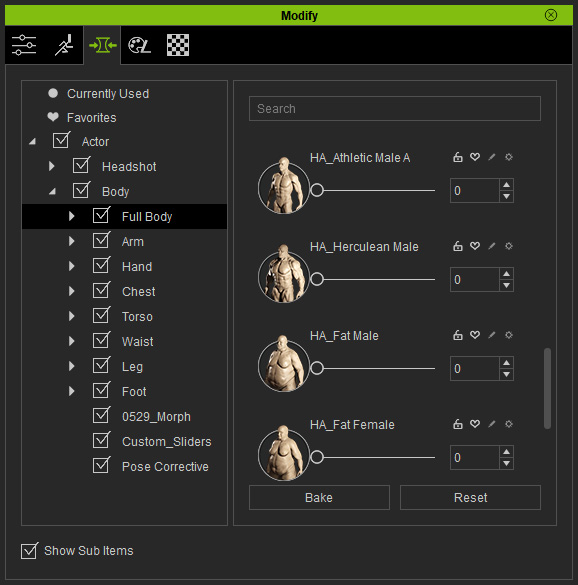
- Morph Sliders in Morphs Mode:
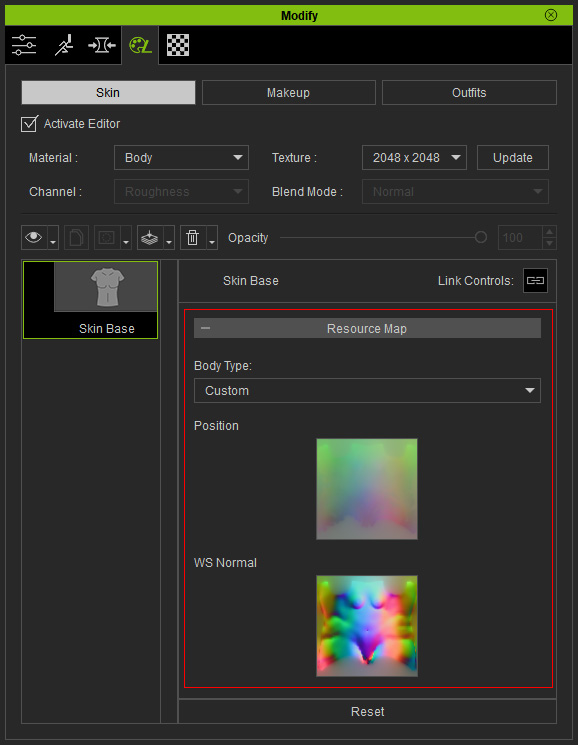
- Resource Maps in the Skin Base layer:
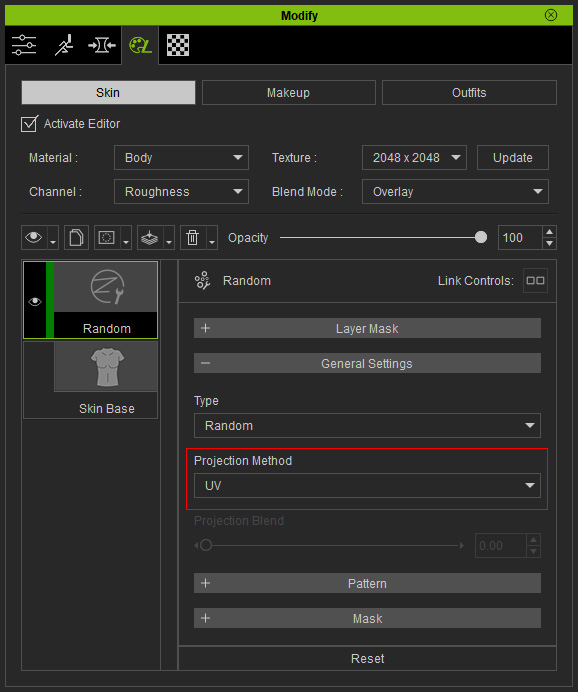
- Projection Methods in SkinGen Random Tool:
(The Body Hair and Body Hair Plus tools contain the same mechanism for the Projection Methods without UI for further adjustments)
- Apply a Random Tool, initialize all settings and insert a custom pattern image.
- When you use the Morph Slider to change the entire body shape.
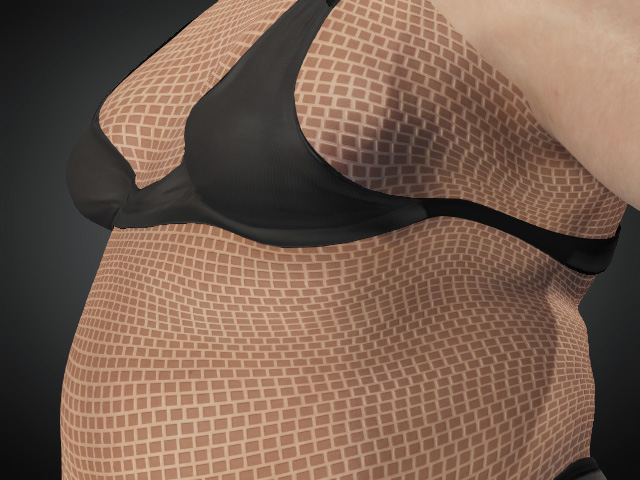
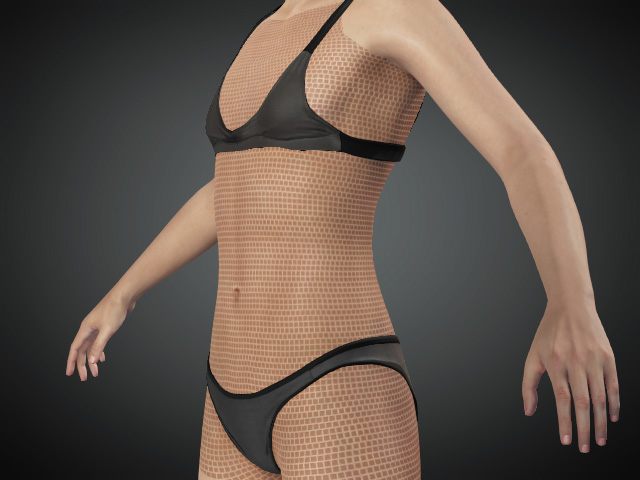
If you use the settings in the Random sub-section in the Pattern tool after this step to scatter the effects. Some shapes are slightly stretched or distorted along with the mesh wireframe distribution.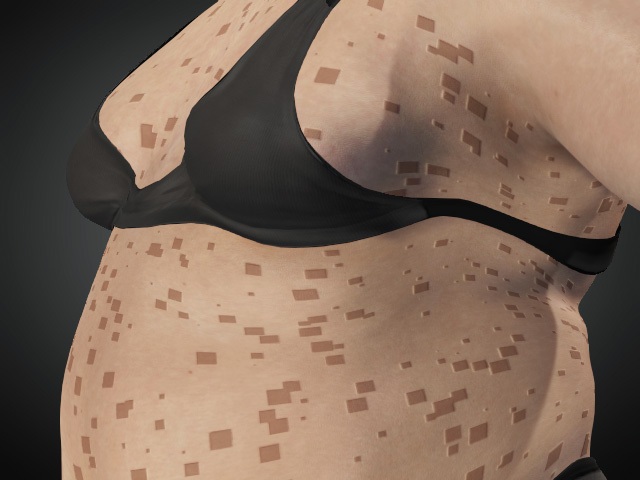
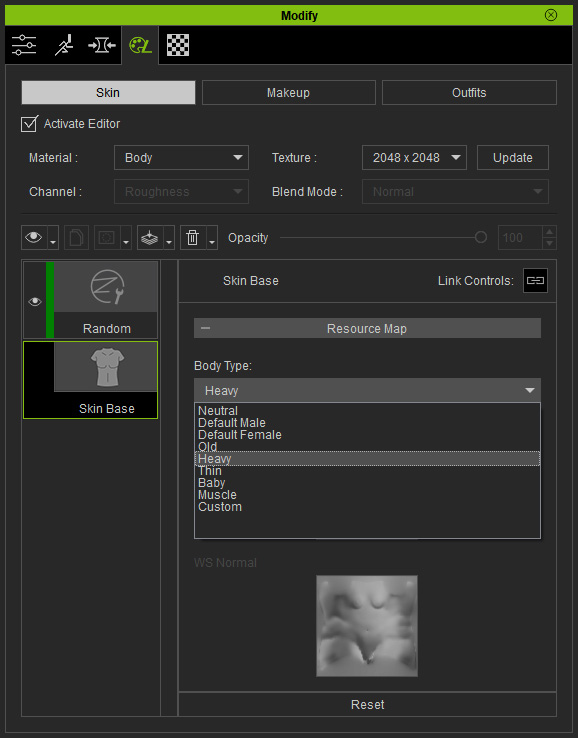
- In order to rectify the patterns, you need to first go to the Base Skin layer, and set to the Body Type that is suitable for this body shape.
Two default and non-adjustable textures will be loaded for this scenario. They are the base for evenly distributing the pattern.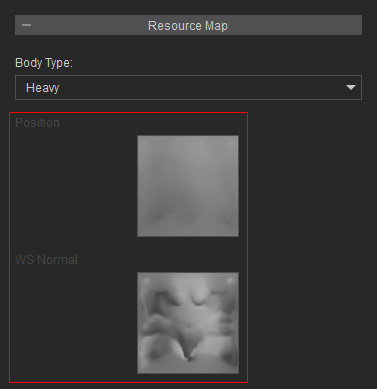
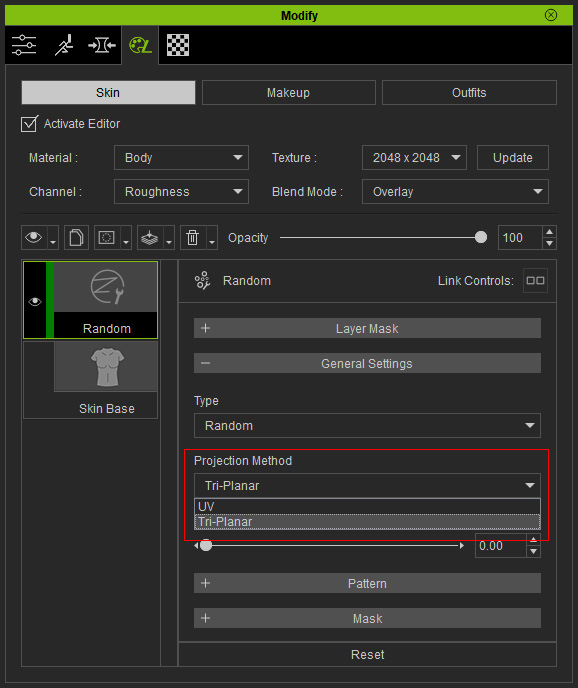
- Switch to the Random layer, set the Projection Method to Tri-Planar.
The patterns will be rectified and evenly distributed on the skin.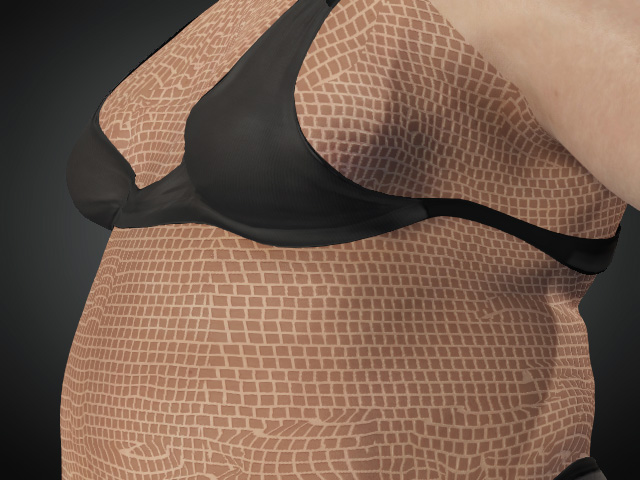
- In order to remove the seams between these projection plans, you can increase the Project Blend value to blur out the seams.
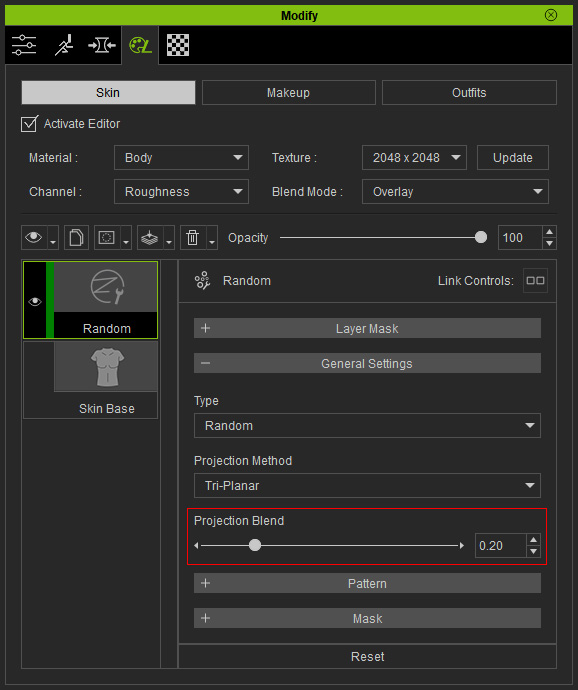
The seams will be smudged automatically.
- Use the settings in the Random sub-section to scatter the effects.

