Settings in Appearance Editor - Eyebrow
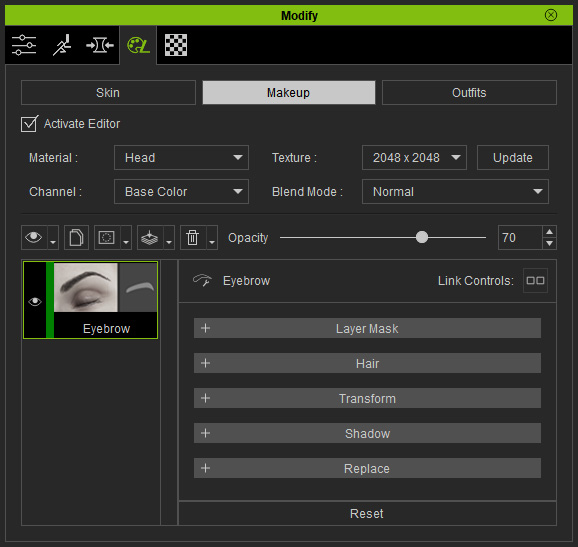
Layers of Eyebrow
The eyebrow is composed of three different layers: Hair, Shadow and Replace.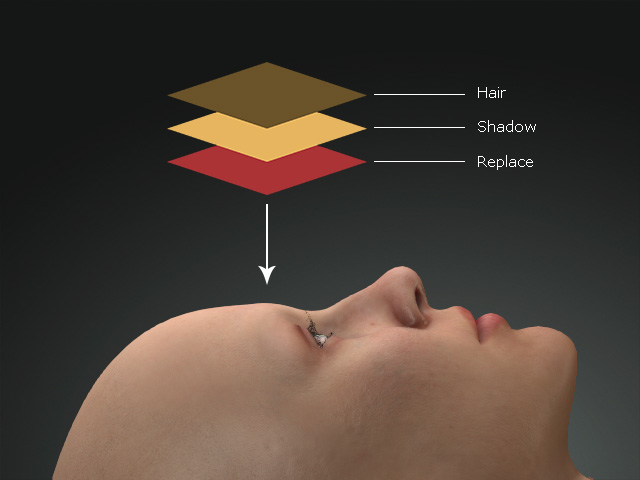
Contains the mask for the entire layer to take effect. The textures in this section can be edited if you have purchased and installed the SkinGen Plugin.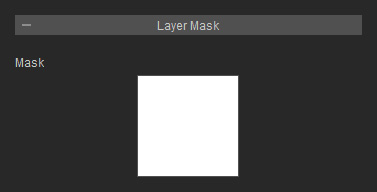
Refer to the Layer Mask section for more information.
It contains sections for setting the base layer of the lips. The textures in this section can be edited if you have purchased and installed the SkinGen Plugin.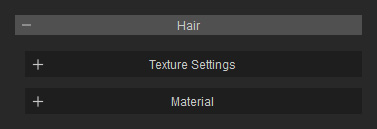
There are two drop-down list and four channels to determine the shape and normal of the eyebrows. The textures in this section can be edited if you have purchased and installed the SkinGen Plugin.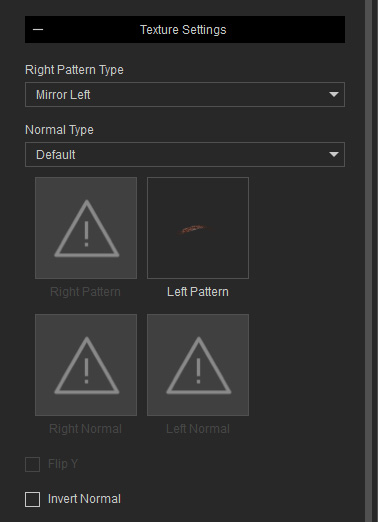
- Right Pattern Type: Pattern of the right eyebrow can be generated by means of mirroring the left one, by default (Mirror Left). If you choose the item from the drop-down list, then you can load a custom eyebrow pattern image.

The eyebrow on the right is the same but mirrored from the Left Pattern texture.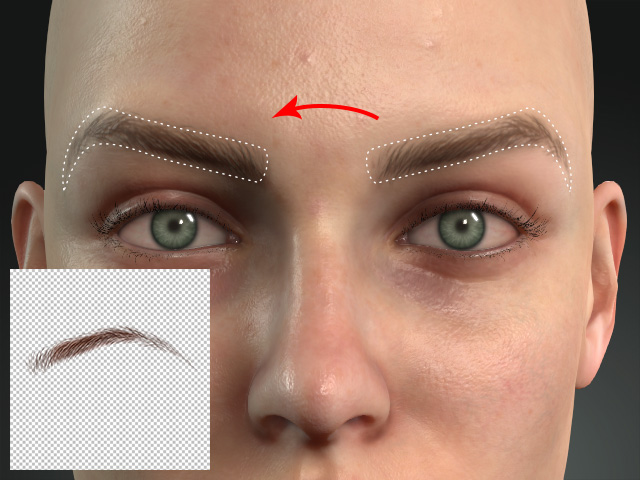
If you want to create a custom right eyebrow, set the Right Pattern Type drop-down list to Custom Right and load the custom texture to the Right Range channel.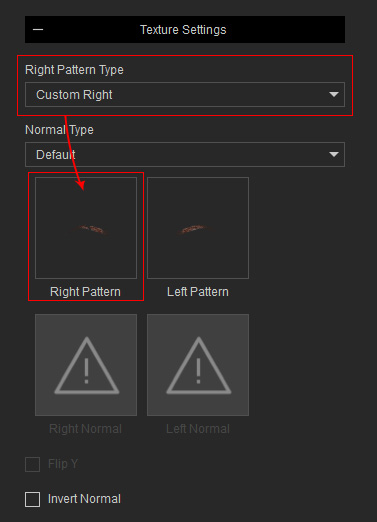
The eyebrows can be individually different.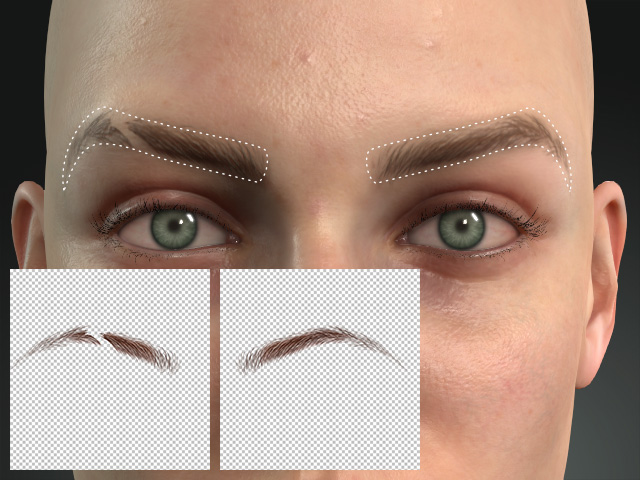
- Normal Type: You can use this drop-down list to determine the Normal effects of the eyebrows.

If you choose the Custom from the list, then the eyebrow normals are determined by the texture in the Right Normal and Left Normal channels.
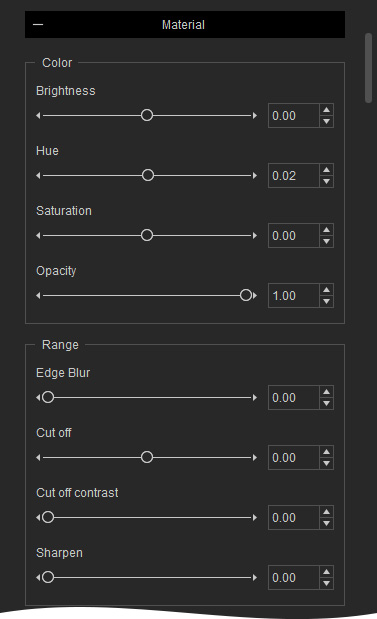
The settings in this group can be used to change the color of the eyebrow hairs.
- Color and Opacity
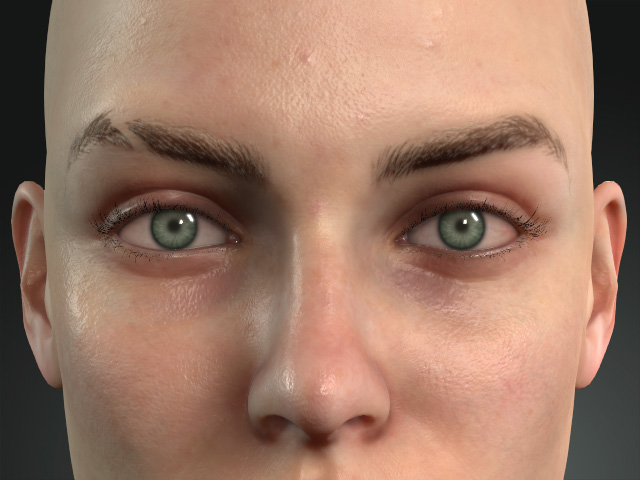
Brightness = 0.00
Hue = 0.02
Saturation = 0.00
Opacity = 1.00
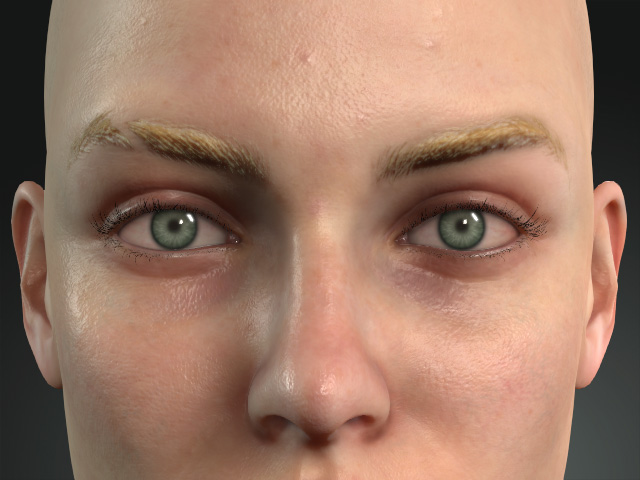
Brightness = 1.00
Hue = 0.06
Saturation = 0.04
Opacity = 1.00
The settings in this group can be used to adjust the pattern texture to alter the hairs of the eyebrow.
- Sharpen: This setting sharpen each hair of the brows.


Sharpen = 0.00
Sharpen = 1.00
- Cut off: This setting trims the entire eyebrows.

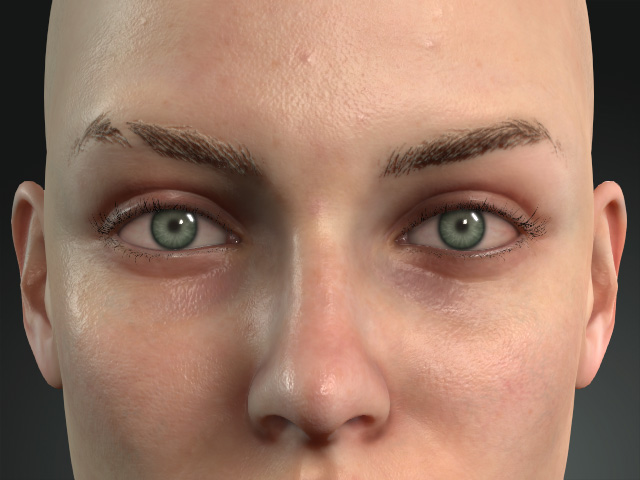
Cut off = 0.00
Cut off = 0.50
- Cut off Contrast: This setting trims each hair of the eyebrows.


Cut off Contrast = 0.00
Cut off Contrast = 0.80
- Edge Blur: This setting smooths out the edge of the eyebrows.


Edge Blur = 0.00
Edge Blur = 10.00
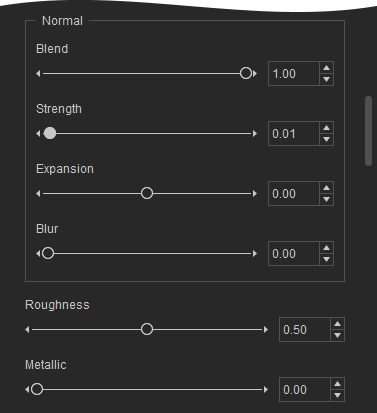
The settings in this group can be used to adjust the bumpiness of the brows.
- Blend: This setting sets the entire normal extrusion of the brows.


Blend = 0.00
Blend = 5.00
- Strength: The bump strength of the normal for each hair of the eyebrows.
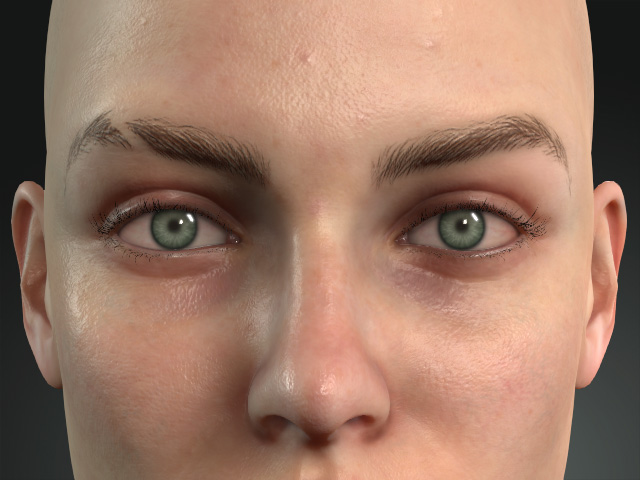

Strength = 0.00
Strength = 5.00
- Expansion: The bumpiness range can be adjusted by this setting.
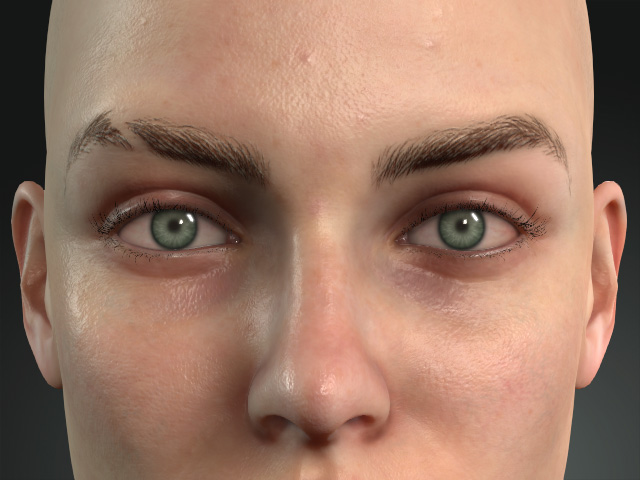

Blur = 0.00
Blur = 0.80
- Blur: The edges of the brows can be blurred out by this setting.


Blur = 0.00
Blur = 0.80
The settings in this group can be used to adjust the smoothness and reflectivity of the eyebrows.
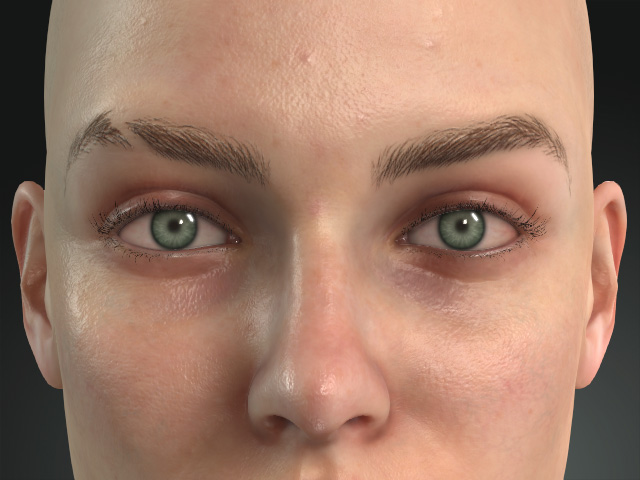
|
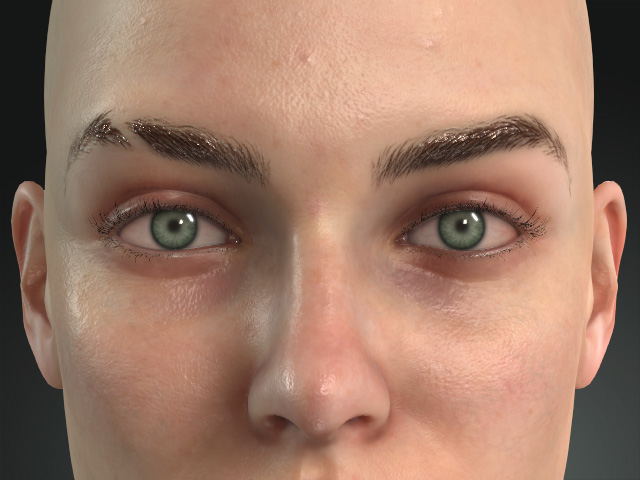
|
|
Roughness = 0.20 Metallic = 0.00 |
Roughness = 0.00 Metallic = 1.00 |
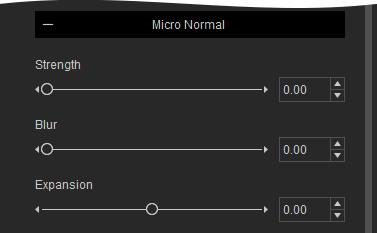
The settings in this group can be used to adjust the micro normal of the noise.
- Strength
Strength = 0.00
Strength = 1.00
- Expansion
Expansion = -1.00
Expansion = 1.00
- Blur: This setting blurs out the edges of the micro normal range.
Blur = 0.00
Blur = 1.00
Contains settings for transforming the eyebrows.
It contains settings for scaling the eyebrow patterns cut out from the pattern textures.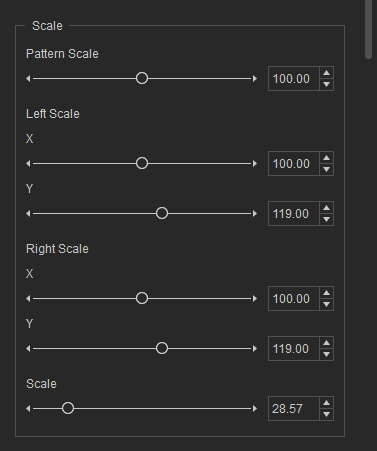
- Pattern Scale: This slider scale the eyebrows themselves instead of the entire eyebrow patches that adhere on the face.
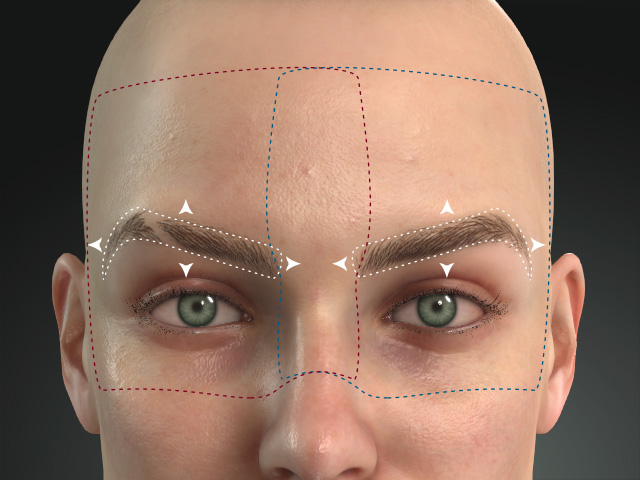
- Left Scale
- Right Scale

- Scale: This setting scales the entire texture instead of the cut-out eyebrows.

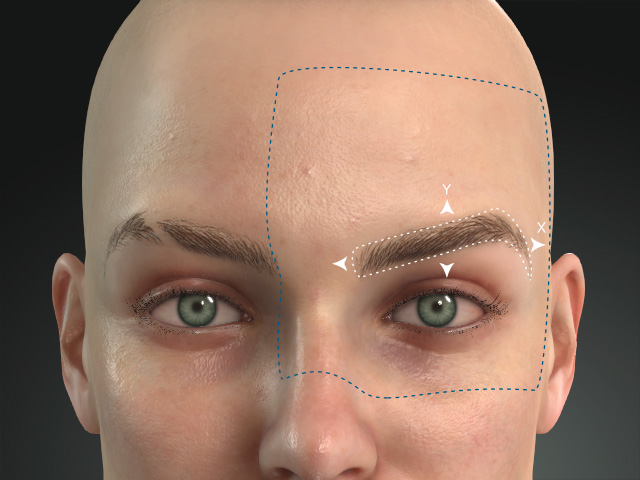
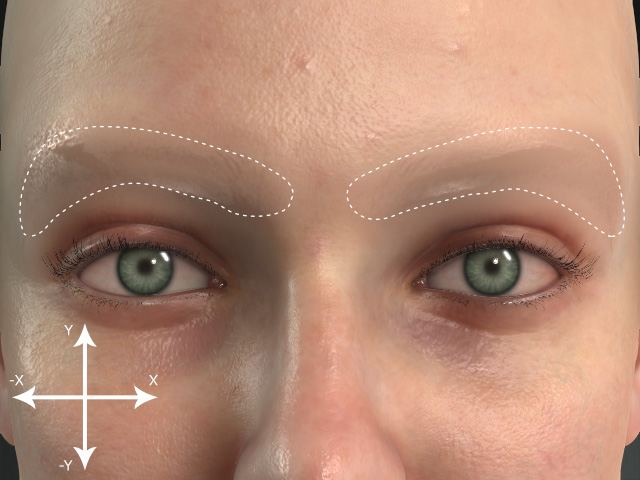
It contains settings for relocating the eyebrow patches.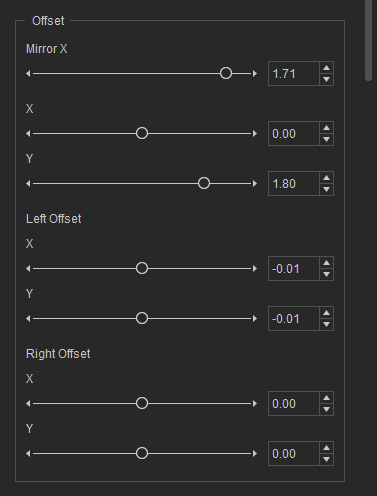
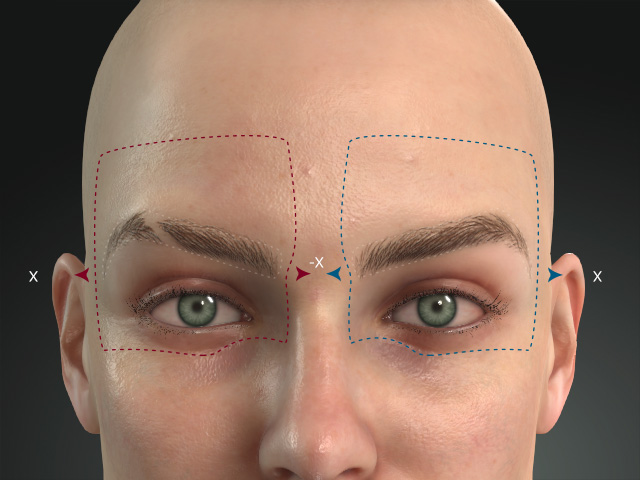
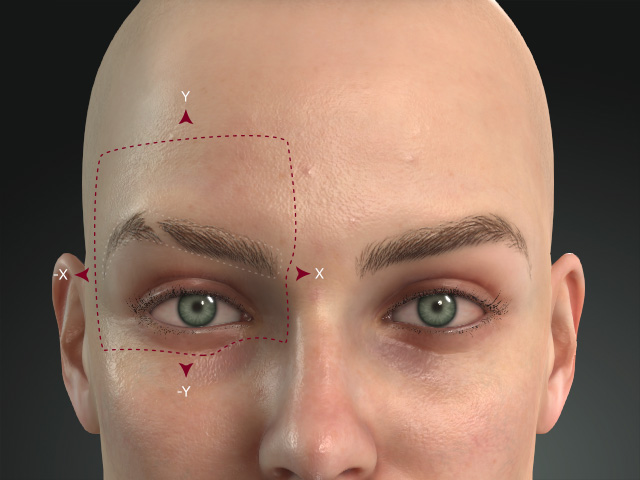
- Mirror X: Move the eyebrows in opposite direction by X axis.
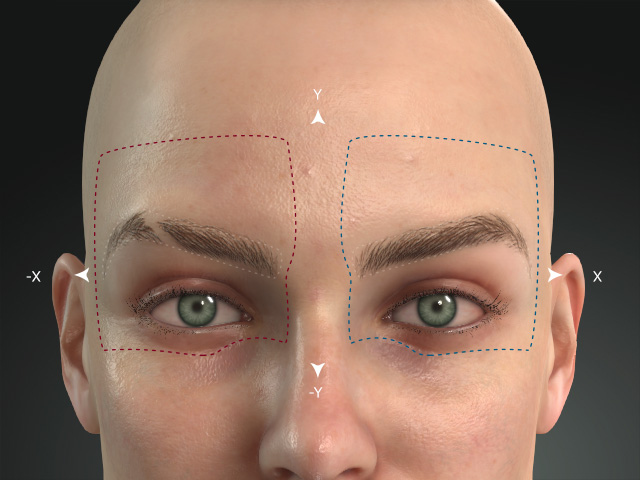
- X, Y: Move the eyebrows in identical direction.
- Left Offset

- Right Offset
Contains settings for rotating the eyebrow patches.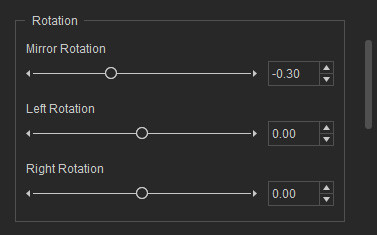
- Mirror Rotation: This setting rotates the eyebrows in opposite directions.

- Left Rotation: This setting rotates the left eyebrow only.
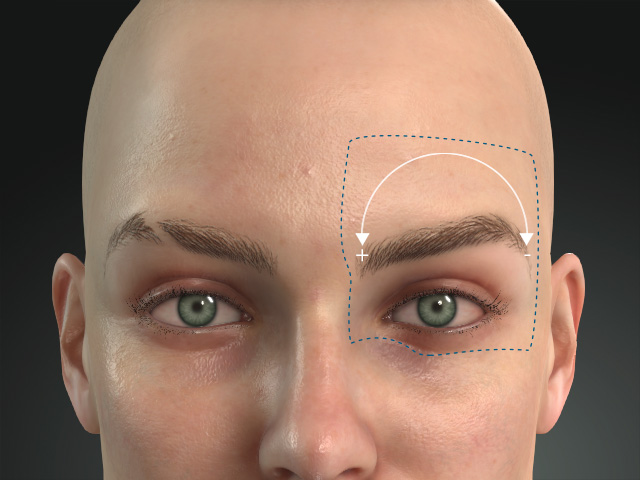
- Right Rotation: This setting rotates the right eyebrow only.

Contains settings for distorting the eyebrow patterns cut out from the Pattern textures by the corners.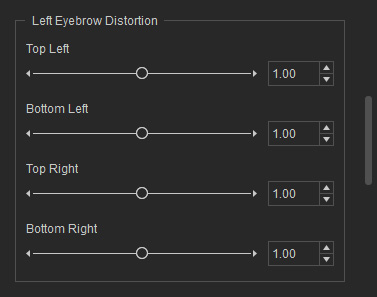
- Top Left

- Bottom Left

- Top Right

- Bottom Right
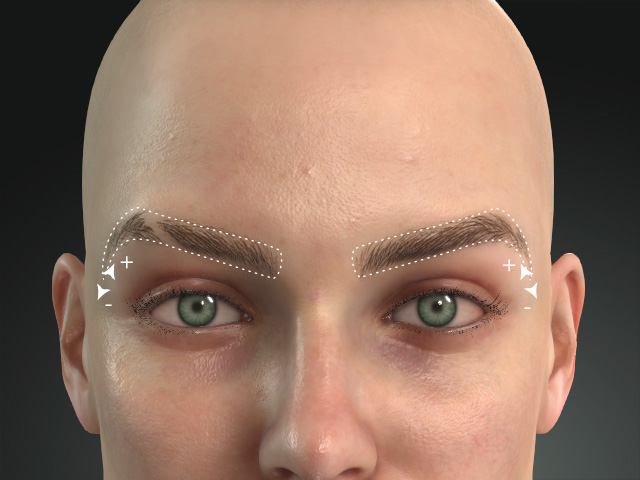
The shadow layer can be used to simulate the shadows cast by each hair of the eyebrows; in this section, you can use the settings to adjust the shadow effect.
It contains two drop-down lists and two texture channels for defining the shape of the shadow region. The textures in this section can be edited if you have purchased and installed SkinGen Plugin.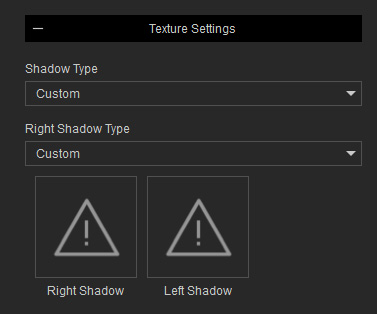
- Shadow Type: This drop-down list contains items for you to choose the default or custom shadows underneath the eyebrows.
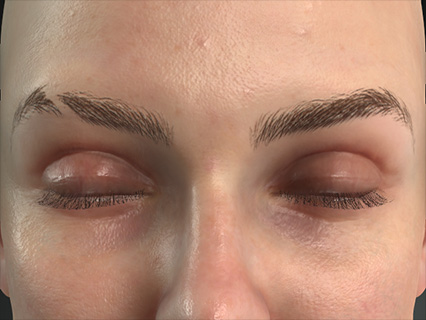

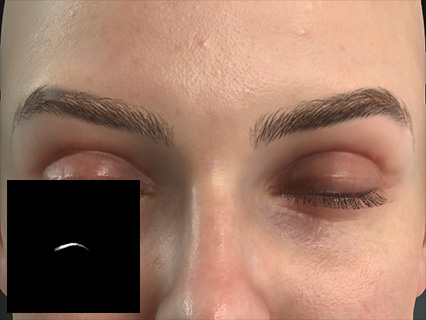
Shadow = Off
Shadow Type = Default
Shadow Type = Custom
-
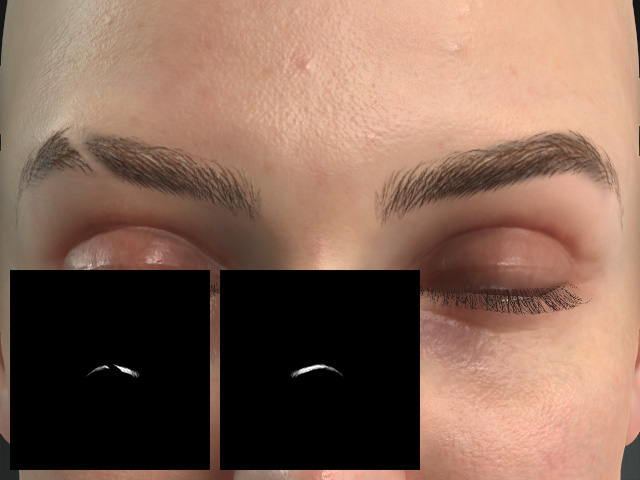
Right Shadow Type: If you choose the Default item in this drop-down list, then the Left Shadow will be mirrored and applied under the right eyebrow. With the Custom picked, you can load a custom shadow texture for the right eyebrow.
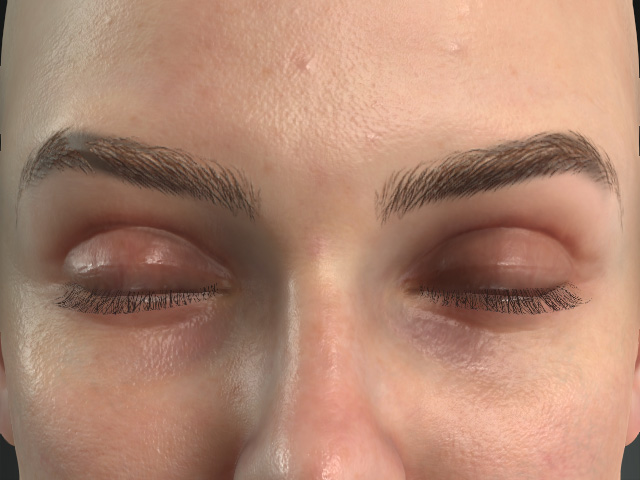
Right Shadow Type = Default
Right Shadow Type = Custom
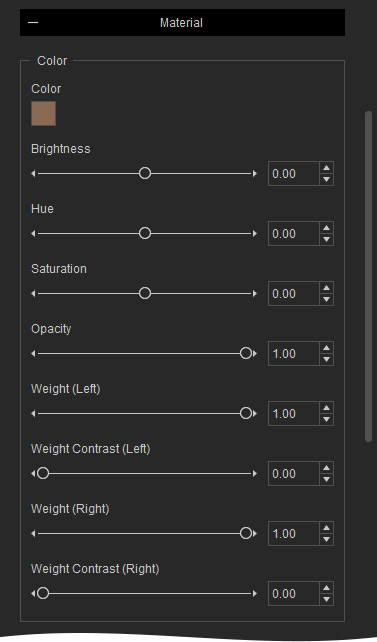
The settings in this group can be used to adjust the color of the shadow under the eyebrows.
- Blend Mode

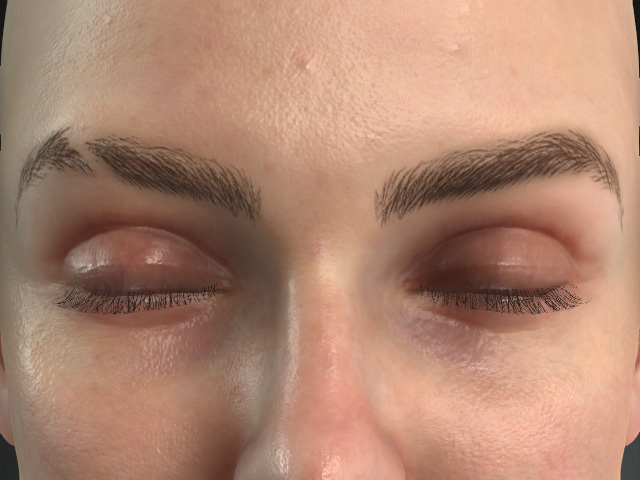
Blend Mode = Normal
Blend Mode = Multiply
- Color and Opacity

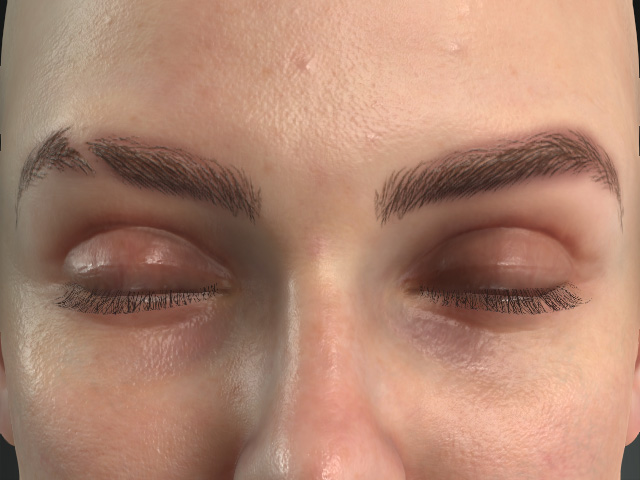
Color = #8A6A53
Opacity = 0.40
Color = #8A534E
Opacity = 0.60
- Weight and Weight Contrast (Left, Right): In this case, the left eyebrow is taken as an example and the eyebrows are removed for better observation.
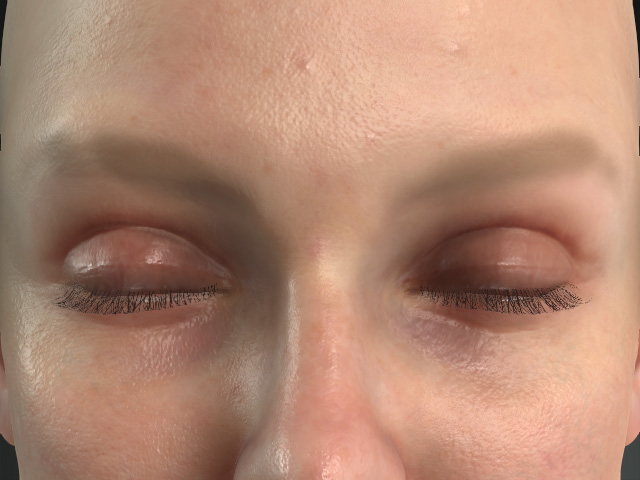
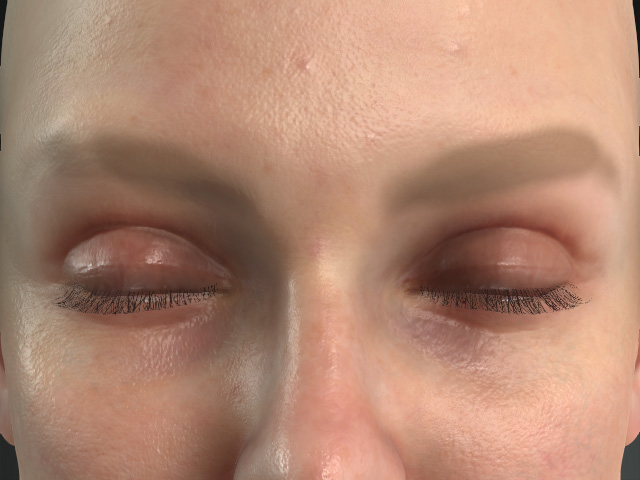
Weight = 0.00
Weight Contrast = 0.00
Weight = 1.00
Weight Contrast = 1.00
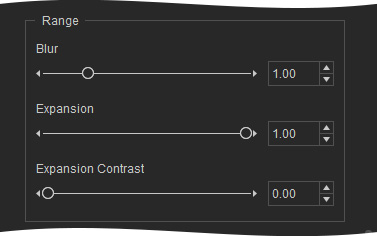
The settings in this group can be used to adjust the range texture for showing the eyebrow shadows.
- Expansion: This setting expands or shrinks the range of the eyebrow shadows.


Expansion = 0.50
Expansion = 1.00
- Expansion Contrast: This setting blurs or sharpens the edge of the eyebrow shadows.


Expansion Contrast = 0.00
Expansion Contrast = 1.00
- Blur: This setting blurs out the entire range of the shadows.

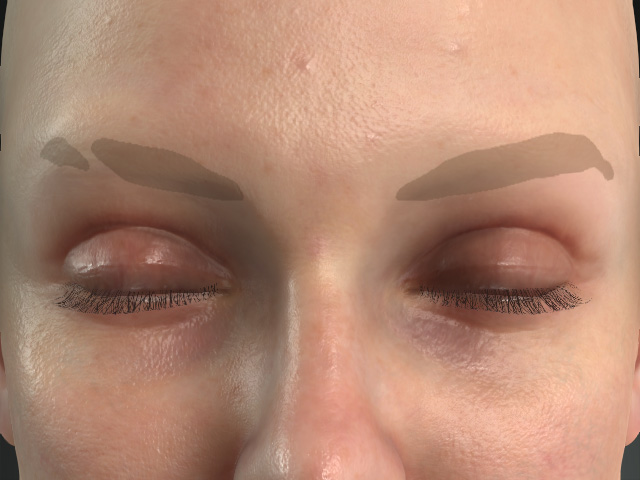
Blur = 0.00
Blur = 0.50
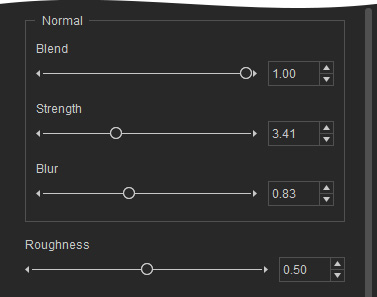
The settings in this group can be used to adjust the normal effect on the shadow.
- Blend and Strength
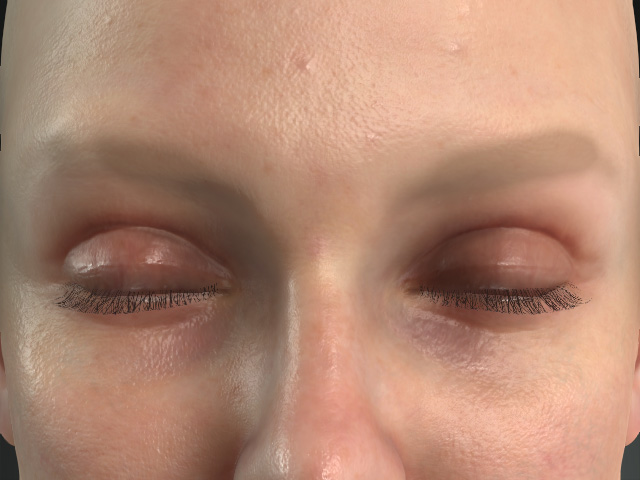
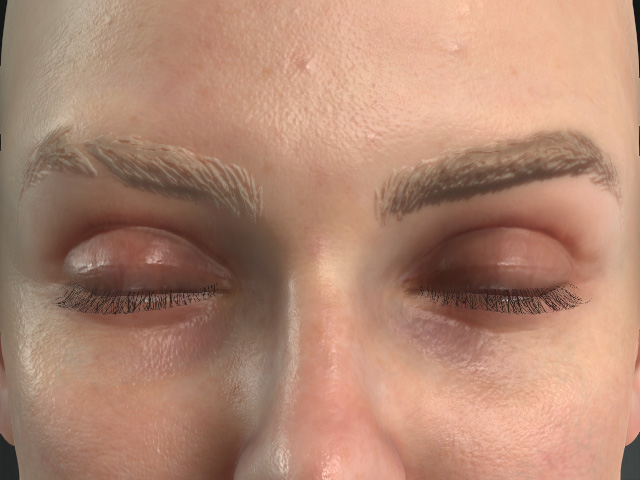
Blend = 0.00
Strength = Disabled
Blend = 1.00
Strength = 10.00
- Blur

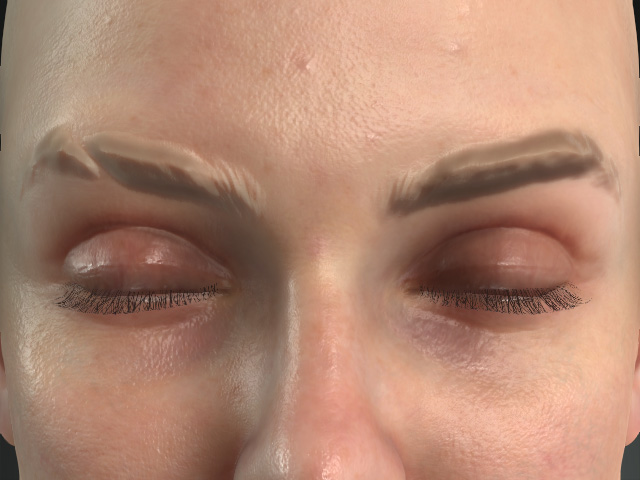
Blur = 0.00
Blur = 1.00
The settings in this group can be used to adjust the smoothness of the shadow.
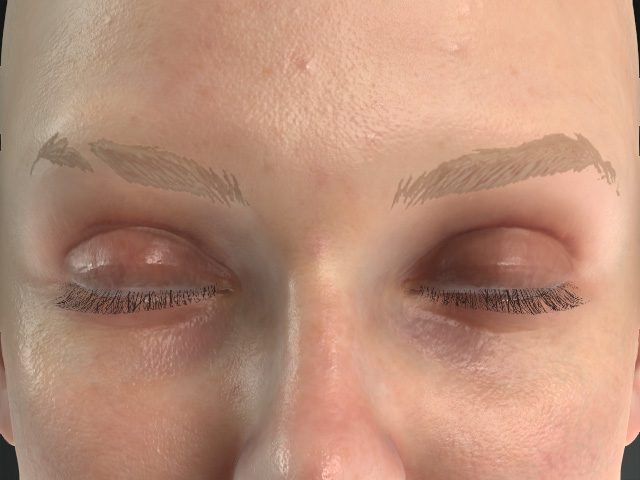
|
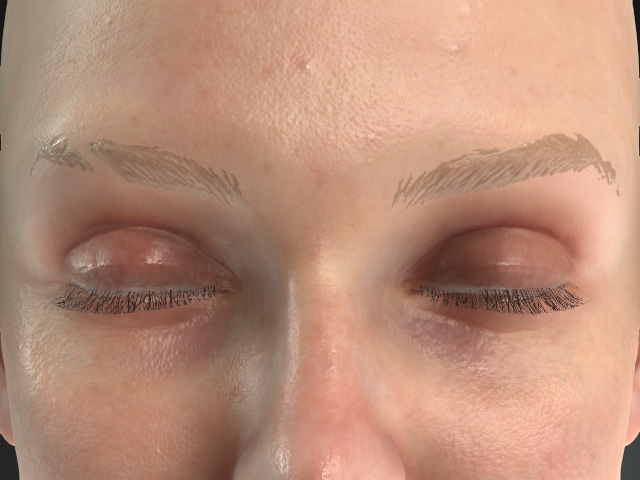
|
|
Roughness = 0.50 |
Roughness = 0.00 |
It contains sections for setting a replace layer to cover the skin under the eyebrows. The textures in this section can be edited if you have purchased and installed SkinGen Plugin.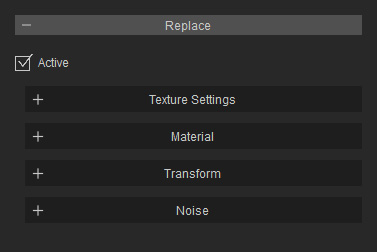
It contains one texture channel for defining the shape of the replace layer. The texture in this section can be edited if you have purchased and installed SkinGen Plugin.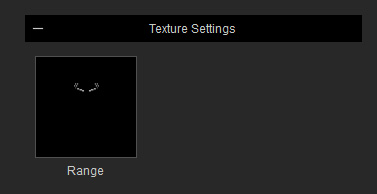
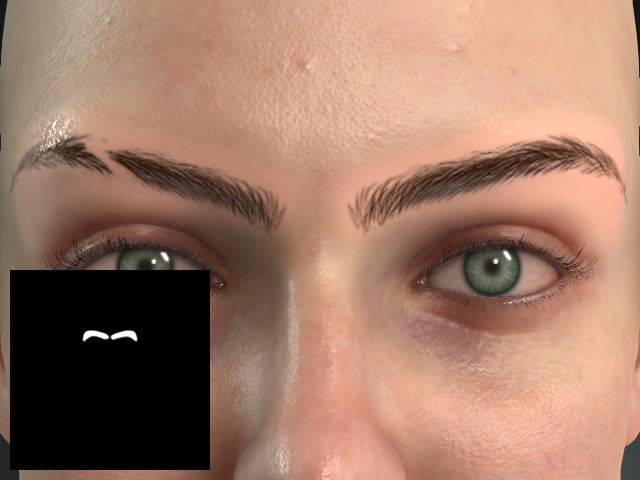
- Range: This texture defines the shape of the Replace layer.
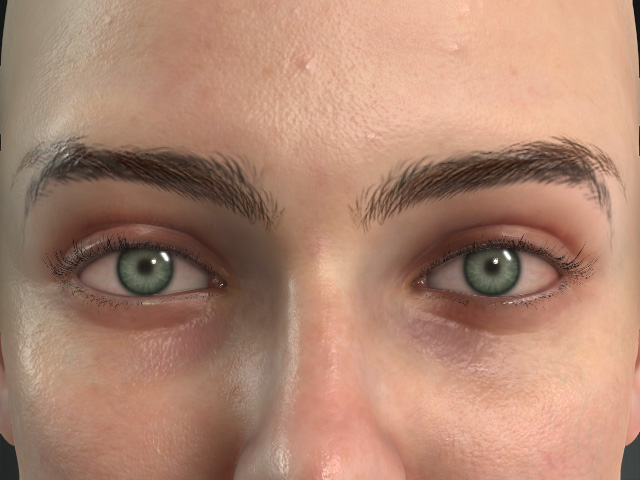
Range = None
Range = Custom
The eyebrow on the skin is covered by the Replace color.
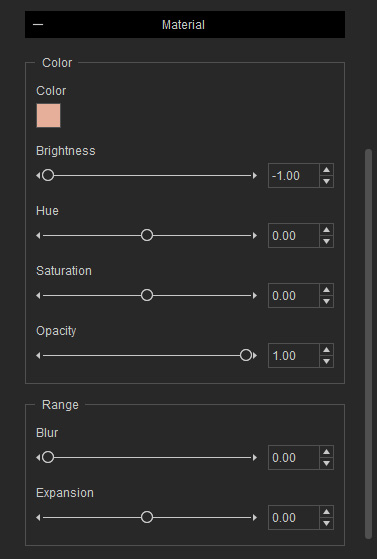
The settings in this group can be used to adjust the color of the shadow.
- Color and Opacity
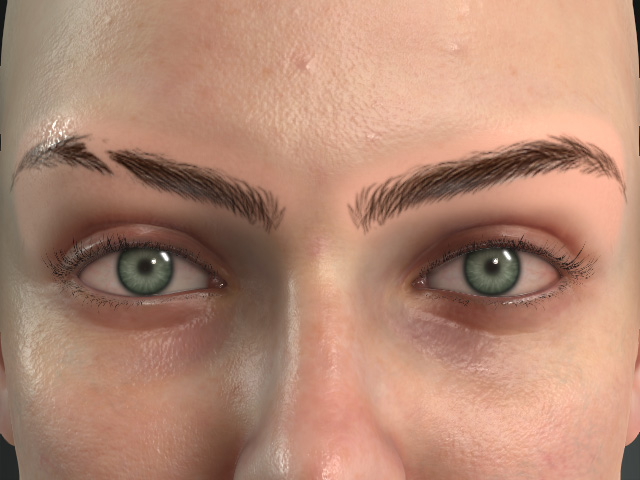
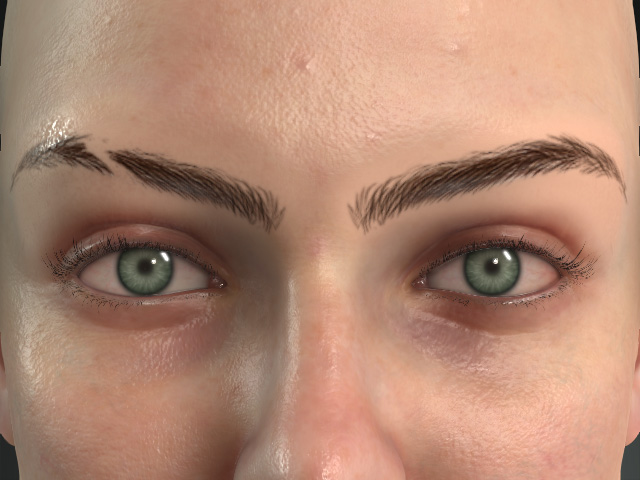
Color = #E6AF9A
Brightness = 0.00
Hue = 0.00
Saturation = 0.00
Opacity = 1.00
Color = #E6B89A
Brightness = -0.06
Hue = 0.01
Saturation = -0.10
Opacity = 1.00
The settings in this group can be used to adjust the range texture for showing the color of the heart.
- Expansion: This setting expands or shrinks the range of the heart.

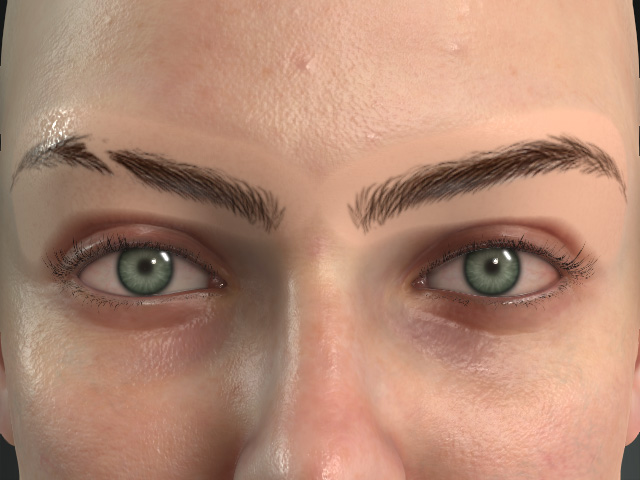
Expansion = 0.00
Expansion = 1.00
- Blur: This setting blurs out the edge of the range.

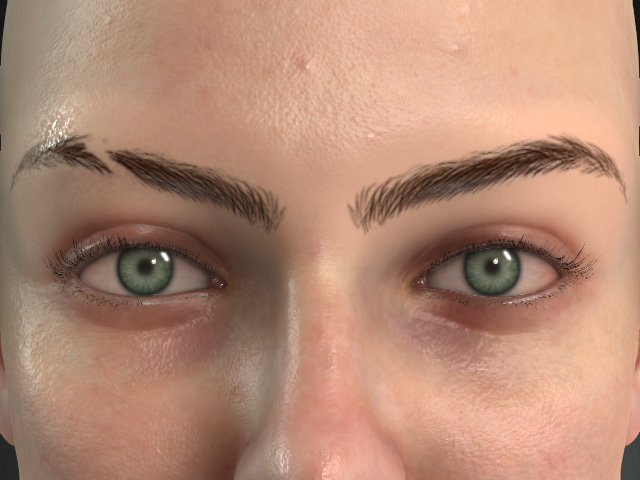
Blur = 0.00
Blur = 1.00
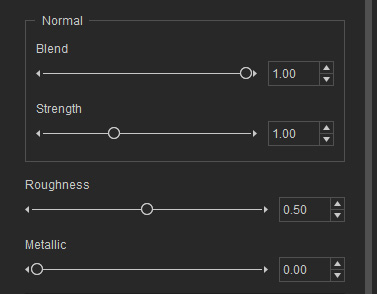
The settings in this group can be used to adjust the bumpiness of the Replace region.
- Blend: This setting sets the blending level of the normal effect.
- Strength: The bump strength of the powder.


Blend = 0.00
Strength = 00.00
Strength = 5.00
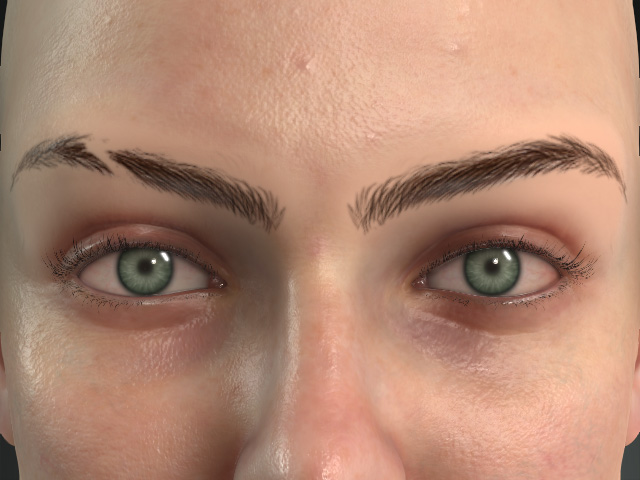
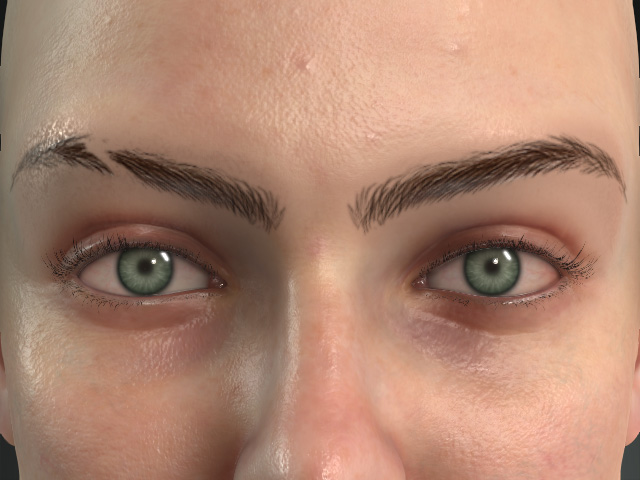
The settings in this group can be used to adjust the smoothness and reflectivity of the Replace region.
|
|
|
Roughness = 0.50 Metallic = 0.00 |
Roughness = 0.20 Metallic = 0.35 |
It contains sections for relocating the Replace region. The textures in this section can be edited if you have purchased and installed SkinGen Plugin.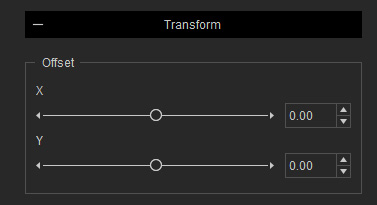
- Offset X, Y
Since the Replace region is covered with a solid color and appears flat, you can use the settings in the Noise section to apply noise on the region.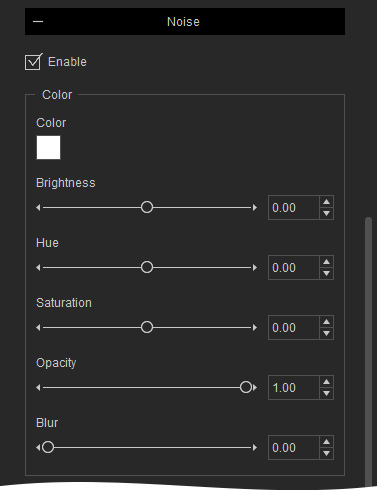
The settings in this group can be used to dye color onto the powder and the blending method to the layers underneath.
- Color and Opacity


Color = #FFFFFF
Brightness = 0.00
Hue = 0.00
Saturation = 0.00
Opacity = 1.00
Color = #FFFFFF
Brightness = -0.80
Hue = -1.00
Saturation = 0.05
Opacity = 0.60
- Blur: This setting can blur out the noise.


Blur = 0.00
Blur = 0.15
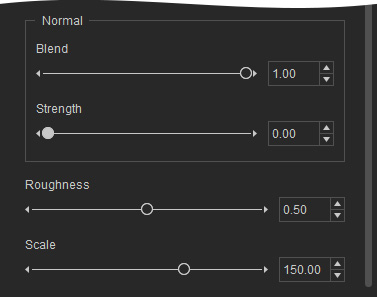
The settings in this group can be used to adjust the bumpiness of the Noise area.
- Blend: This setting sets the blending level of the normal effect.
- Strength: The bump strength of the powder.

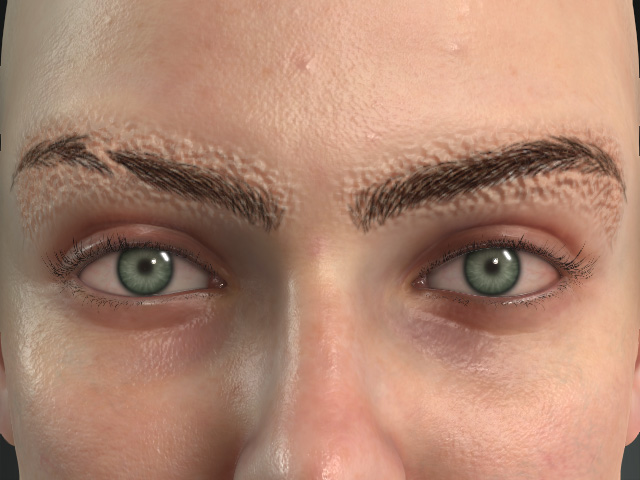
Blend = 1.00
Strength = 00.00
Strength = 50.00
You can use the following Scale setting to adjust the size of each grain of the bumpiness.
You can use the Scale slider to determine the size of each grain of the Noise.
 |  |
Scale = 150.00 | Scale = 10.00 |
The setting can be used to adjust the smoothness and reflectivity of the Noise region.

|
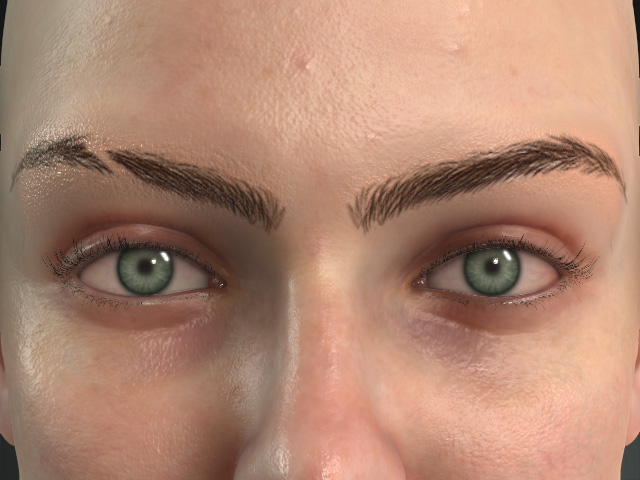
|
|
Roughness = 0.50 |
Roughness = 0.10 |
