Adding Decal to Body
Character Creator provides Decal feature in the Texture tab of Modify panel. You may then use this feature to add tattoo, scars or any special patterns or prints onto the surface of the skin. The advantage is that you are able to scale, rotate or move the decal to any location on the body without the need to edit the original texture images of the body.
Please note that you must have purchased Essential Morphs & Skin content pack in order to have the input channel for loading custom images.
-
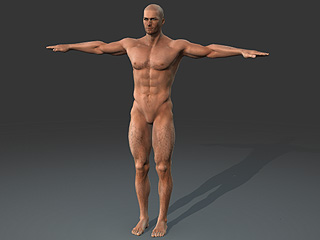
Create a new project.
-
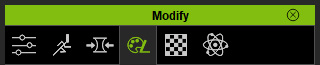
Switch the Modify panel to Texture tab.
-
Browse to Actor >> RL_G6_Body >> Skin_Body >>
Decal.
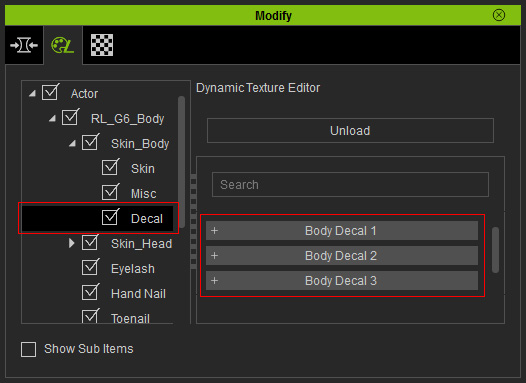
You will see three Body Decal sections listed in the right pane of this panel. Note:
Note:You are able to layer up to three images onto the original face texture.
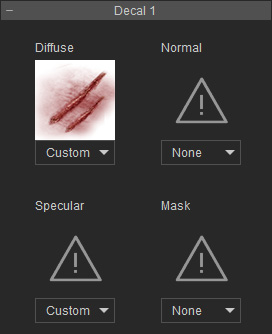
- Open one of the sections (in this case, the Body Decal 1).
-
Double click on the Diffuse channel to open a browser and load a custom image.
-
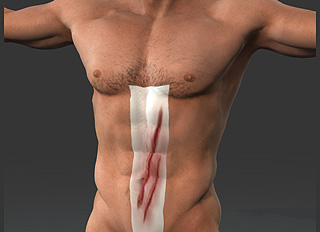
The character's body will be mapped with the loaded texture.
-
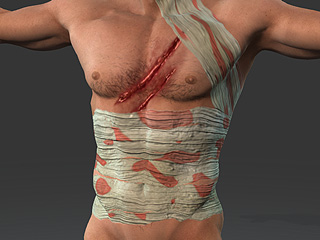
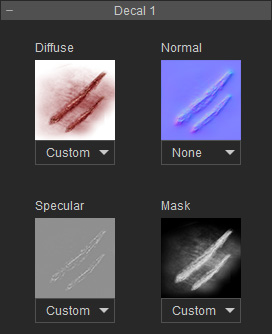
Load a grayscale image to the Mask channel in order to cut off the un-wanted part of the image in the Diffuse channel;
and a normal texture into the Normal channel to create
a bump effect, and a grayscale texture to the Specular
channel to have the decal partially reflect the light.
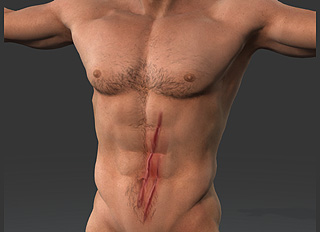
- Now the scars have truely come alive.
-
Adjust the other parameters provided within this section to set the position, angle and color tone of this decal.
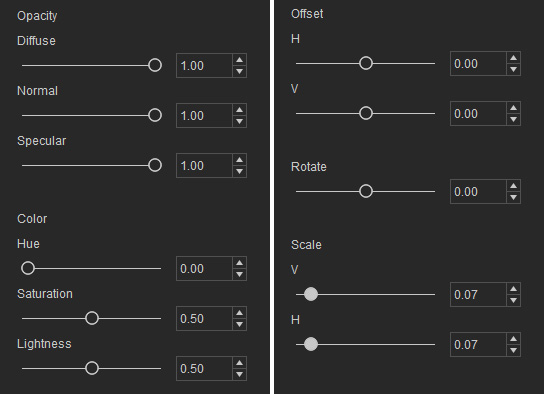
The decal on the body will then be adjusted accordingly.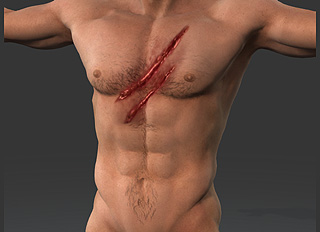 Note:
Note:If you load a PNG image into the Diffuse channel, the alpha data of the image will automatically masks out the un-necessary part of the image without the need of load a grayscale image to the Mask channel.
-
You may follow the same steps to add additional decals up to the maximum of 3.