Weathering the Cloth
Character Creator provides Effect layer for adding weathering effect to the cloth. The effects includes aging, weathering, tearing and holes. You are able to use either customized mask to create these effect on certain parts on the cloth or simply utilize embedded templates of this type.
Precisely Setting Areas for Discoloration and Holes
To precisely set the discoloration and holes on a cloth, you need to follow the steps below:
Getting UV Reference Map for Creating RGB Mask
- Make sure the cloth is selected.
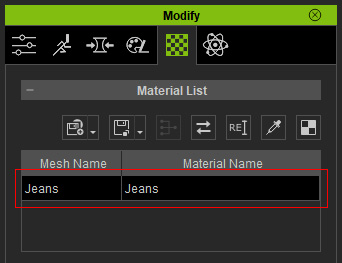
- Switch the Modify panel to Material tab.
-
Make sure the material is selected.
-
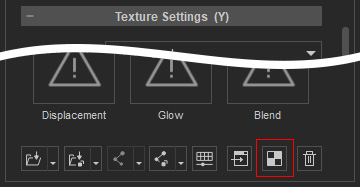
Click the UV button under the channels in the Texture Settings section.
-
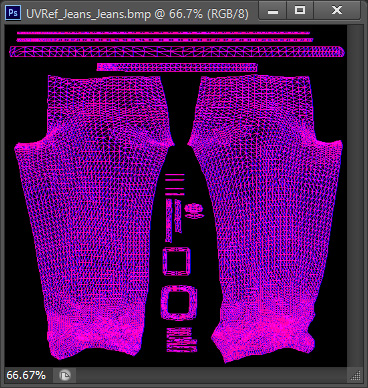
The UV map of the material will be exported to your favorite image editor
(in this case, Photoshop).
-
You may then use the image as reference for creating a grayscale texture
for applying discoloration areas and holes on the cloth.
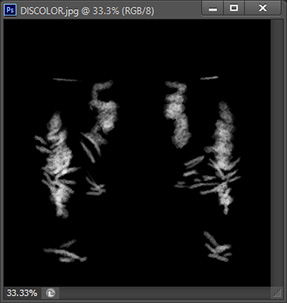
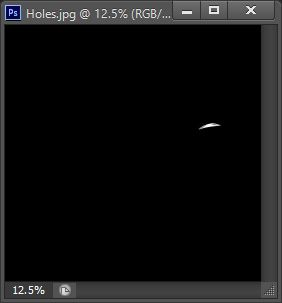
The grayscale image for discoloration.
The grayscale image for holes.
- Save the images for further use.
Importing Mask Texture
 Note:
Note:
Please note that you must have purchased Essential Clothing & Fabric and Professional Outfits content packs in order to have the input channel for loading custom images.
-
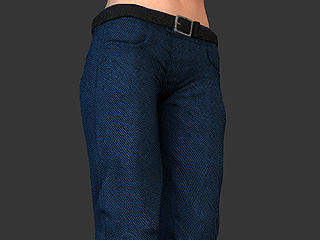
Taking the previous cloth as an example.
-
Go to the Modify (panel) >> Appearance
(tab).
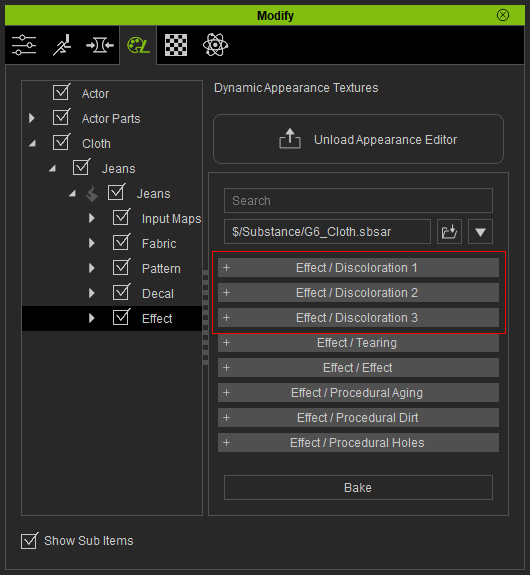
- Select the Cloth in the tree view and click the Activate button at the top-right of the panel to show the sections of adjustable parameters.
-
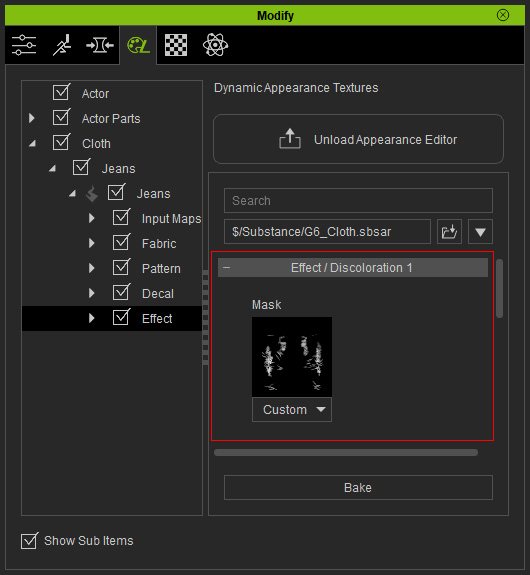
Select the Effect layer. The sections for precisely setting
effects are the first four sections listed at the right pane in the panel.
-
Double click on the Mask icon in the Discoloration 1
section and load the image previously prepared.
Increase the Opacity value in order to show the discoloration areas that are defined with the grayscale image.The original appearance of the cloth.
Adjust the Hue, Saturation and Lightness value to make the areas pale or dirty.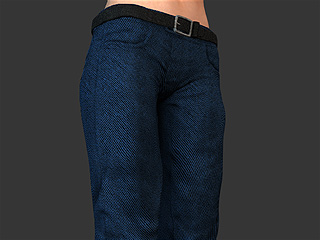
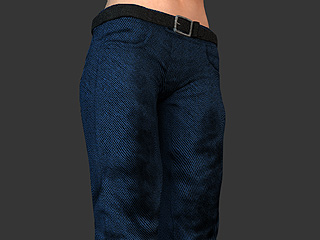
Opacity = 0.50
Opacity = 1.00
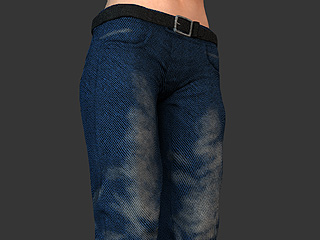
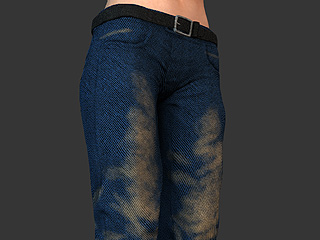
Hue = 0.00
Saturation = 0.00
Lightness = 0.65Hue = 0.50
Saturation = 0.45
Lightness = 0.65 -
Double click on the Mask icon in the Tear
section and load the image previously prepared.
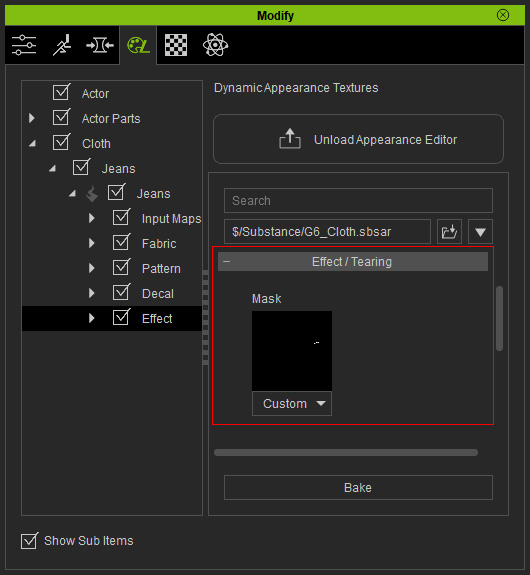
The cloth will be cut open in accordance with the grayscale image.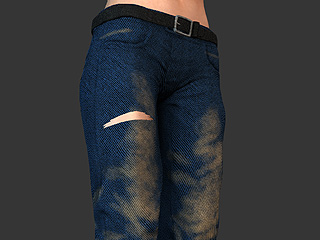 Note:
Note:Please refer to the Basic Conforming Clothing section for more information when you encounter the issue of missing body flesh under the holes on the cloth.
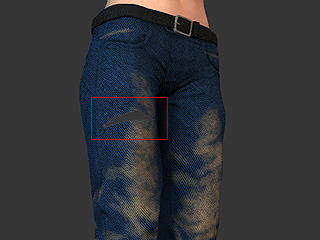
Using the Default Procedural Effect Templates
However, if you do not want to spend too much effort on doing the effects on your own, then you may use the embedded template provided by Character Creator. You are allowed to adjust only some basic settings for these templates instead of precisely set the the effects to desired areas on the cloth.
-
Create a new project and apply cloth to the character.
-
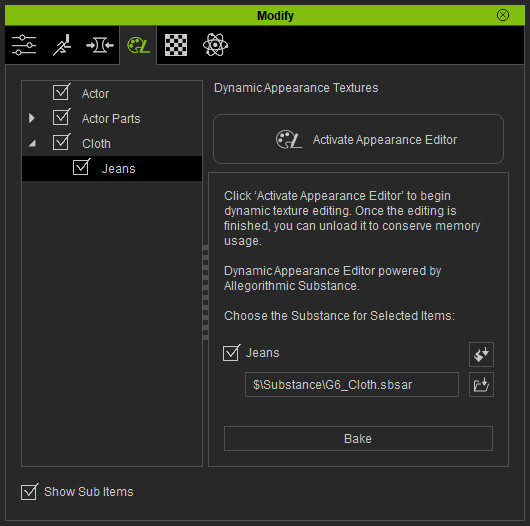
Go to the Modify (panel) >> Texture
(tab).
-
Select the Cloth >> Cloth Name in the tree view.
-
Click the Activate button at the top-right of the
panel to show the layers under the cloth.
 Note:
Note:Cloth may contain multiple substance materials composed of parameters and images, which can increase the loading time of your system. Therefore, the settings within the substances are by default, hidden. You need to click the Activate button in order to load the material and settings of the materials for further adjustments.
-
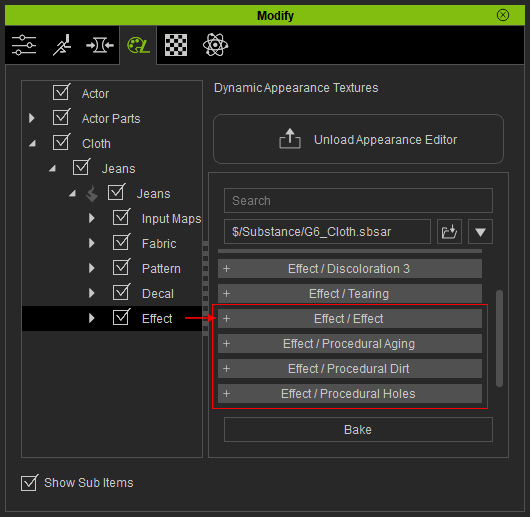
Select the Effect layer. The sections of settings with embedded
templates are the last four sections listed at the right pane in the panel.
-
Use the settings in the Effect, Procedural Aging, Procedural Dirt
and Procedural Holes sections to give a weathering effects to the entire cloth.
- Effect section: Determine the level of the weathering son the seams of the cloth.
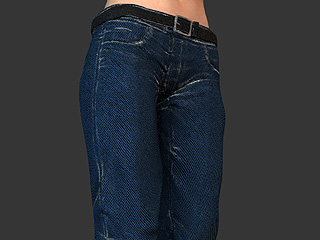
- Procedural Aging section: Determine the level of the weathering son the seams of the cloth.
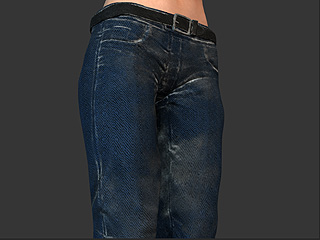
- Procedural Dirt section: Make the cloth filthier.
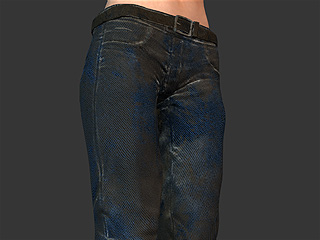
- Procedural Holes section: Add holes on the cloth.
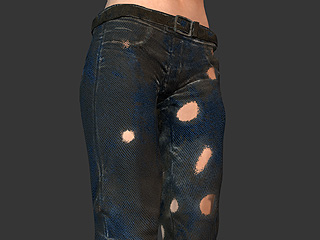
- Effect section: Determine the level of the weathering son the seams of the cloth.
