Generating Target for Creating Morphing Slider
Exporting the current character into an avatar file in OBJ format has special implications. You can adjust the file in any other 3D-modeling tool and load it back for creating custom morphing sliders.
-
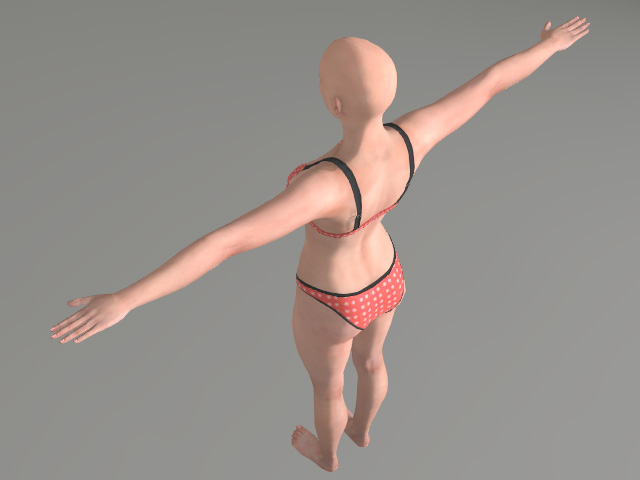
Prepare a character (optionally morph the character).

-
Execute the File >> Export >> OBJ >> Nude Character in Bind-Pose command.

-
Adjust the settings according to the axis coordinate system of your
target 3D-modeling tool.

 Note:
Note:Choosing Full Body radio button to export the character including body, eyeballs and teeth; while the Body radio button to export only the body without eyeballs and teeth.
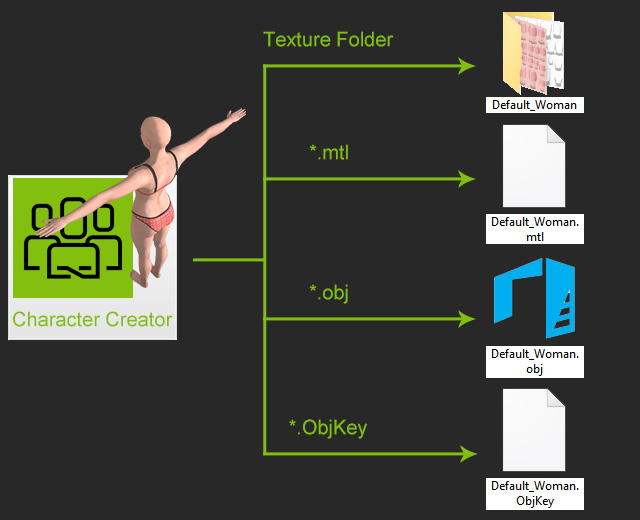
- Click the Export button to export one folder storing all
material textures and three files in *.mtl, *.obj, and *.ObjKey format. The last one includes the
DRM data for the *.obj file. DO KEEP these two files because you will need it when you load
the modified OBJ Avatar back to Character Creator as target morphing character.

-
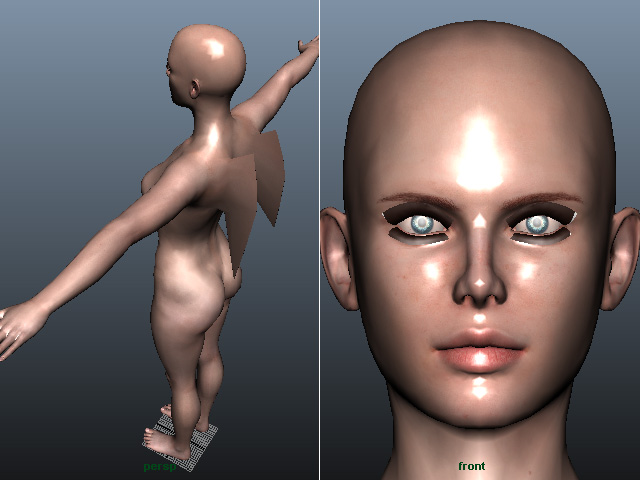
Modify the OBJ file with an external 3D-modeling tool.

With the mtl file and texture folder, you can re-build the look of the entire character.
 Note:
Note:- Feel free to use any kind of 3D-modeling tools, such as 3ds Max, Maya or ZBrush.
- DO NOT change the total number and structure of the vertex in the OBJ avatar by means of any features such as sub-division, slice, add/delete vertices, etc.
-
Save the OBJ avatar and use it as the target morphing character in
Character Creator.


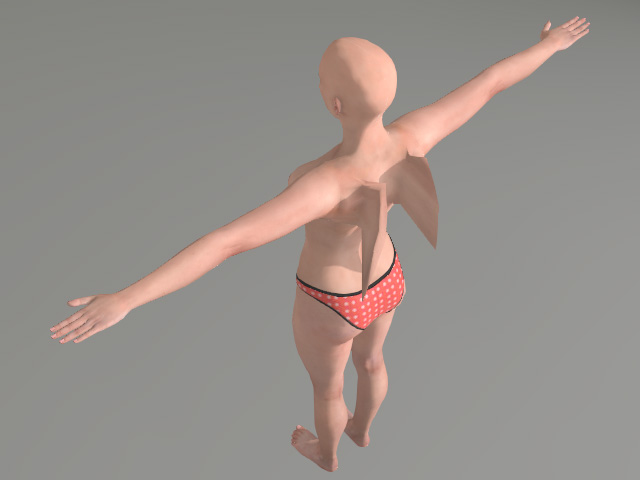
The morphing result
Applying clothes and motions
 Note:
Note:Please refer to the Creating Morphing Slider for Changing Character Appearance section for more information.
