Creating Character with Masked Bones (New for v. 4.1)
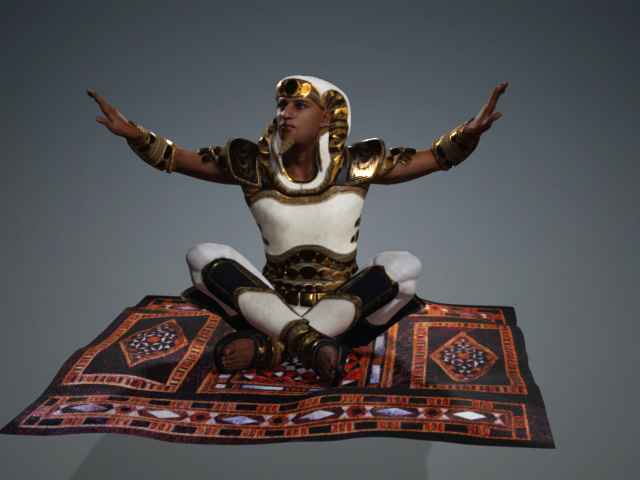
When a loaded character does not have entire limbs or when it needs to maintain a certain pose, use the mask feature to exclude parts of the body from generating bones.
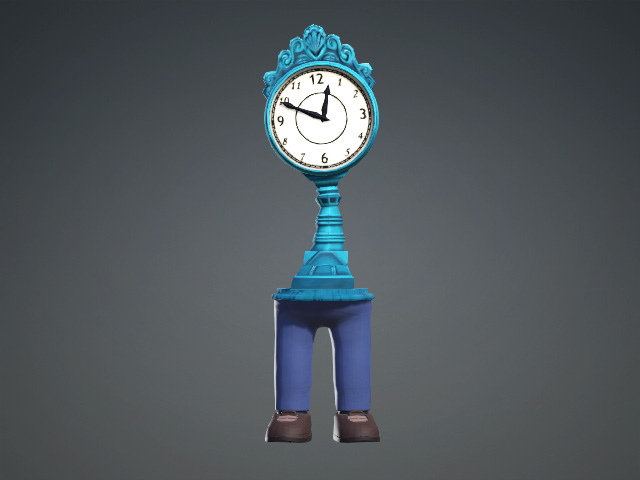
Model with Missing Limbs
- Import a model as a prop or creature.
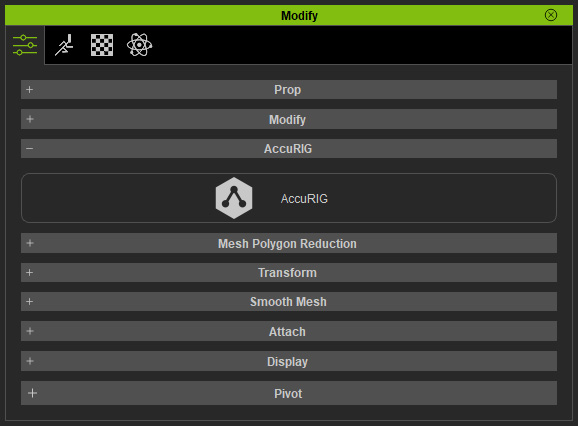
* IIf the model is imported as a humanoid character then it does not need to be characterized - Select the object and click the AccuRIG button in the Modify panel to enter the mode.
- Click the Create Guides button to create the reference guide.
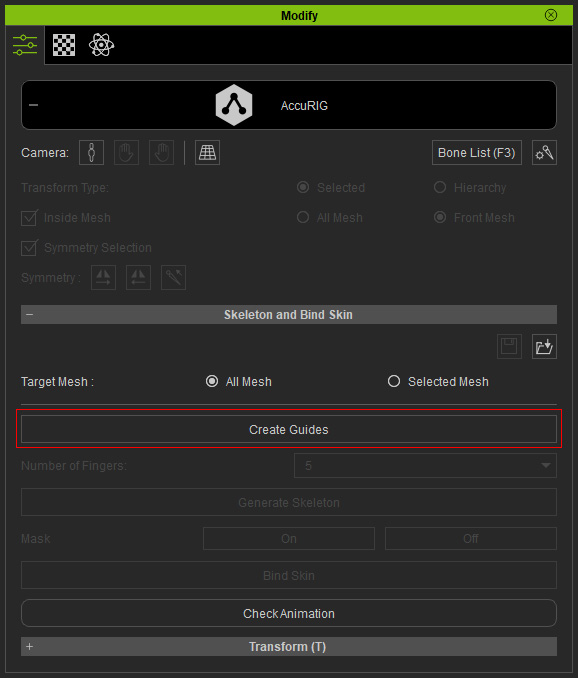
Guides will be created according to the shape of the model.
- Reposition the guides if necessary. As for the guides without target model mesh, simply drag and drop them elsewhere out of the model.
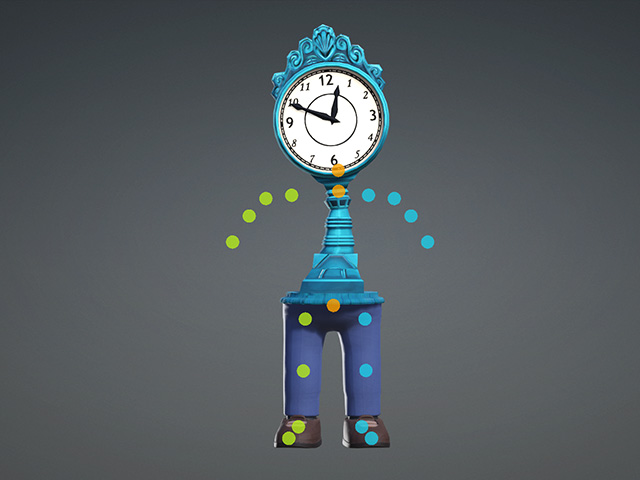
- Set the Number of Fingers accordingly. Click the Generate Skeleton button to create bones based on the guides.

In this case, the skeleton of the model is generated without finger bones.
* You can still reposition the bones if necessary. - Activate the Symmetry Select checkbox in the Modify panel and pick the bones without any target mesh.
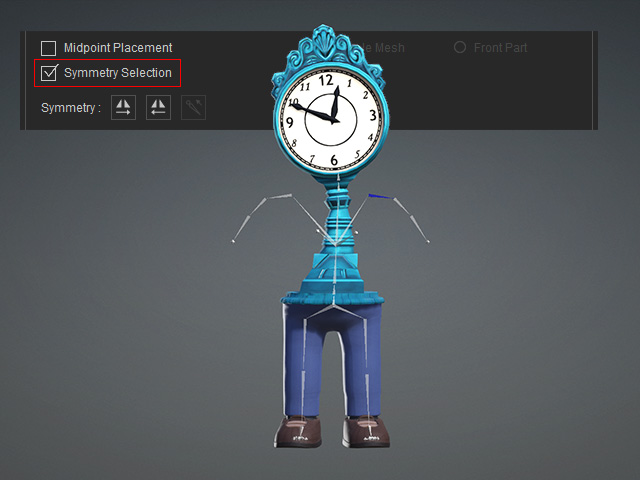
- Press the Off button in the Mask groupto mask the selected bone hierarchy. Because Symmetry Selection is activated, the corresponding bones on the other limb will be masked as well.
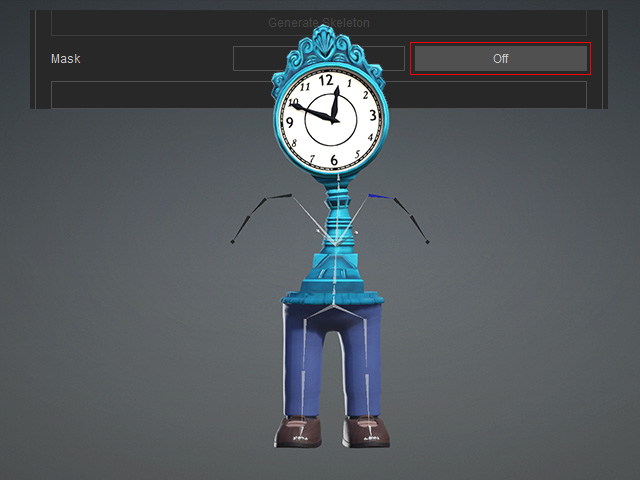
- Repeat the same steps for the bones that you want to mask.
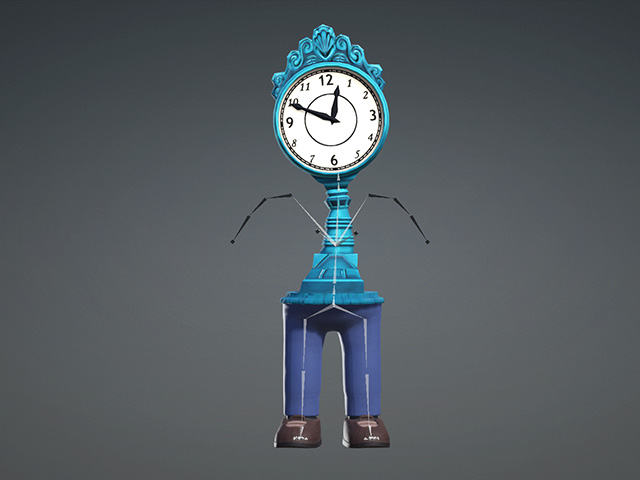
- Click the Bind Skin button to auto-rig the model. Afterwards, click the Check Animation button to view the motion for calibration.
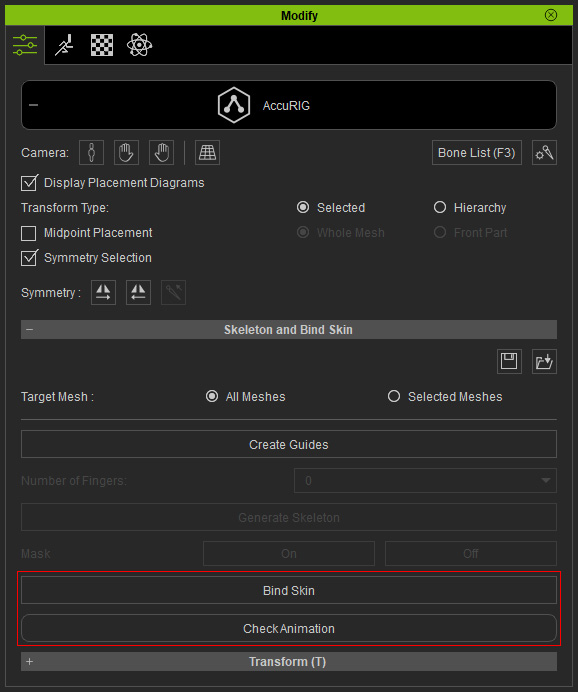
As you can see the character performs the applied motions. Adjust the bones and bind again if necessary.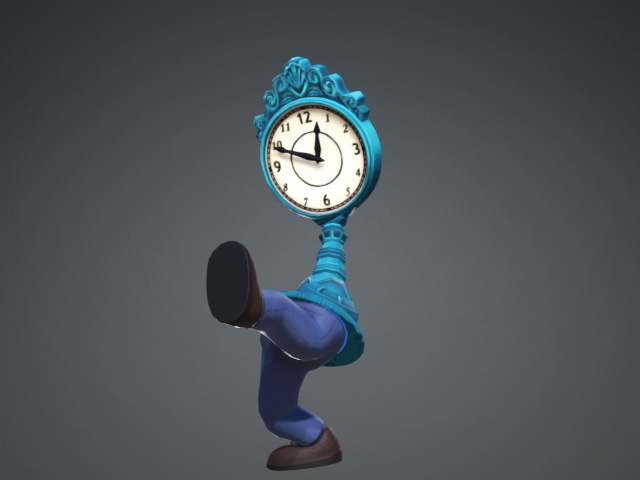
Model with Specific Pose
- Import a model with a specific pose as prop or creature.
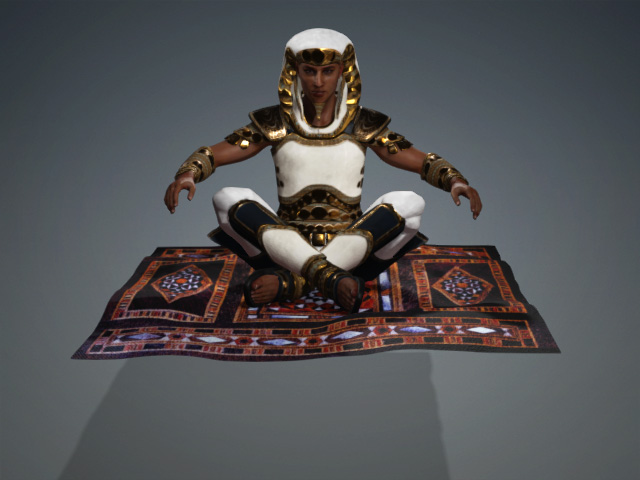
- Select the object and click the AccuRIG button in the Modify panel to enter the mode.

- Click the Create Guides button to create the reference guides.

Guides will be created according to the shape of the model.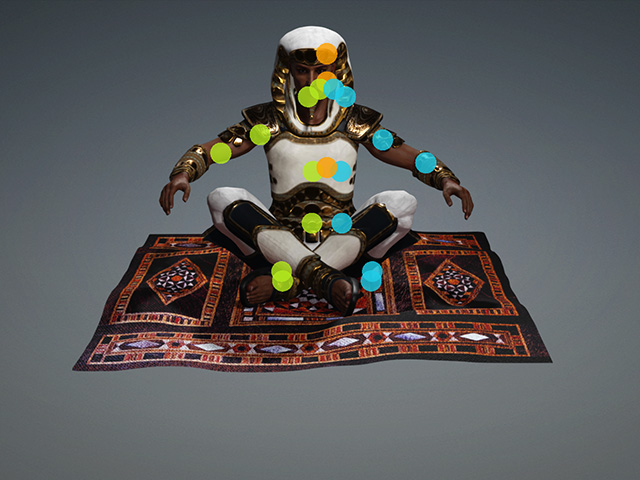
- Reposition the guides if necessary. As for the guides without target model mesh, simply drag and drop them elsewhere out of the model.
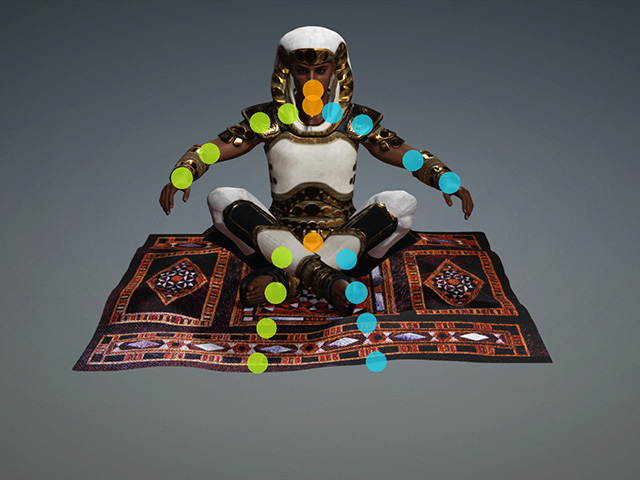
- Set the Number of Fingers accordingly (in this case, 0). Click the Generate Skeleton button to create the bones.
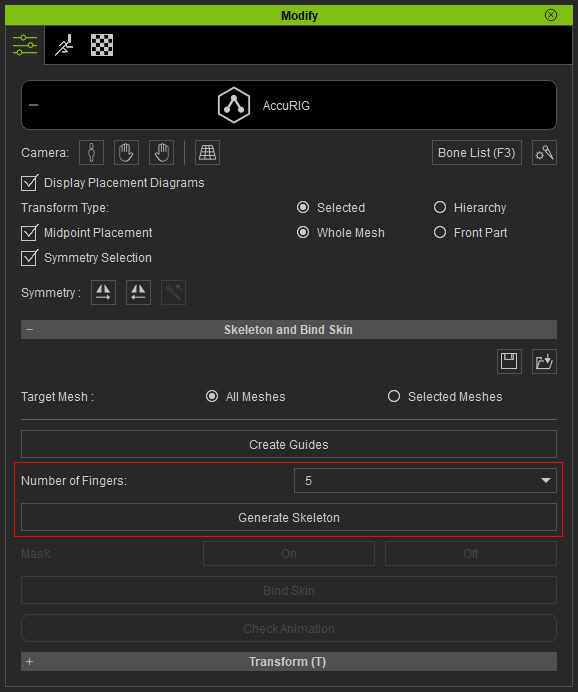
As you can see, in this case, the skeleton of the model is auto-generated based on the guides.
- Relocate the body and finger bones if necessary.
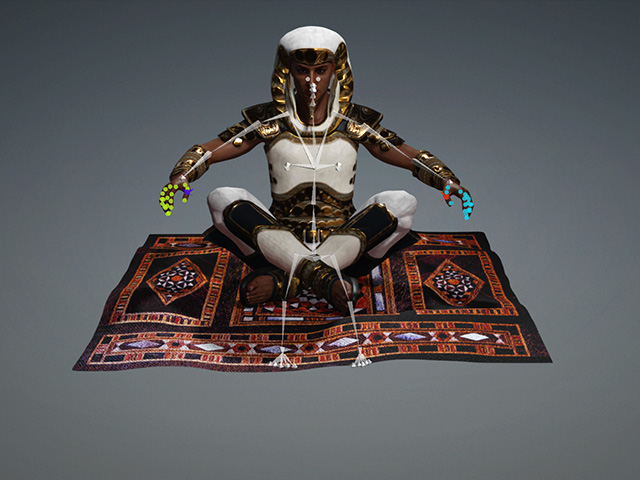
* You can still reposition the bones if necessary. - Activate the Symmetry Select checkbox in the Modify panel and pick the bones that you do not want to bind.
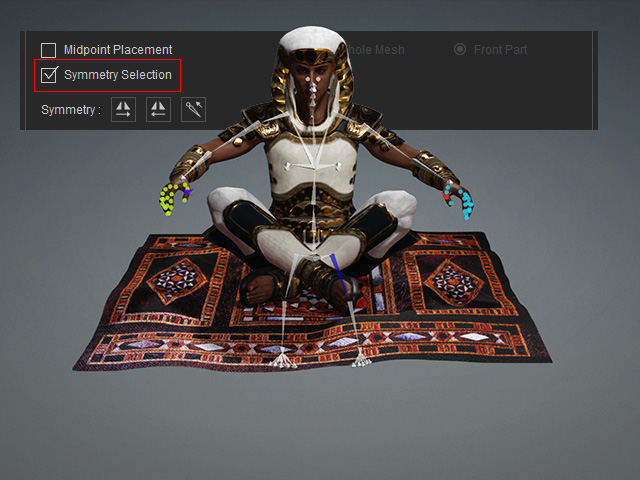
- Click the Off button in the Mask group, the select bone and its sub-bones will be masked. Notice that since the Symmetry Selection is activated, the corresponding bones on the other limb will be masked as well.
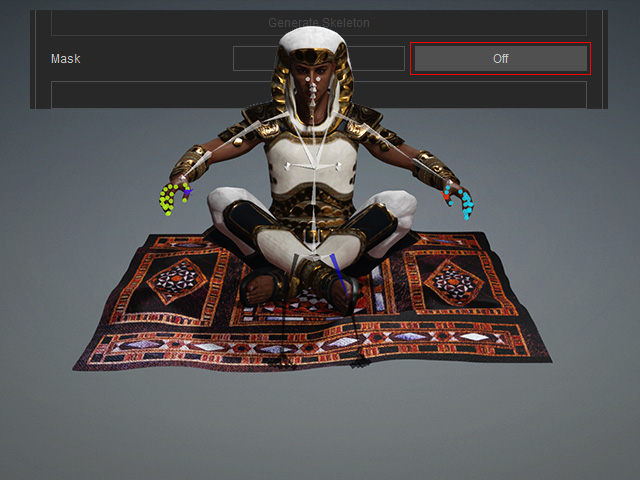
- Repeat the same steps for the bones that you want to mask.

- Click the Bind Skin button to auto-rig the model. Afterwards, click the Check Animation button to view the motion for calibration.

As you can see the character performs the applied motions. Adjust the bones and bind again if necessary.