Removing UV seam lines on subdivided meshes
When using subdivisions higher than level 1 on your character during the GoZ process from Character Creator (CC) to ZBrush, seam lines may appear on the mesh. This is usually caused by slight misalignments of UV borders on the normal maps when they are converted into mesh details. Follow the steps below to resolve this issue.
- Open or load a CC model you wish to transfer to ZBrush. For more information on sending your character with subdivision to ZBrush, see here.
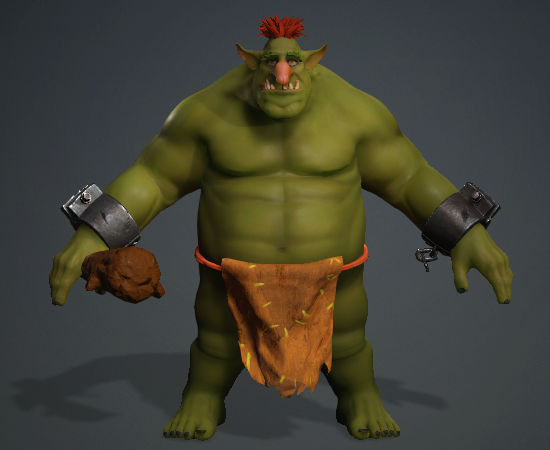
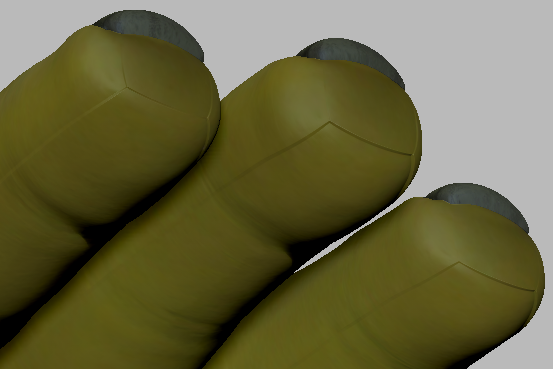
- Once you have sent your character to ZBrush select the Base Body subtool then zoom in towards your character's fingers. You will notice there are seam separations on the mesh.
.png)
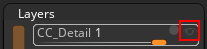
- Navigate to Layers and hide the “CC_Detail” layer by disabling the eye icon.
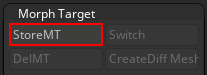
- Click on Morph Target > StoreMT to store a morph shape of the current subtool.
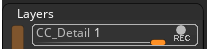
- Go back to Layers and click on the REC symbol to enter recording mode.
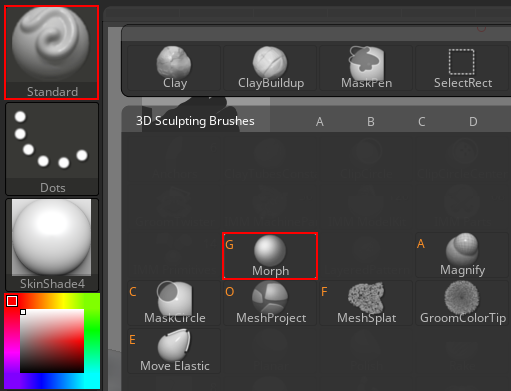
- Change to the “Morph” brush (B > M > G).
- Brush over the visible seams to restore the original surfaces saved in the morph target.
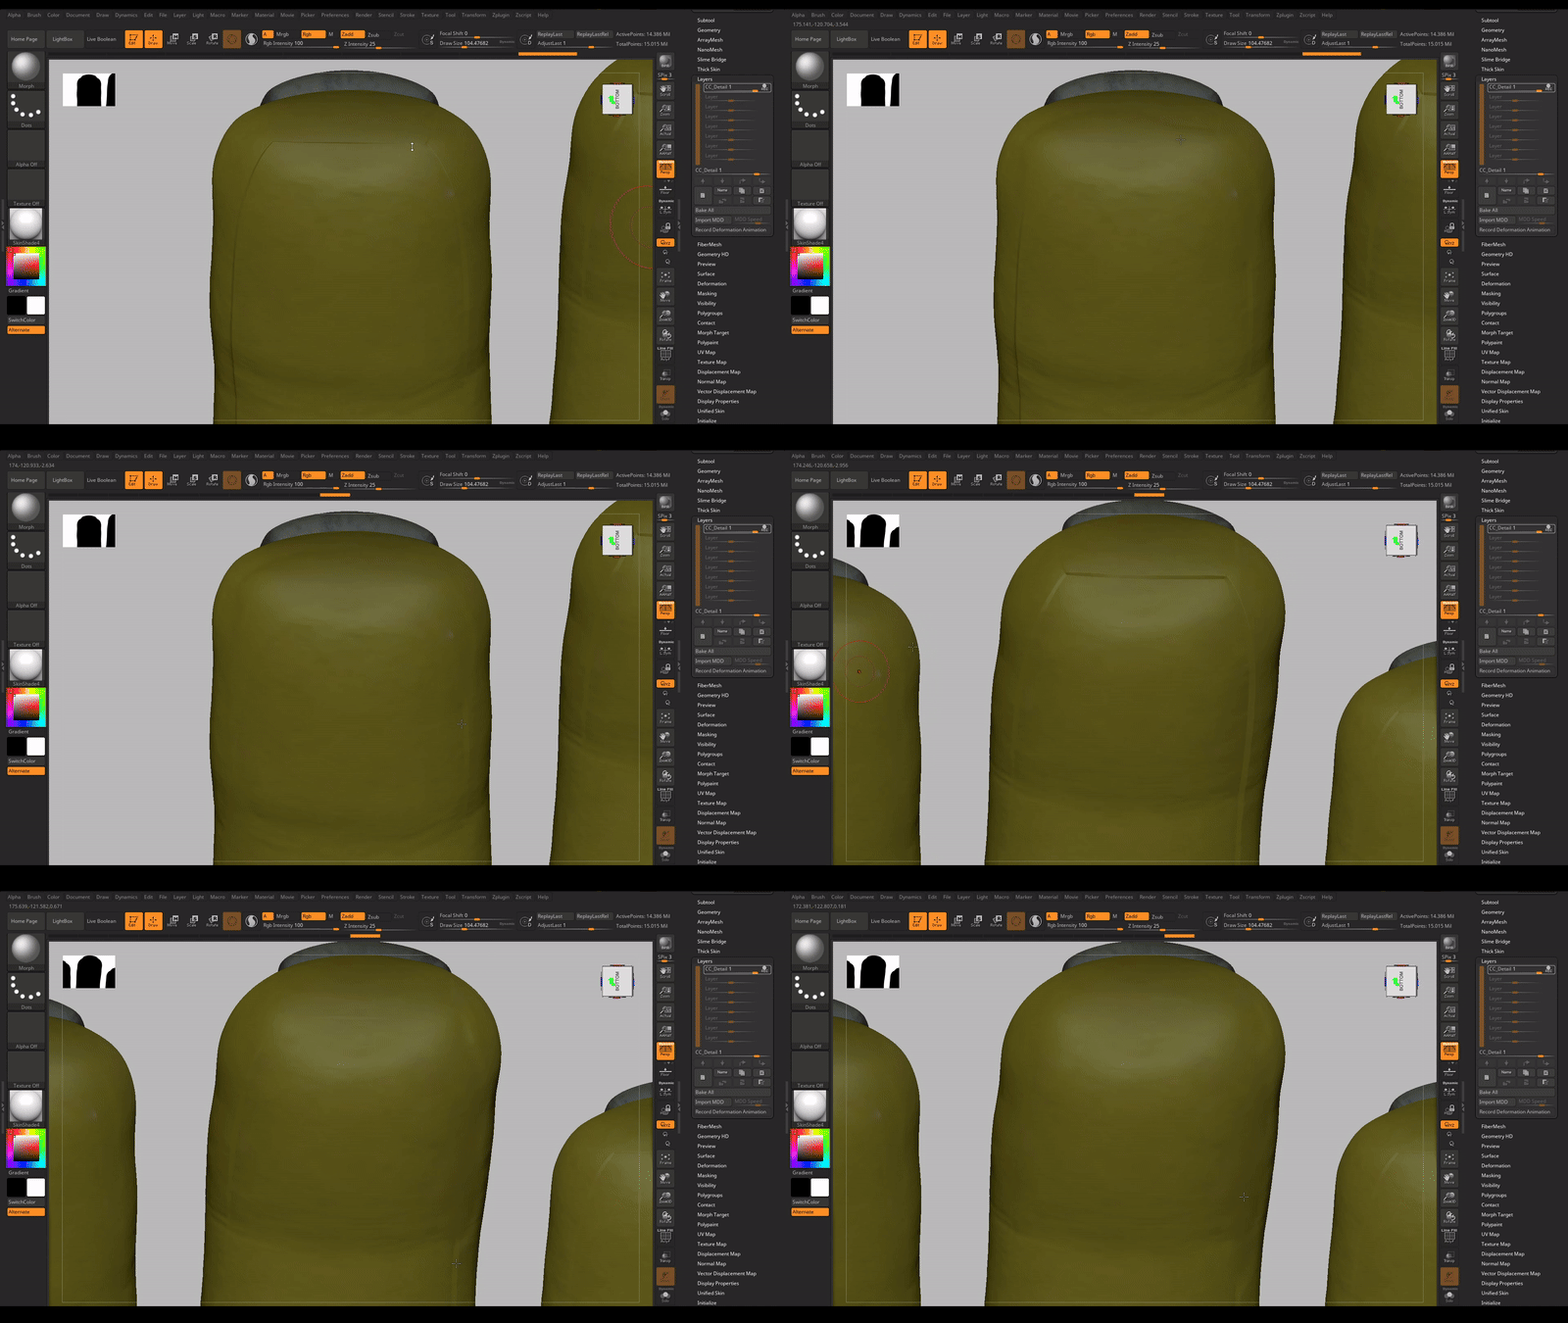
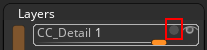
- Once finished, toggle off the recording mode.
.png)
|
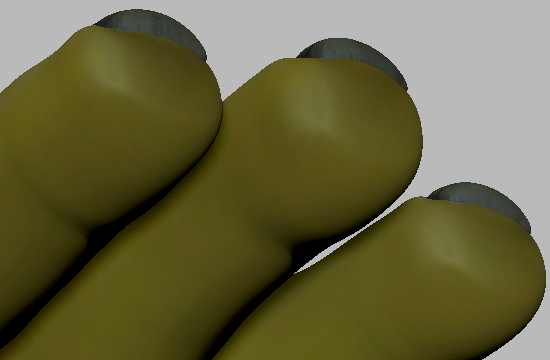
|
Before and after hiding the detail layer.
 Note:
Note:The ZBrush mesh details converted from normal maps are stored in the “CC Detail” layer. This lets you adjust the strength of these effects without changing the base model.
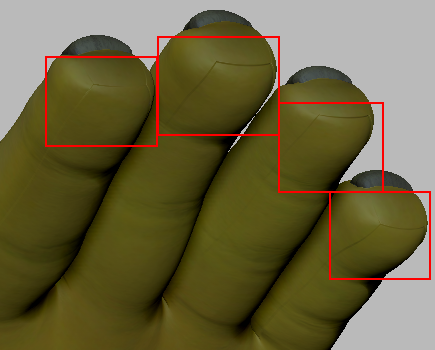
|
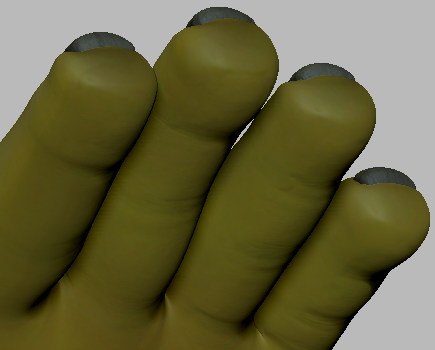
|
Before and after removing the seam lines.
Note:Mesh seams only appear when converting normal maps to mesh details. Therefore, it is recommended to make this correction when your character’s mesh details have been finalized. Using GoZ from CC to ZBrush with normals enabled at a subdivision higher than level 1 can cause mesh seams to reappear.
