Blending Redness to Face with Skin Gen Tools
To give the character's face a more flushed appearance or add subtle vein effects, you can use the Redness templates in SkinGen for adjustments. To use the full Redness Map creation feature, upgrade Skin Gen to the Premium version. This allows you to create and load custom maps and use Skin Gen without layer limits.
- Apply a character.
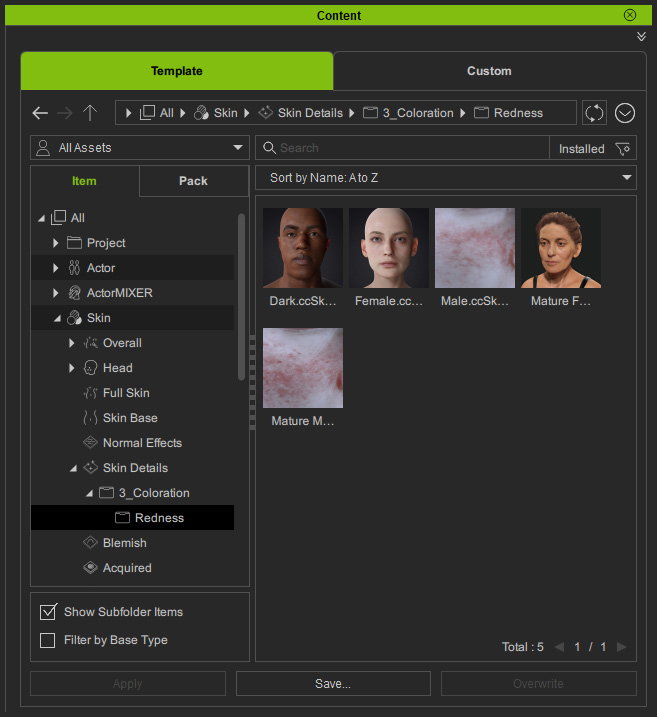
- In Content Manager, apply desired template from the Redness library.
- In the Modify Panel > Skin Gen editor, you will see three layers applied on top of the base skin layer.

- Upper Face: Adjusts the Forehead, Upper Eyelids and Nose Tip.
- Mid Face: Adjusts the Nose Wins, Cheek and Upper Eyelids.
- Lower Face: Adjusts the Chin, Philtrum Area and Ears Neck.


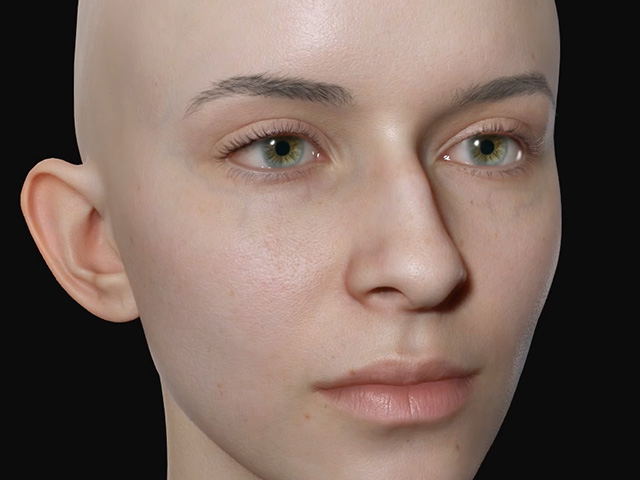
Without Redness effect
With Redness effect
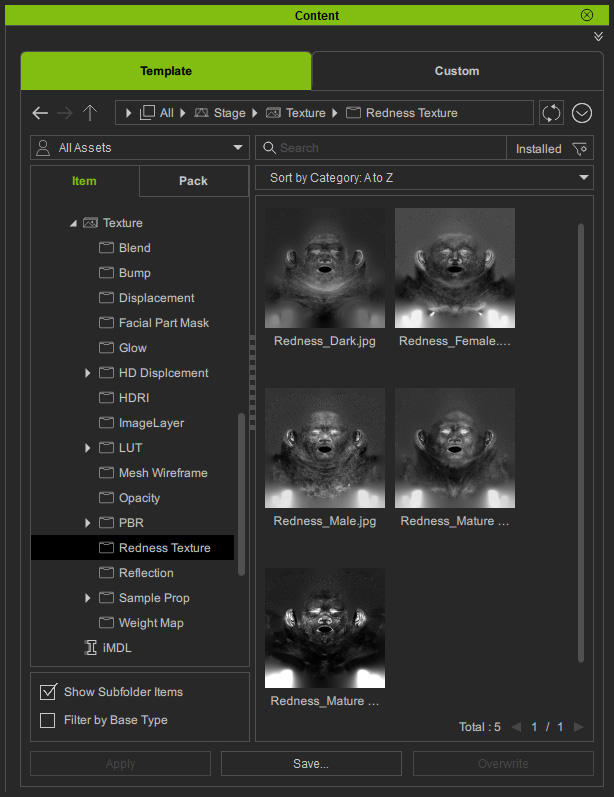
- In the Layer Mask section for these three layers, they share the same Mask map to define the redness for the entire face. You can find it in the Redness Texture library.
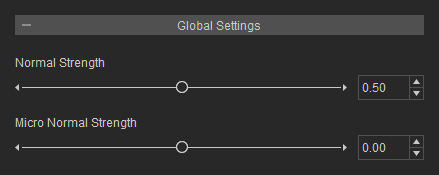
- In the Global Settings section, you can adjust the Normal Strength and the Micro Normal Strength for the parts in the layer.
- Take the forehead as an example, choose the Upper Face Layer and expand the Part 1 - Forehead section.

- There are three sub-sections, Texture Settings, Range and Material (In the Part 1, 2 and 3 sections, you will find identical sub-sectons in them).
- Texture Settings: Displays the Range mask to define the facial part for adjustments in the Material sub-section.
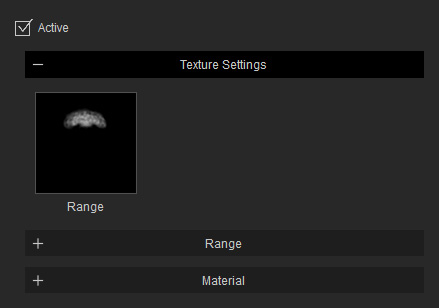
You can find the Range maps in the Facial Part Mask library for defining the parts of the face.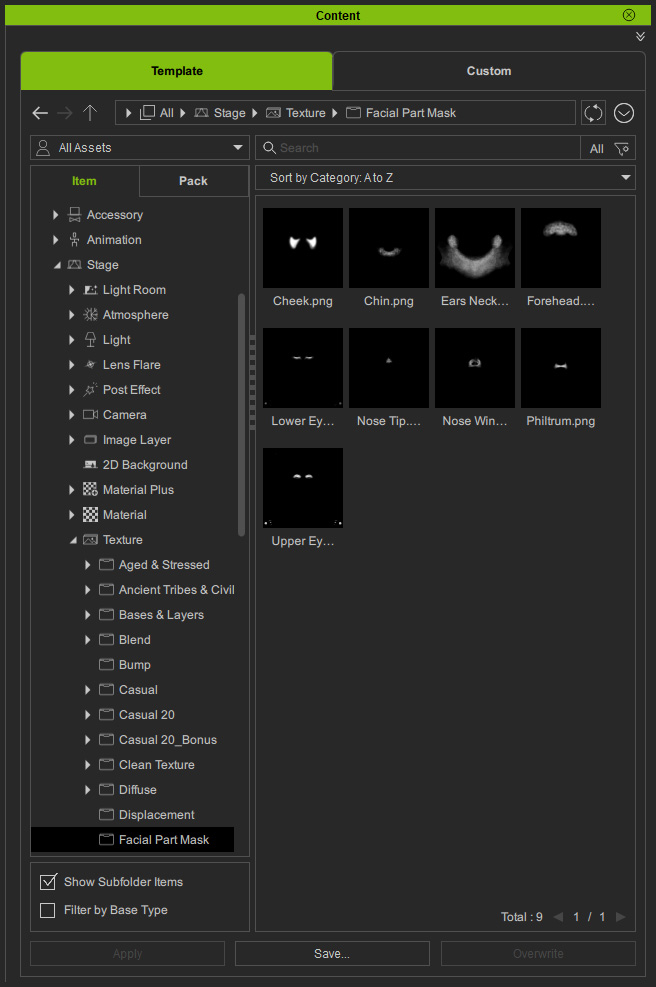
- Range: Adjusts the Range mask.
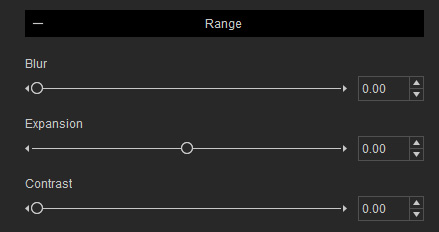
- Blur: Blurs the entire range mask.

Blur = 0.00
Blur = 20.00
- Expansion: Enlarges or reduces the white areas of the Range Mask.

Expansion = 0.00
Expansion = -0.35 (range decreased)
- Contrast: Adjusts the mask to either soften or sharpen the transition between black and white areas..

Contrast = 0.00
Contrast = 0.60
- Blur: Blurs the entire range mask.
- Material: Blends the redness on the skin defined by the Layer and Range Masks.
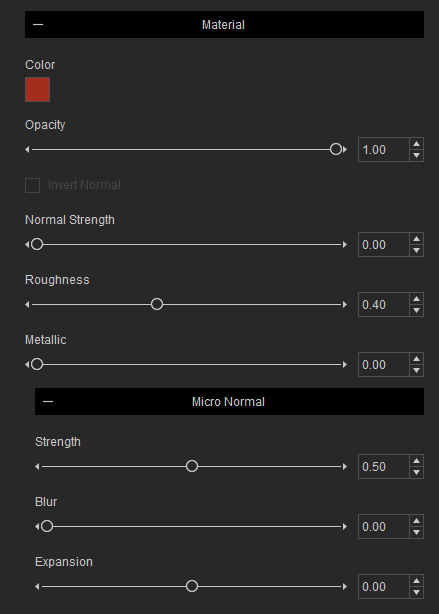
- Color: Sets the redness color.

Color = #A52D1D
Color = #7F3E68
- Opacity: Adjusts the blending strength of the redness effect.

Opacity = 1.00
Opacity = 0.50
- Invert Normal: Inverts the bumpiness effect made by the Normal map (The Normal Strength must be greater than 0.00).


Invert Normal = Off
(Normal Strength = 1.00)Invert Normal = On
(Normal Strength = 1.00) - Normal Strength: Increases or decreases the strength of the bumpiness effect.
Normal Strength = 1.00
Normal Strength = 0.50
- Roughness: Sets the smoothness of the surface in the Range mask.

Roughness = 0.40
Roughness = 0.00 (more greasy)
- Metallic: Sets the reflection strength of the surface in the Range mask.

Metallic = 0.00
(Roughness = 0.00)Metallic = 1.00 (Reflects environment more)
(Roughness = 0.00) - Micro Normal Strength: Increases or decreases the strength of the micro normal effect.
- Blur: Softens or sharpens the micro normal effect.
- Expansion: Enlarges or reduces the micro normal areas.
- Color: Sets the redness color.
- Texture Settings: Displays the Range mask to define the facial part for adjustments in the Material sub-section.
