Generating Detailed Expression Wrinkles with Face Tool
Once the character's expressions are fully generated, if the Face Tool Plugin is installed, you can further enhance them by adding wrinkles with surface folds and shading effects, making the expressions more vivid and realistic.
- Create a character by either methods.
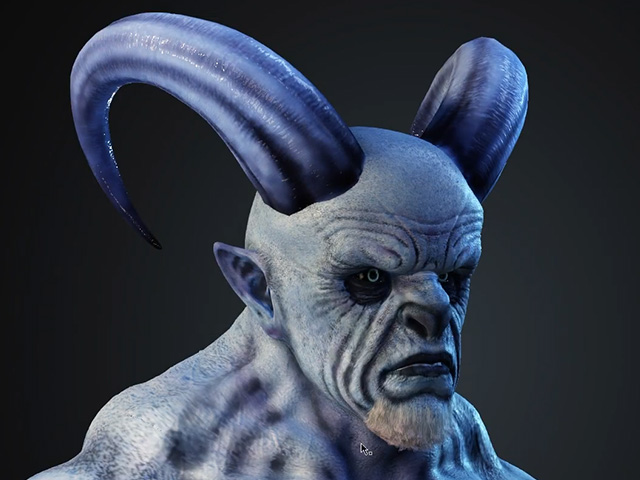
For better observation, minimize the bluish skin texture strength.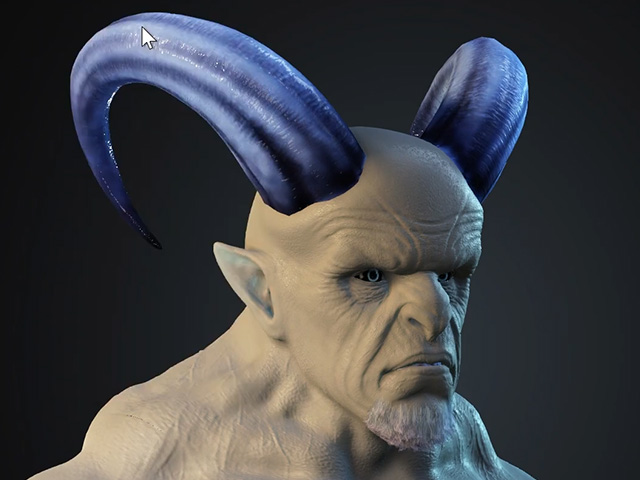
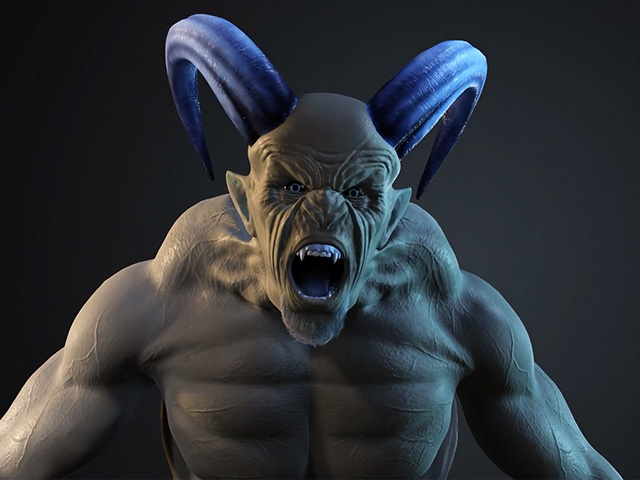
- Set a facial expression to show the default wrinkles.
Switch the character's display mode to Wireframe, as you can see the surface folds is quite flat.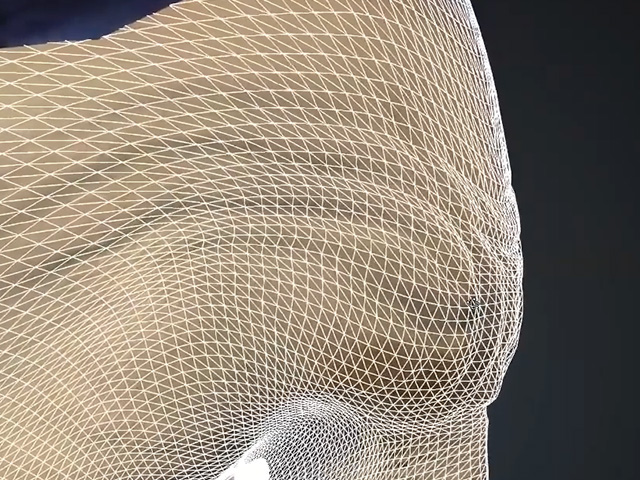
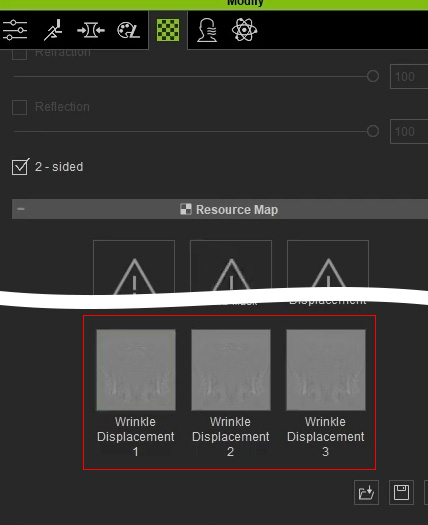
- Apply three Displacement textures from the Content Manager to the corresponding channels in the Resource Maps section.
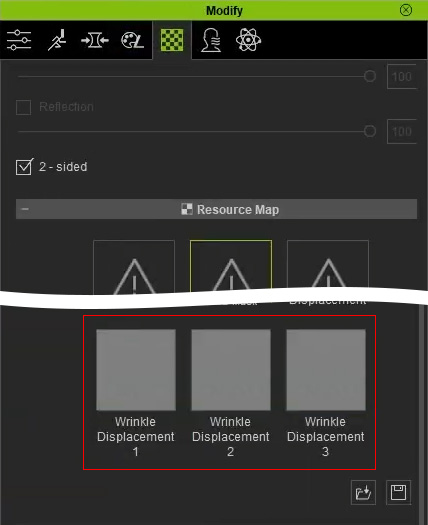
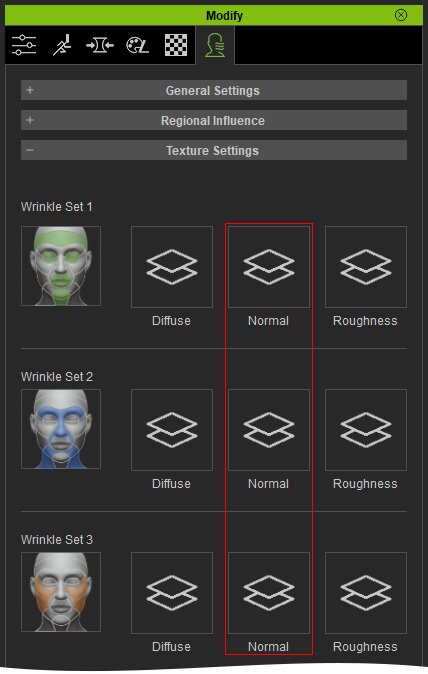
There will be no change on the face skin in the viewport. These three textures help reconstruct surface details in ZBrush. - In the Expression Wrinkle tab page, the Normal channels are currently empty because the character is using the embedded general normal maps.
- Click the Face Tool button on the Face Tool toolbar.

- Adjust the settings in the ZBrush Face Tools panel. Click the All and GoZ button to send all models to ZBrush for sculpting.
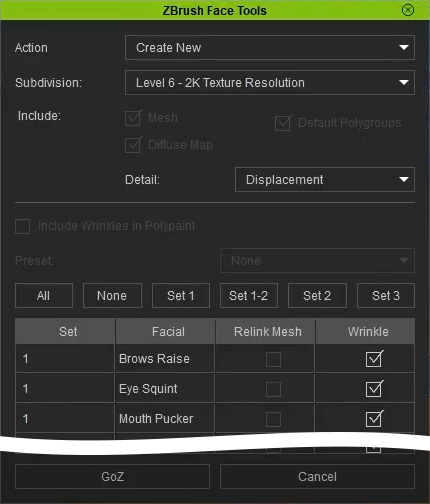
- Action: Create New to generate new models in ZBrush.
- Subdivision: Setting Subdivision to Level 6 will send all models subdivided to level 6 to ZBrush, allowing them to carry more detailed surface displacements.
- Detail: Choose Displacement to bring the three maps to ZBrush as well. The three displacement maps will show their impact on the model's surface detail once imported into ZBrush.
- In ZBrush, click the Brows Raise and Mouth Smile buttons (expression shapes) and sculpt the wrinkle details.

Note that when switching expressions, the facial bump details are generated through the collaboration by the three embedded normal maps and the three displacement maps.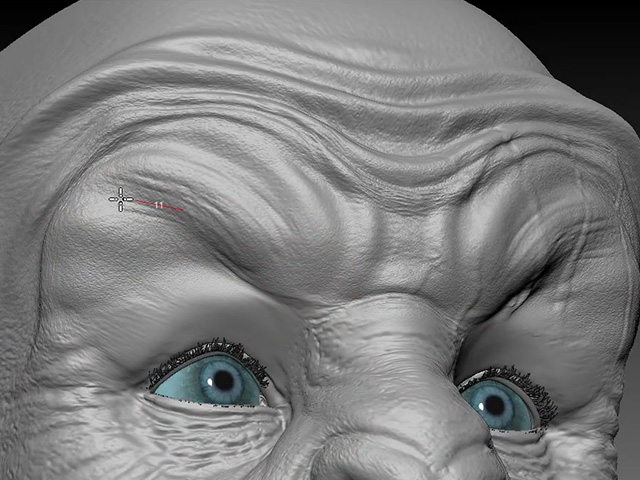
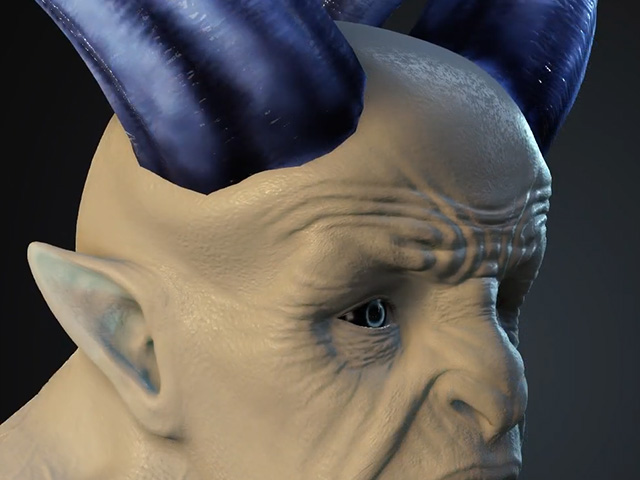
Browse Raise mode. Brush wrinkle details on the forehead and browses.
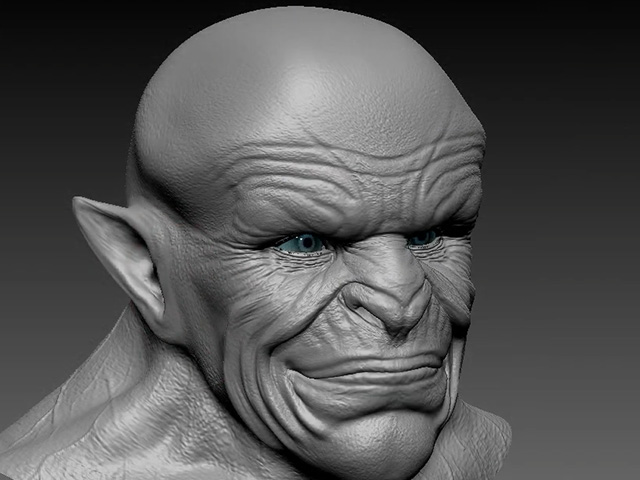
Mouth Smile mode. Brush wrinkle details on the surfaces encompass the mouth.
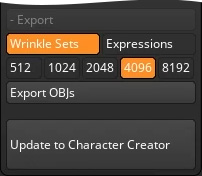
- Click the Update to Character Creator button on the Face Tools panel.
- Disable the left side setting since they are for base model with neutral expressions. Only enable the settings on the right and complete them according to the image below. Click the Update to Character Creator button to transfer all data back to Character Creator.
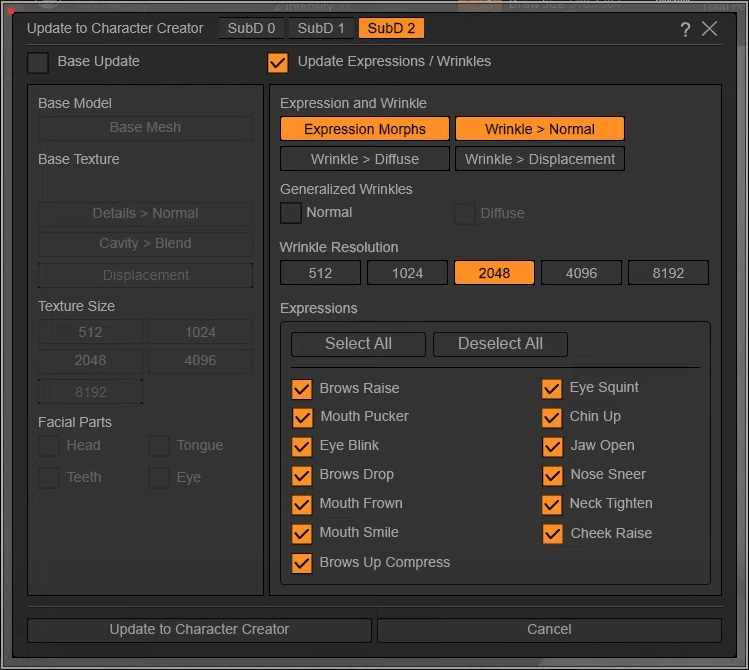
- Subdivision Level: Set the SubD 2 for sending the modification results to the Character Creator subdivision level 2 model.
- Update Expression / Wrinkles: Activate the checkbox and enable the Wrinkle > Displacement, Expression Morphs and Wrinkle > Normal settings. The system will automatically distribute the facial expression details individually to the expression shapes, Displacement maps and Normal maps.
- Wrinkle Resolution: Choose the desired resolutions for the maps.
- Expressions: Select the expressions that have been detailed.
- The three displacement maps will be updated.
The three normals in the Expression Wrinkle page are also updated with the details from ZBrush modification.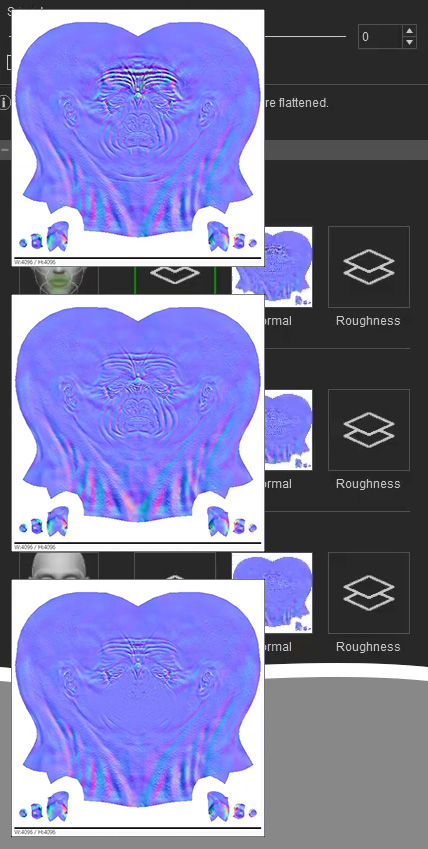
- Use either expression-generating features in Character Creator to preview the results.
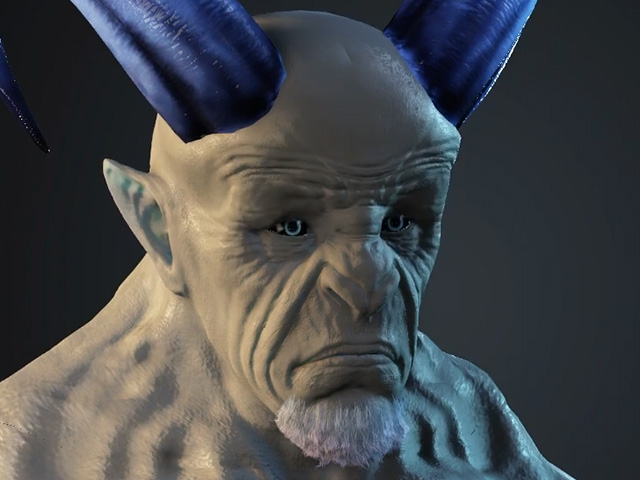
Browse raise with more wrinkle details.
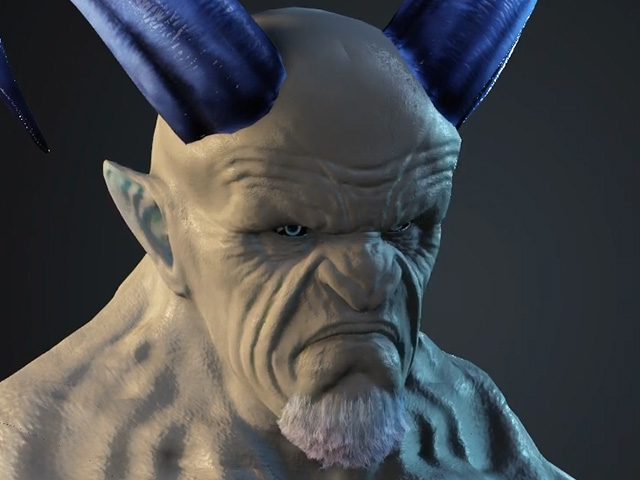
Mouth smile with more wrinkle details.
- If you create facial expression animations to the character, the wrinkle details will be displayed correctly.