Adjusting Expressions for Characters with OBJ Batch Importing
In order to modify the facial expressions for standard or humanoid characters, you can export the character in OBJ format, edit the OBJ file with 3D tools, such as Maya, 3ds Max, Blender, etc., and use the Batch Import feature provided by Facial Profile Editor to update the existing sliders or even add new custom sliders.
-
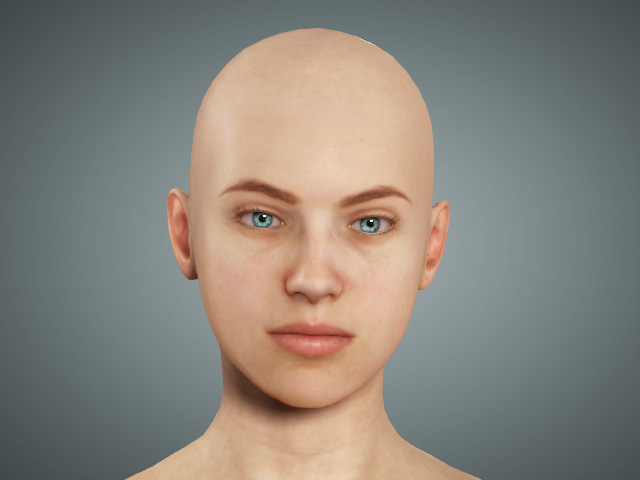
Apply a standard character.
-
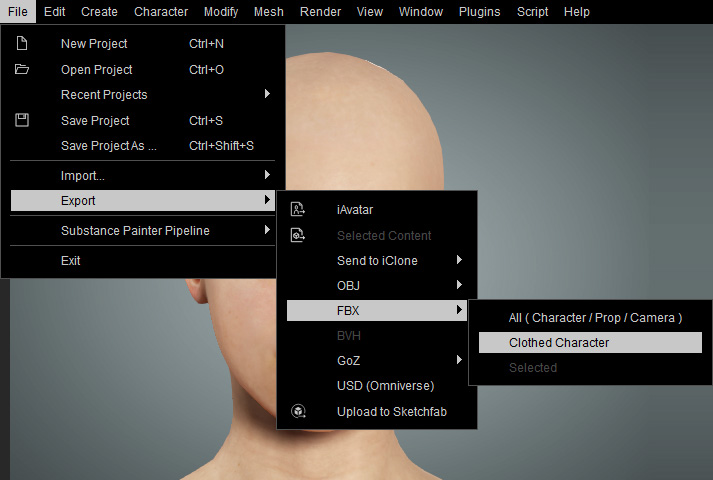
Export the character in FBX format.
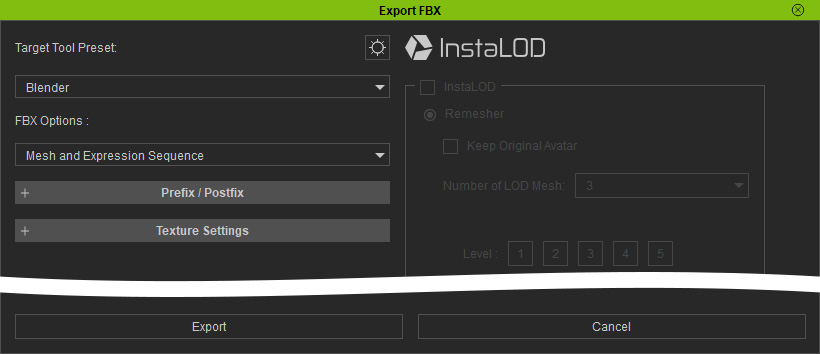
- In the Export FBX panel, select the Target Tool Preset
and make sure to choose Mesh and Expression Sequence from the FBX Options drop-down list.
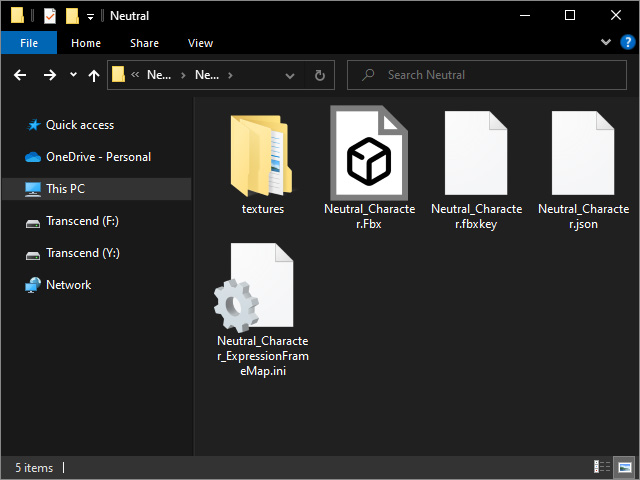
- Click the Export button to create a new folder and some files
resembling the following image. Make sure to not edit the FbxKey file.
-
Import the FBX file into your favorite 3D application.
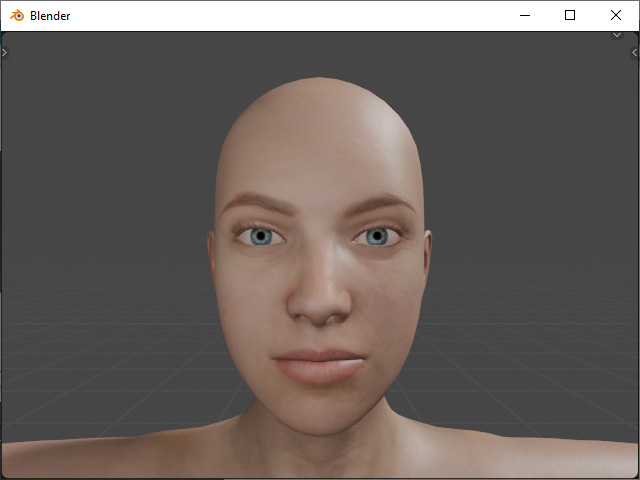
- You will see keys in the timeline.
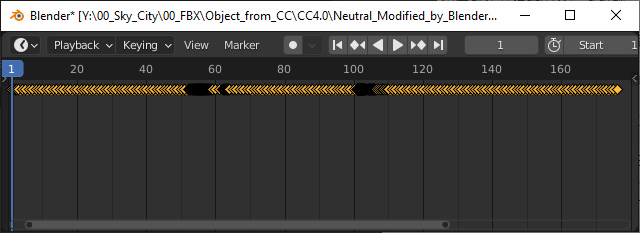
Each key represent a maximum movement of the blending sliders; for example, frame 118 shows the value of 100 for the slider.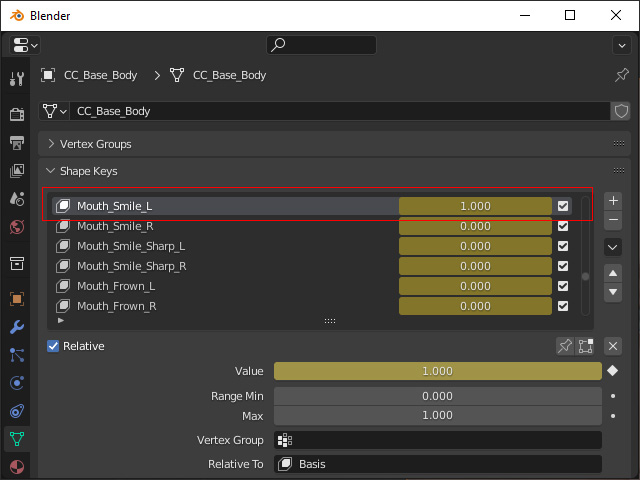
- You can then edit the mesh to modify the maximized facial expression until you are satisfied.
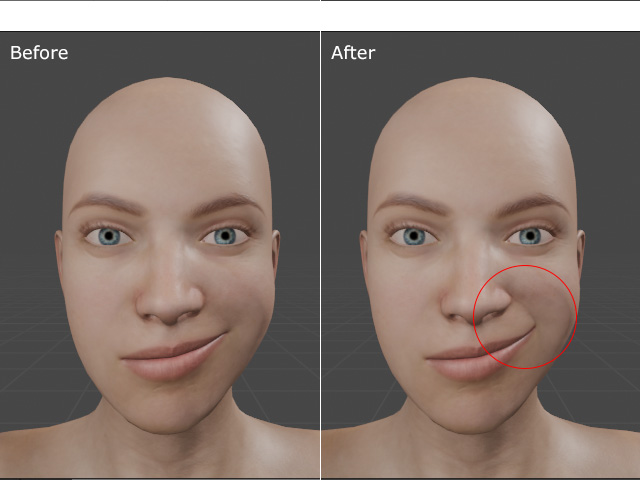
** Vertex number should never be changed when you are editing the mesh. - Export the edited model in OBJ format into a custom folder.
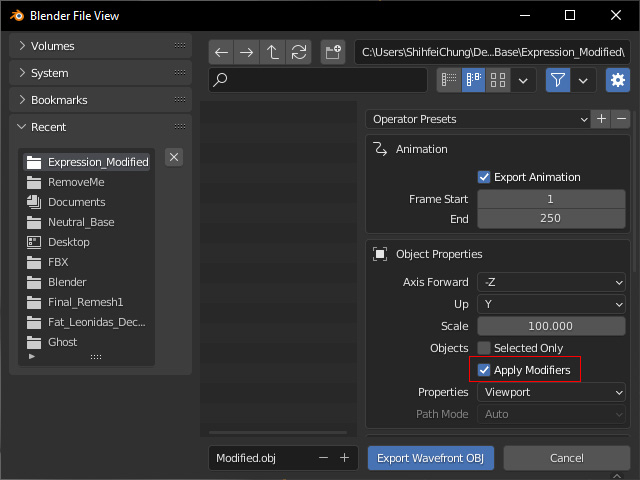
- In this case, the Animation checkbox must be activated, the Frame Start and End values be set for exporting OBJ files by frame with morphed expressions.
- Set the Scale to 100.000.
- Also, activate the Apply Modifiers to include the morph results.
- You will get sequenced OBJ files with number suffixes. Go to the specific number for which the morph was sculpted in prior steps. Rename it as the one in steps 6.
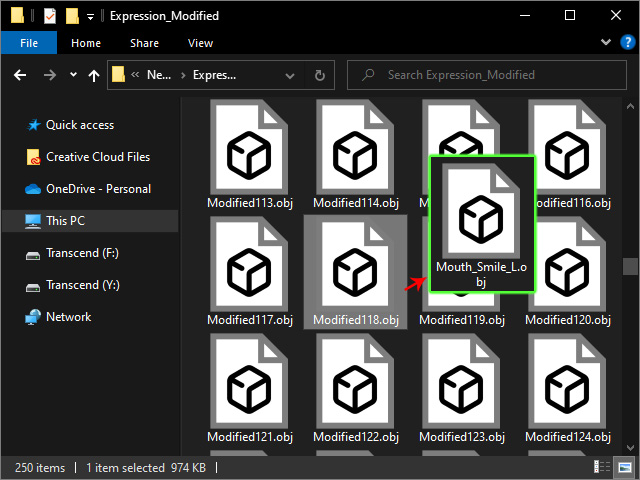
Repeat the same step for the OBJ files with sculpted morphs. - In Character Creator, activate the Facial Profile Editor.
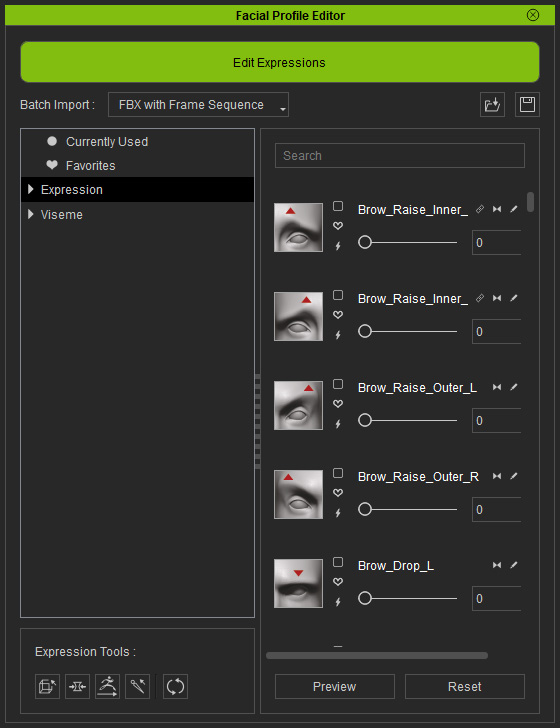
- Load the folder with the modified OBJ files using OBJ File in the Batch Import drop-down list.
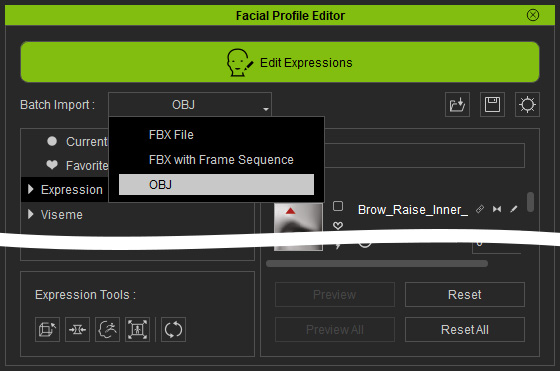
- Click the open file button to import all OBJ files.
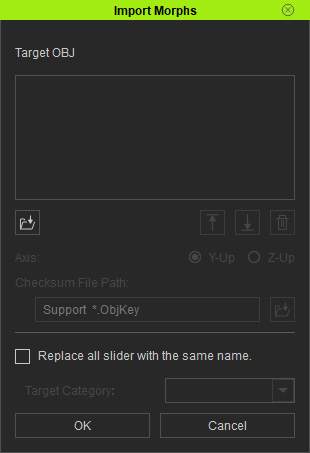
- Click the open folder button and pick the directory with all the exported OBJ files to load the modified OBJ file, all blend-shapes will be listed in the Target OBJ list.
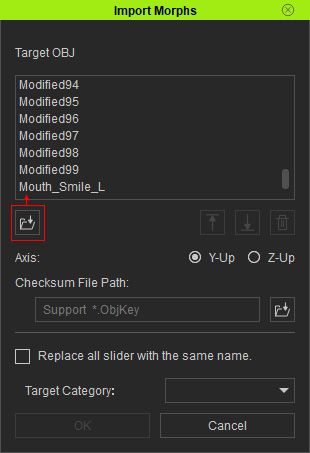
- Click the Up/Down buttons to re-order the morphs.
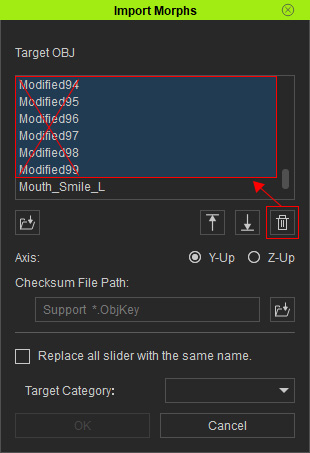
- If you want to remove unwanted morphs, then select them and click the Remove button. In this case, only Mouth_Smile_L is kept.
 Replacing All Sliders with the Same Name.
- Activate the Replace all sliders with the same name. checkbox.
This step will replace the morph in the embedded categories with one
of the same name in the Target OBJ list.
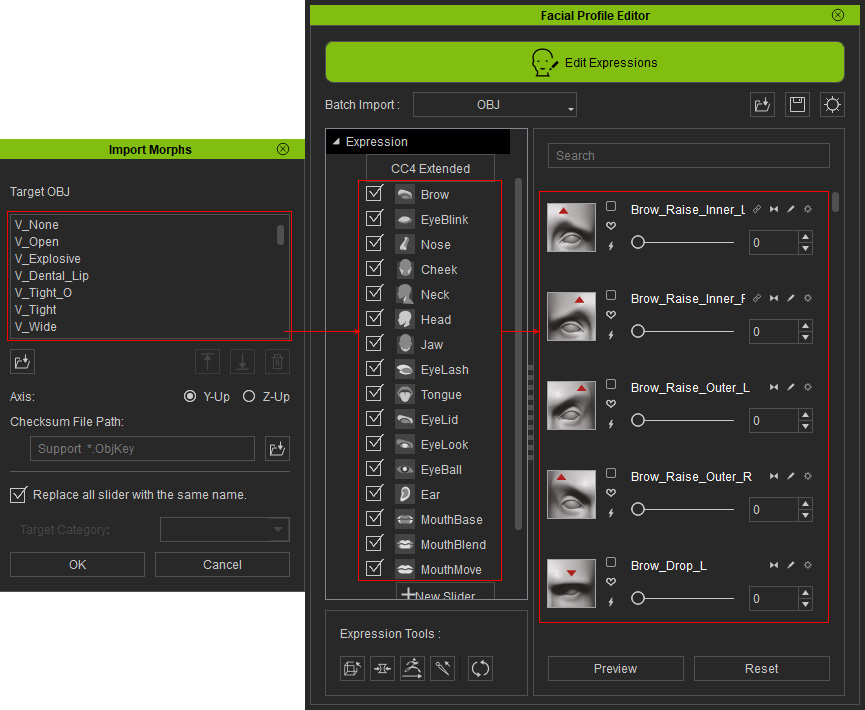
- Click the OK button to make the replacement.
-
Adjust the modified sliders to
different values to see the modification.
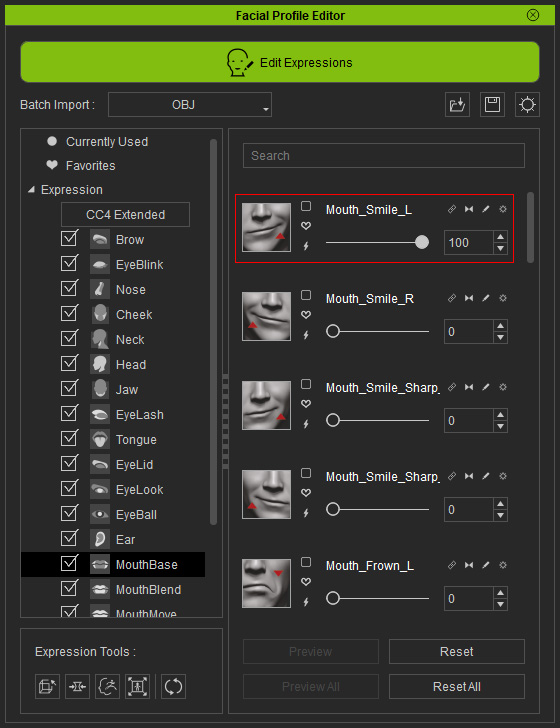
Before and after the modification with the same slider set at "100":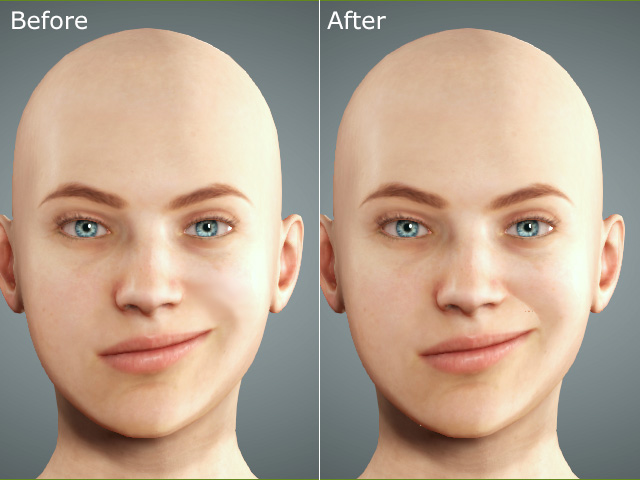
Creating New Expression SlidersThis method will add all items in the OBJ Morph List into a custom category.
- Make sure the Replace all sliders with the same name. checkbox is deactivated.
- Type in a desired name in the Target Category.
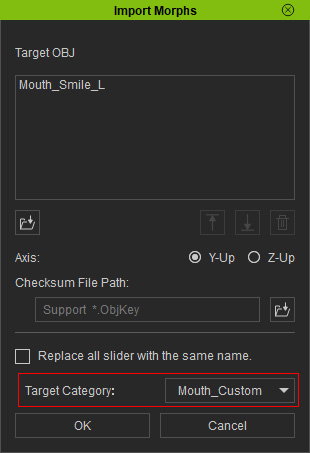
- Click the OK button to proceed.
- You will find a new category of the custom name in which all items in the Target OBJ list are kept.
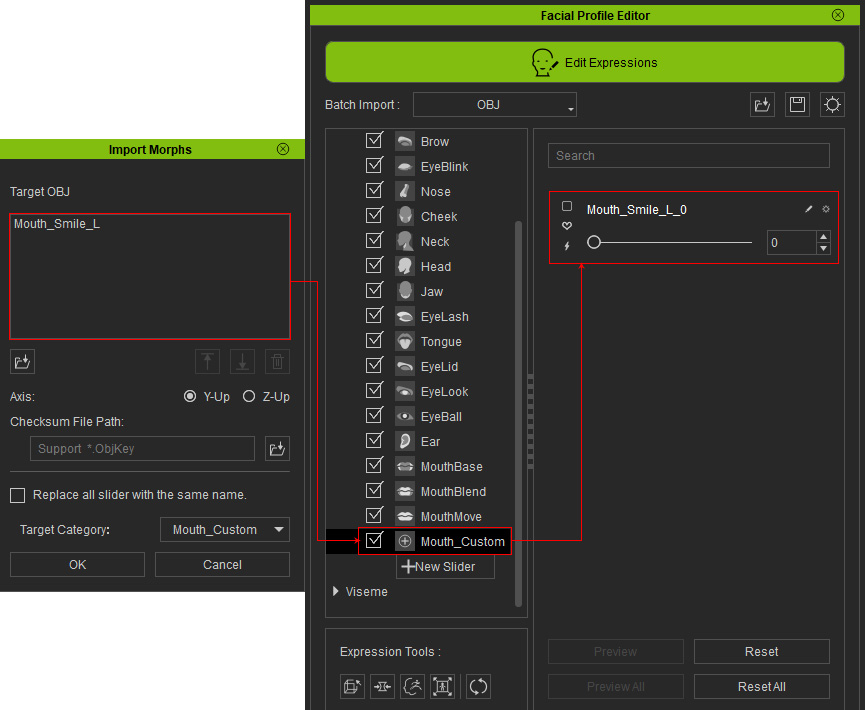
Drag the slider to observe the effect.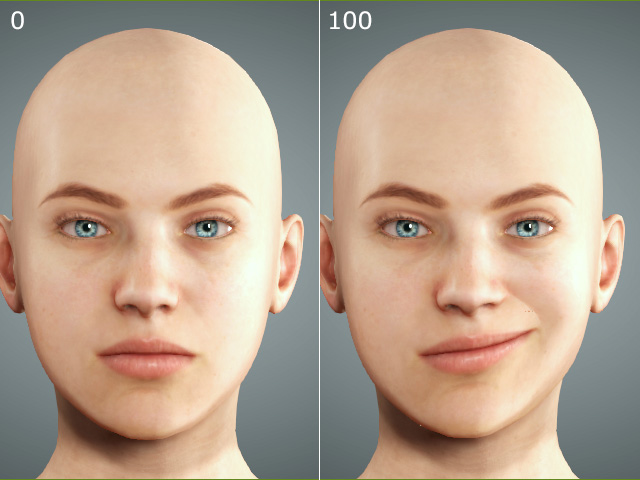
- Activate the Replace all sliders with the same name. checkbox.
This step will replace the morph in the embedded categories with one
of the same name in the Target OBJ list.
