Morphing Eyelashes
Whether using legacy or new eyelashes, their shape can be adjusted using morph sliders. Please note that the morphing sliders can be used to adjust both legacy and new eyelashes simultaneously.
Morphing Eyelashes
-
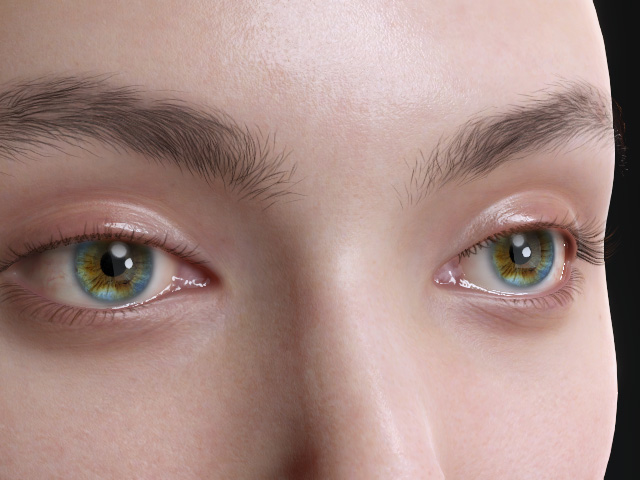
Create a new project of Character Creator, move the camera for
close-up of the eyes.
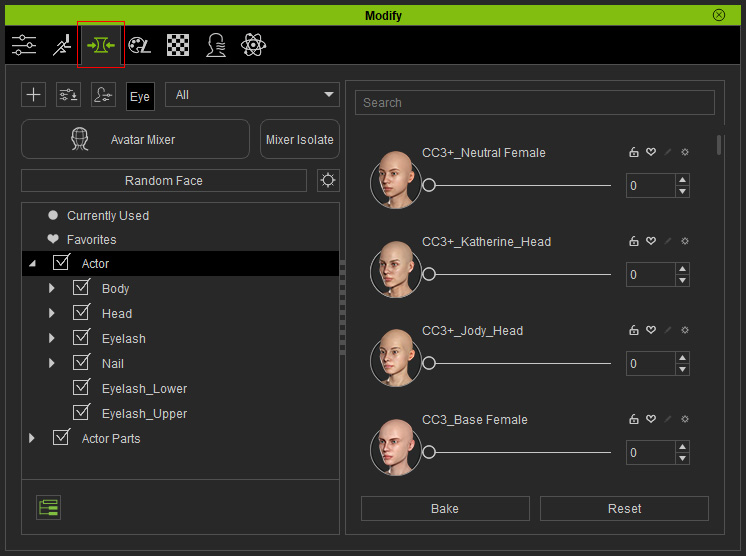
- Click on the Morphs tab in the Modify
panel.
-
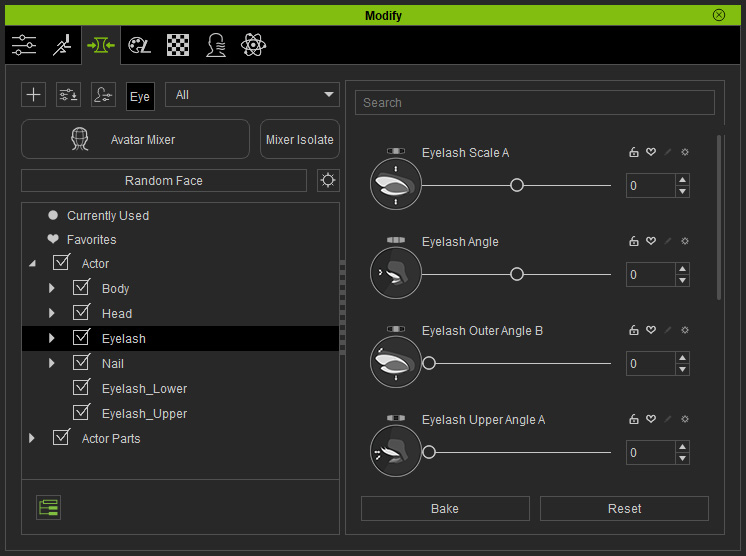
Select the Eyelash sub-node from the tree-view.
-
Adjust the eyelashes by dragging the slider or entering a value into
the combo-box.
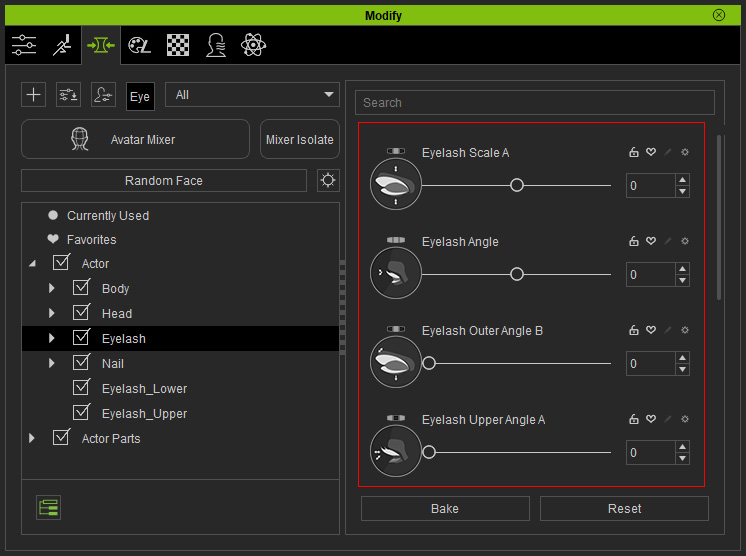
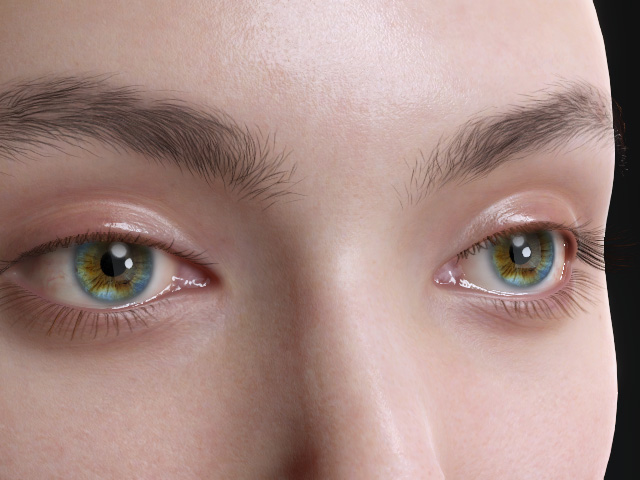
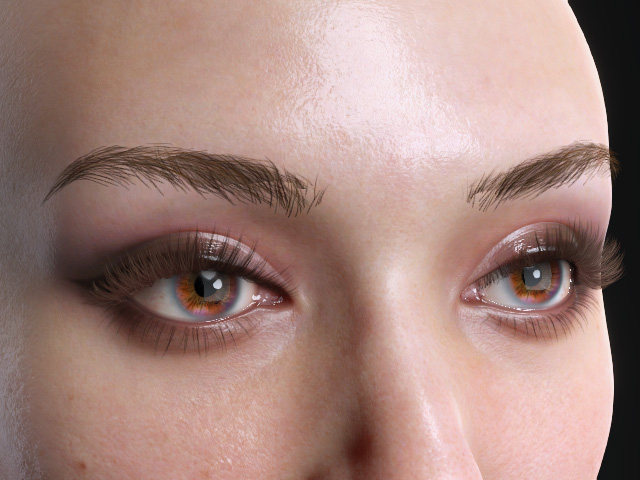
The eyelashes change before and after the adjustments.
Morphing Upper or Lower Eyelashes
In the previous section, the morphing sliders adjusted the shape of both the upper and lower eyelashes simultaneously. In this section, however, you can fine-tune the shape of the upper and lower eyelashes separately.
Taking the eyelashes at the end of the previous section as an example:
- Adjust the eyelashes through the basic morph slider as described in the previous section.
- In the left tree view, you will see the Eyelash_Lower and Eyelash_Upper items.
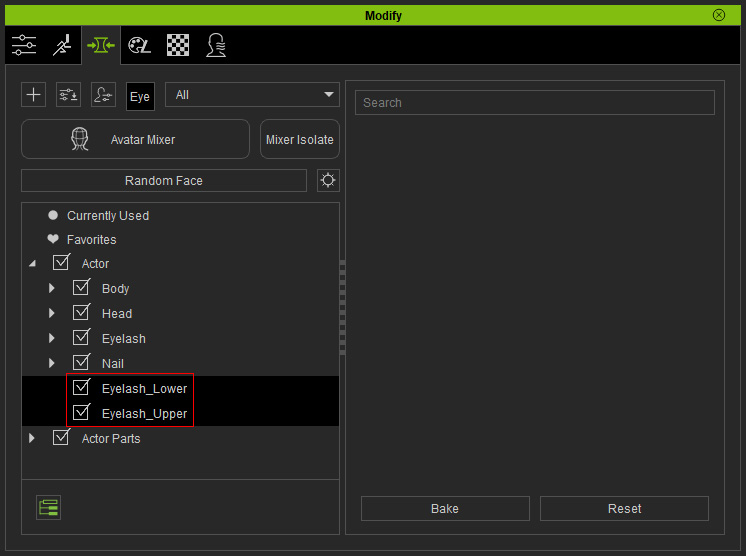
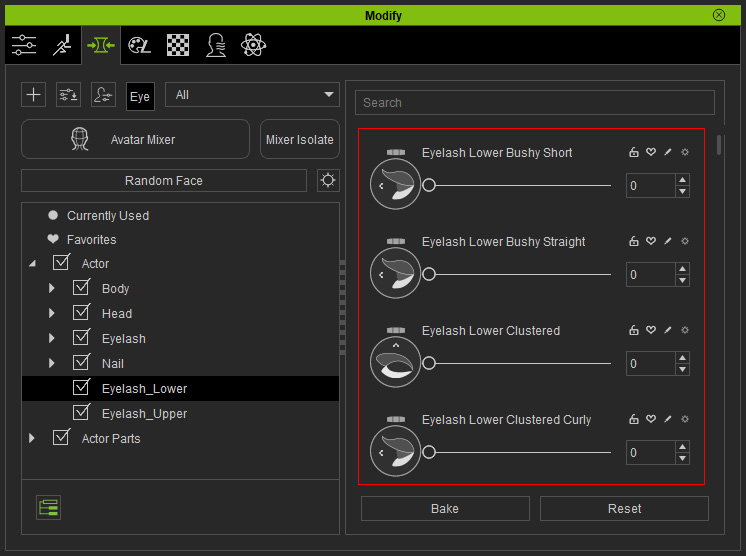
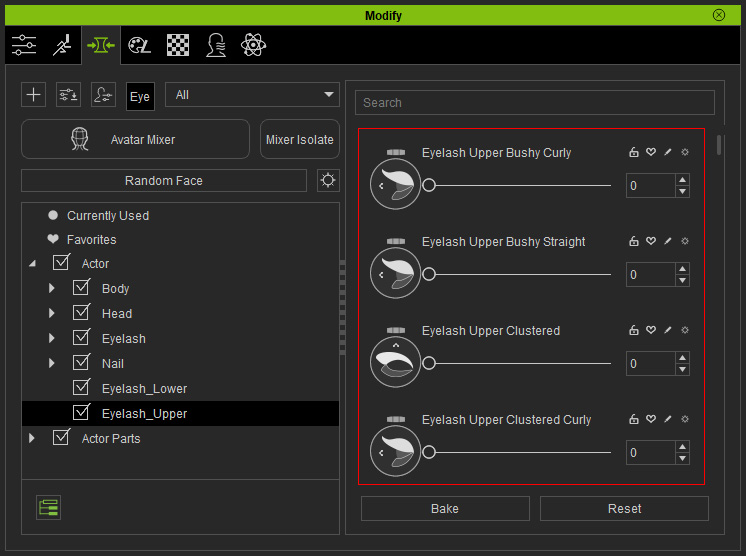
- In either of the items, there are morphing sliders for adjusting the upper or lower eyelashes.
- Eyelash_Lower:
- Eyelash_Upper:
- Eyelash_Lower:
- You can then adjust the upper or lower eyelash individually (in this case, the upper).
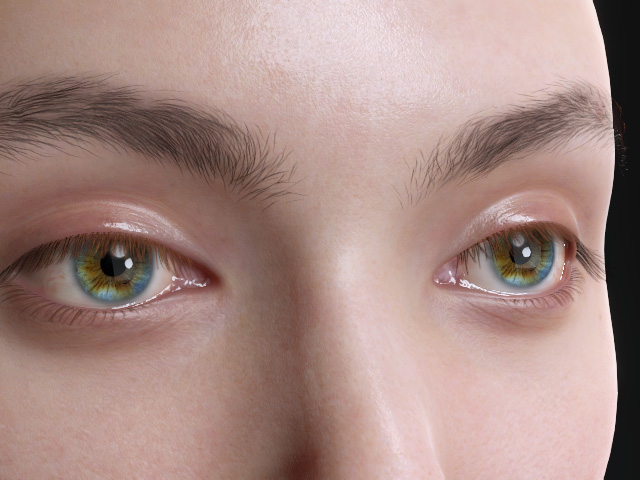
Only the upper eyelashes change before and after the adjustments.
Using Specific Morphing Sliders for Eyelashes
Since each new eyelash template comes with its own morphing data, you can fine-tune its shape using the corresponding morphing sliders. Note: The following steps apply only to the new eyelash templates.
- Apply new eyelash template from the library (the Upper Eyelash template is taken as an example).
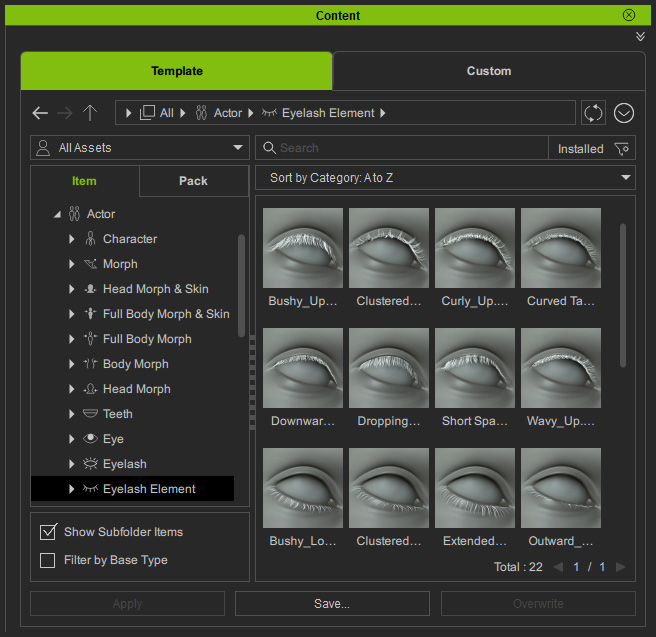
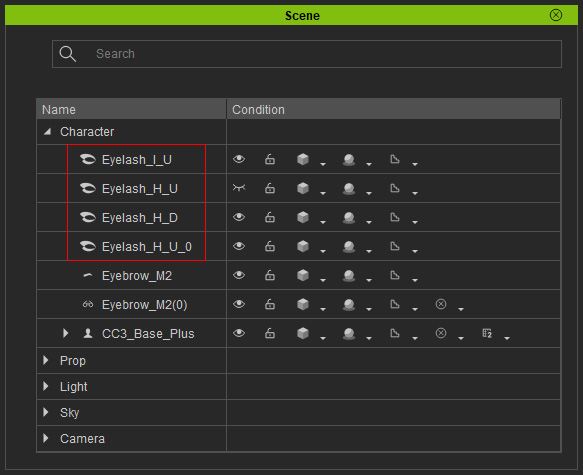
- Check out the name of the template on the Scene Manager.
- Choose the Currently Used item in the Morphs > Left Tree view.
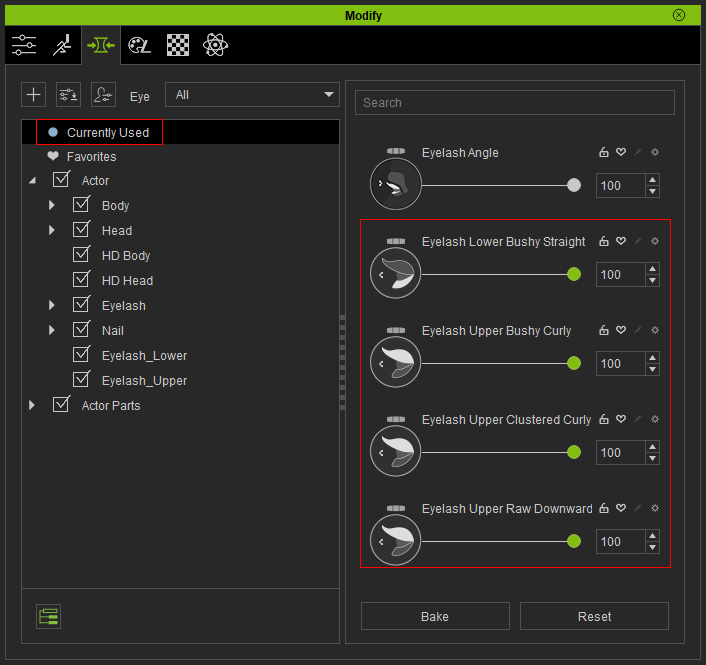
- Adjust the sliders for further editing the eyelash meshes.
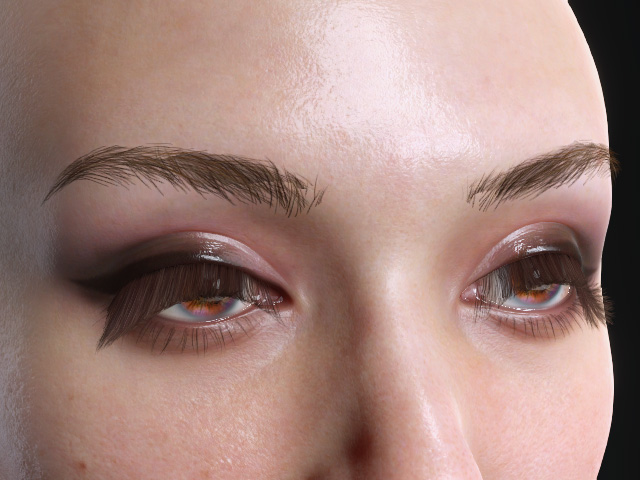
Before adjustments
After adjustments
