Basic Modifications for Head Texture
This page is for CC1 and G6 Characters only, For CC3+ and CC5 HD characters, please refer to SkinGEN Editor and Skin Base for Characters for more information on the appearance tab.
The basic modifications for texture involve adjustments with sliders. In this section, the texture of the character's head will serve as an example.
-
Create a new project.
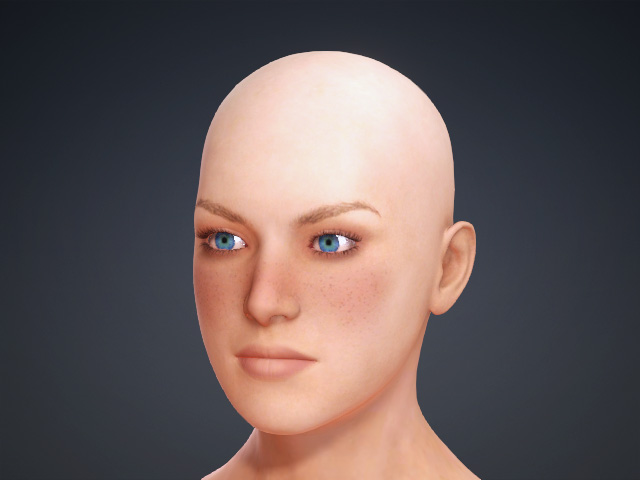
-
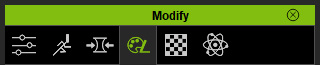
Go to the Modify (panel) >> Appearance
(tab).
-
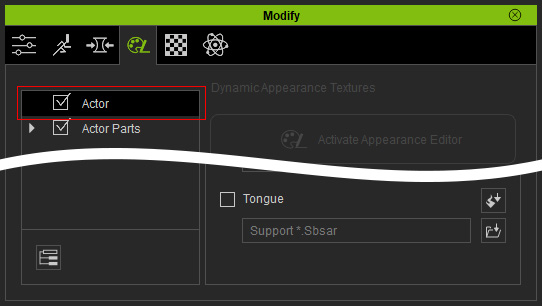
Select the Actor in the tree view.
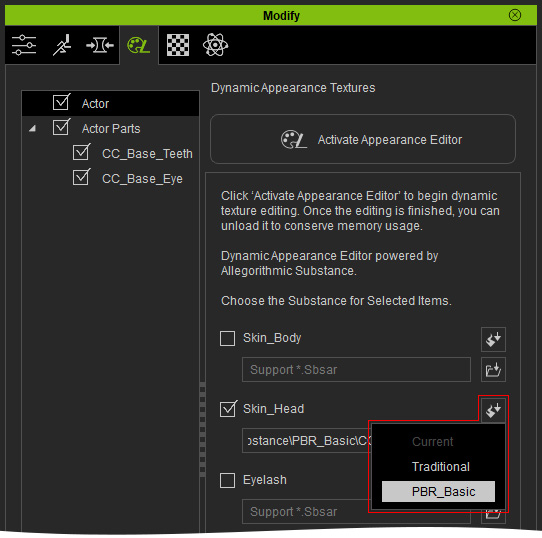
- Click the Select Substance Material button and choose the PBR_Basic item from the drop-down list.
-
Click the Activate Appearance Editor button at the top-right of the
panel, click the Yes button if you encounter the inquiry dialog box.
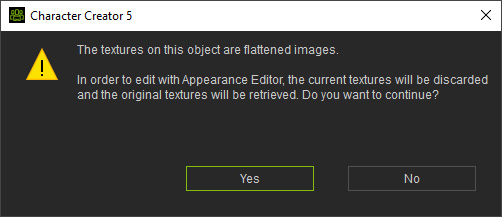
The original texture will be retrieve and replace the character's textures.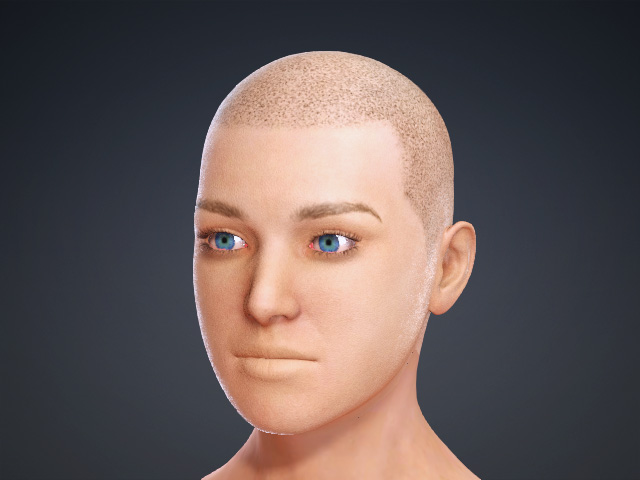
- Enable the Show Sub-item feature by pressing down the button. The panel will show the sections of adjustable parameters belonging to the
character.
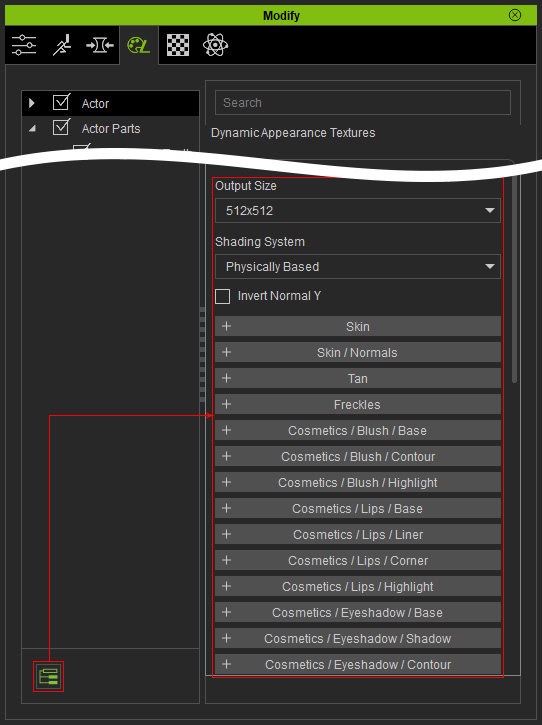
 Note:
Note:Each character contains multiple substance materials which is composed of numerous parameters and images. This can increase the load on your system if the details of the substance materials are initially displayed, therefore, the settings inside are hidden by default. You need to click the Activate button in order to open the substance material for further adjustments.
-
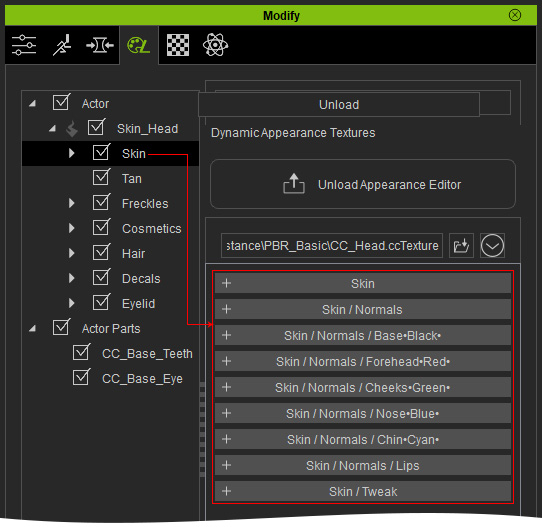
Select the desired sub node under the Actor (in this case, the Skin_Head >>
Skin). The related sections of settings are listed in the right
pane of the panel.
-
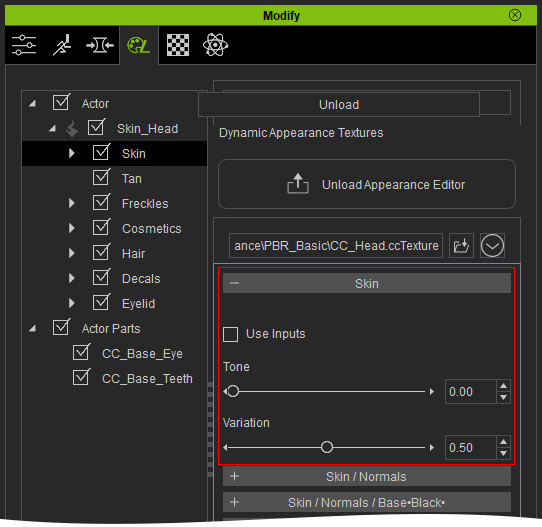
Open the desired section (in this case, the Skin
section).
** Notice that If you want to blend in the original texture, then activate the Use Inputs checkbox.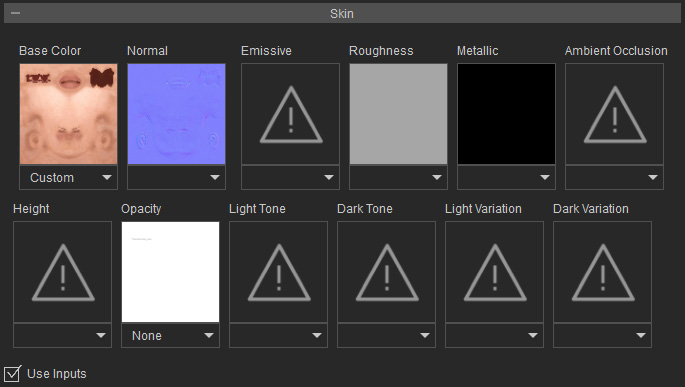
You will see the character's texture becomes the blending result, however, this method is mutually exclusive with the Tone and Variation settings.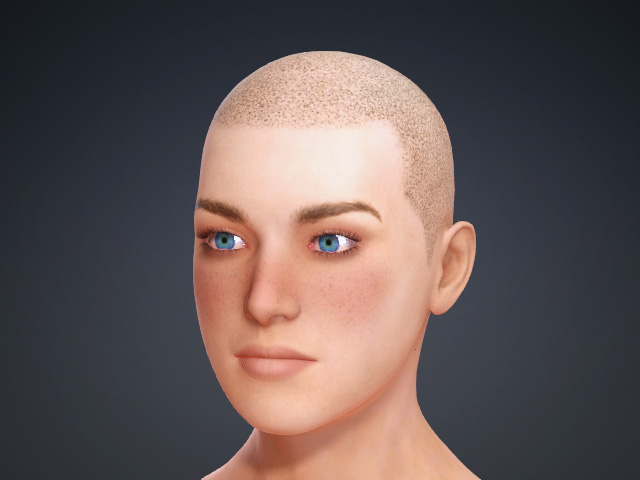
-
Adjust the Tone and Variation sliders in this section to create the basic texture look for the character.
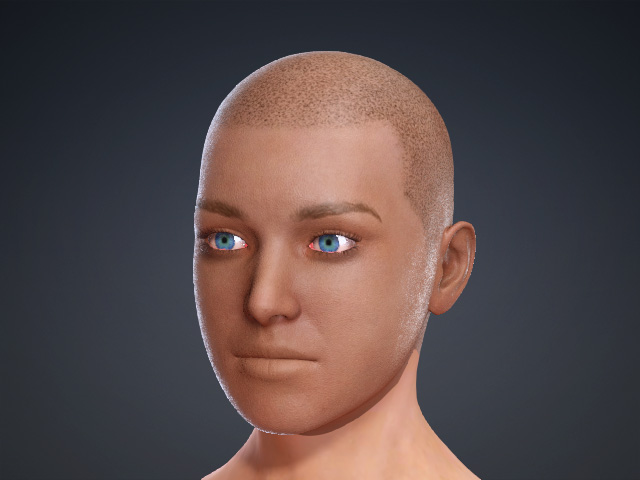
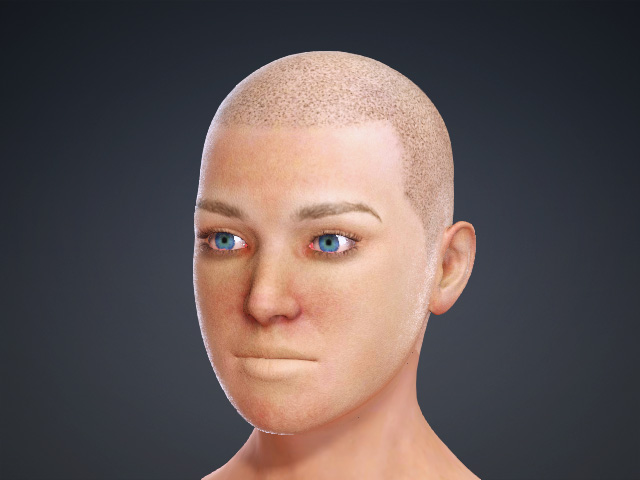
Tone: Append the tone of the skin, the higher the value is, the darker/deeper the skin color becomes.
(0.00 ð 0.50)Variation: Determines the unevenness of the skin color.
(0.50 ð 1.00) -
In the Tan section, activate the Enable checkbox and adjust the parameters to generate a suntan
effect.
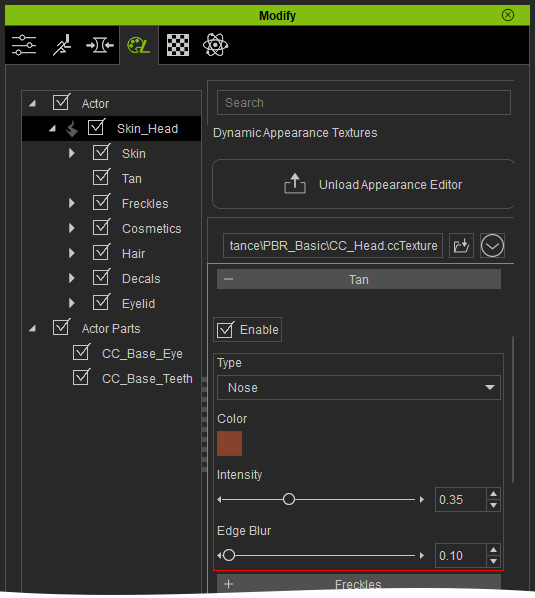
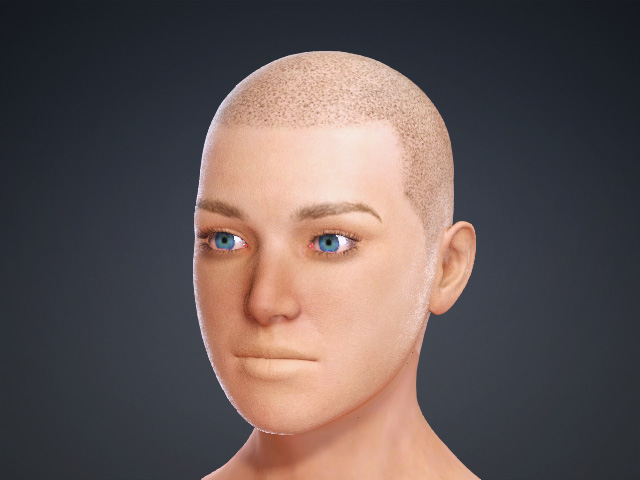
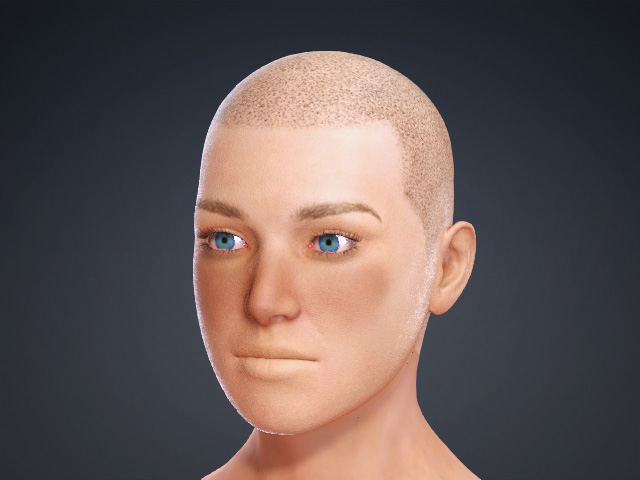
Type: Nose
Type: Cheek
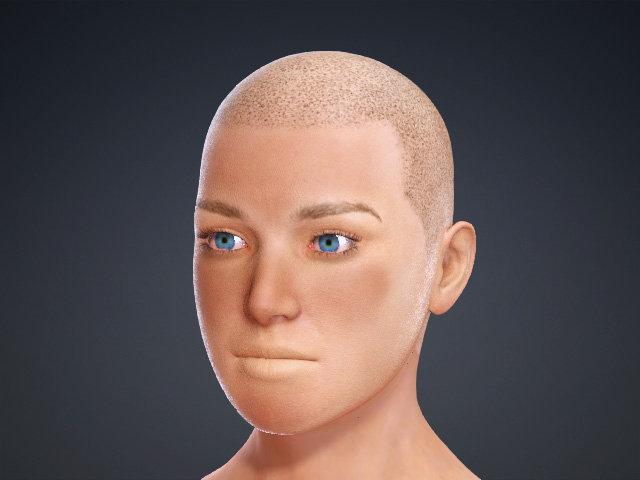
Type: Sunburn (entire head)
-
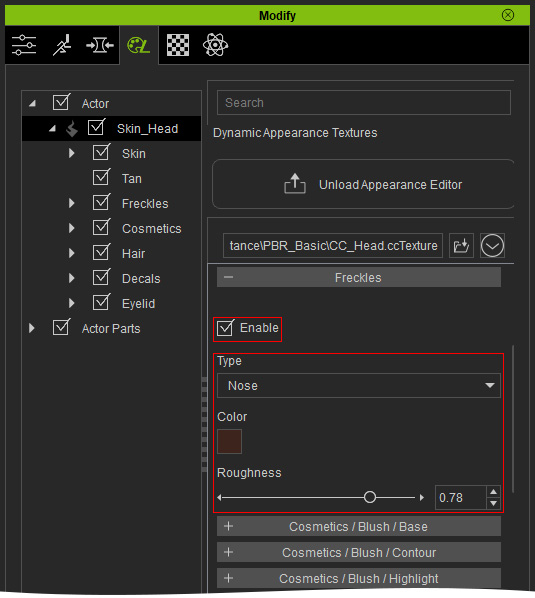
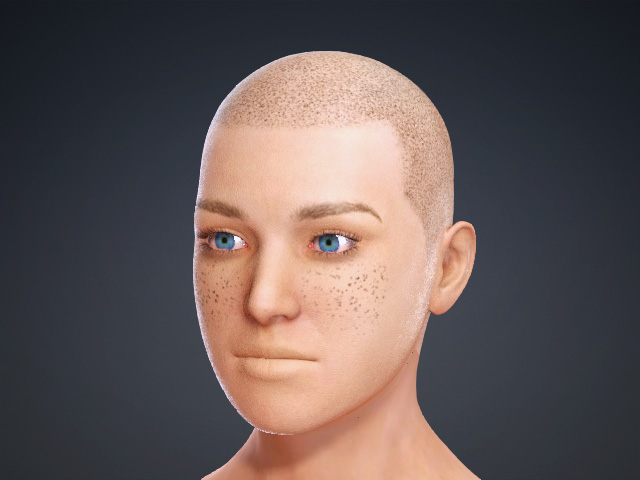
In the Freckles section, adjust the parameters to add
freckles to the face.
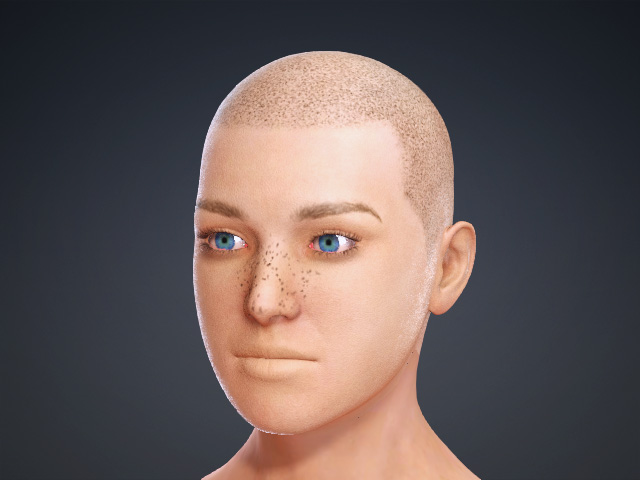
Type: Nose
Type: Cheek
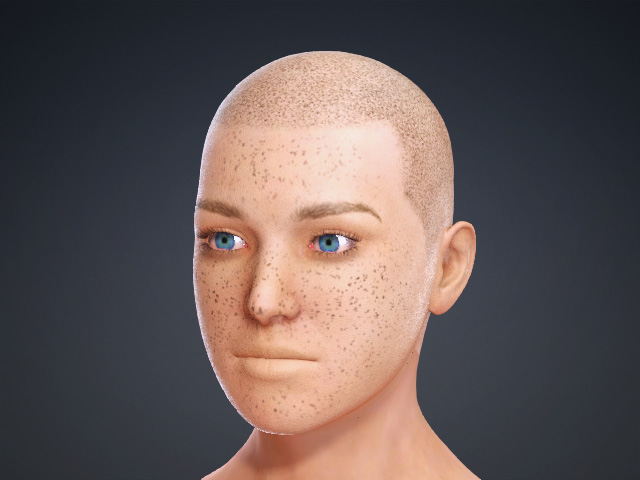
Type: Face (freckles on the entire face)
- In order to make each freckle with less uniform look, increase the
Randomize Opacity and Randomize Scale values in the Freckle / Pattern section to set random
values to the opacity and size for each freckle.
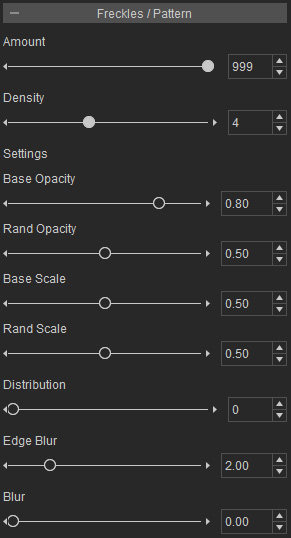
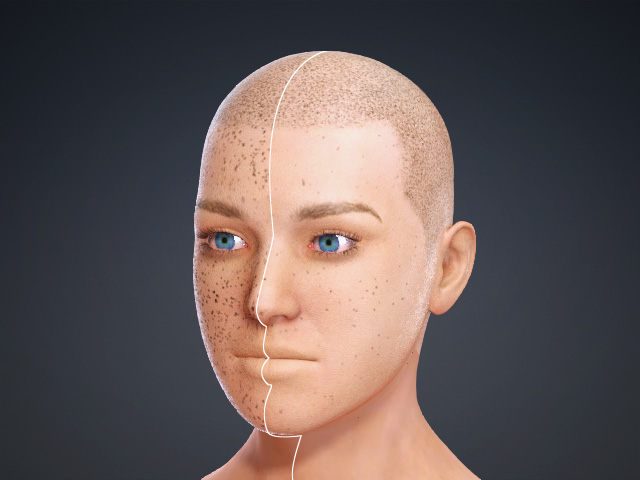
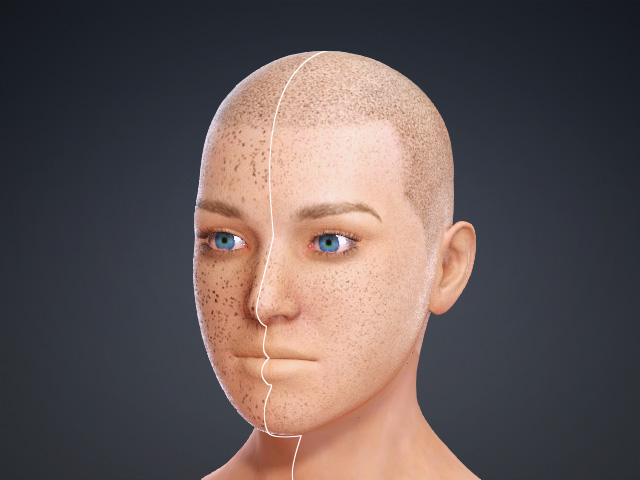
Amount: sets the number of freckles.
(999 --> 100)Density: sets the tiling times of the freckles
(2 --> 5)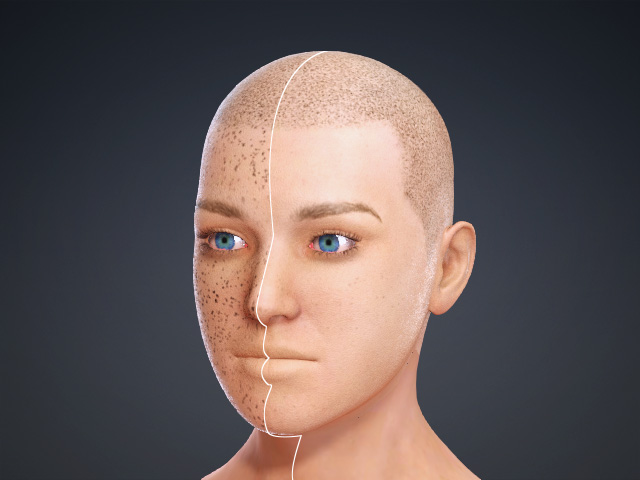
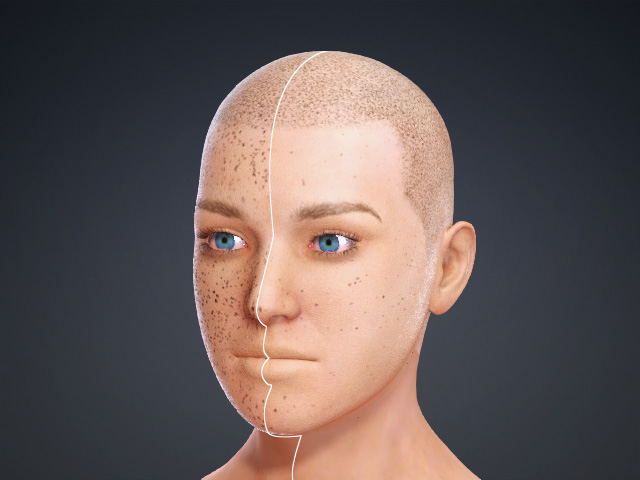
Base Opacity: sets the opacity of all freckles.
(0.80 --> 0.20)Rand (Random) Opacity: sets the random opacity for all freckles
(0.50 --> 5.00)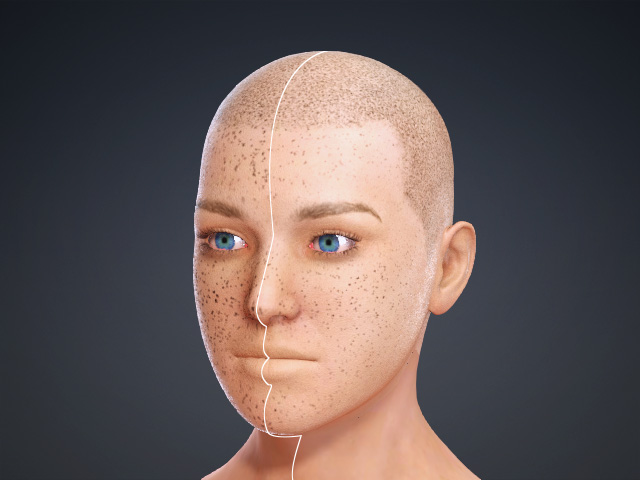
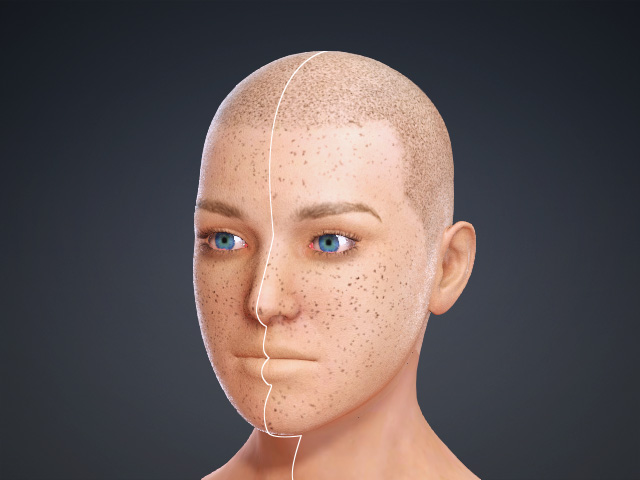
Base Scale: Sets the size for all freckles.
(0.50 ð 0.35)Rand Scale: Sets random size values to each freckle.
(0.50 ð 1.00) - You can still try another settings in the sections to modify the skin details.
