Recording New Poses in ZBrush
You may choose to use the Gizmo 3D tool and the Transpose Master to pose your ZBrush character.
- Click on Zplugin > ZBrush Pose Tools from the menu bar.
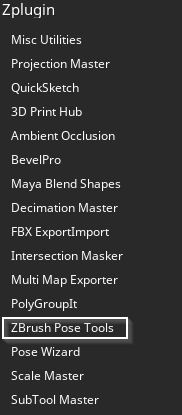
The ZBrush Pose Tools panel will open.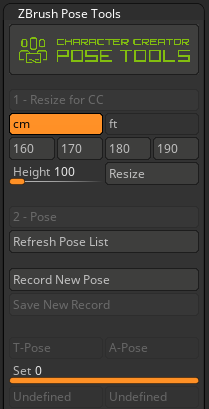
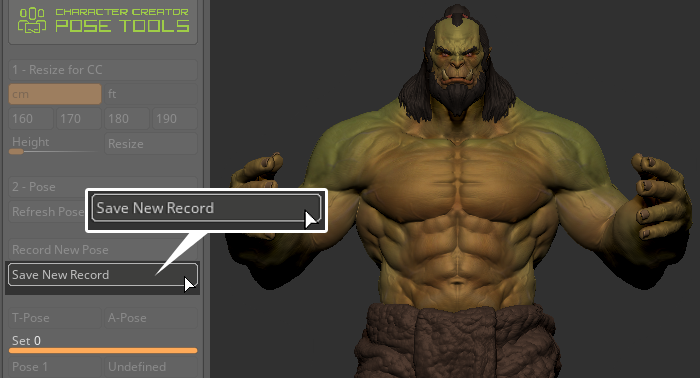
- Click the Record New Pose button and use the Gizmo 3D tool to pose the character.

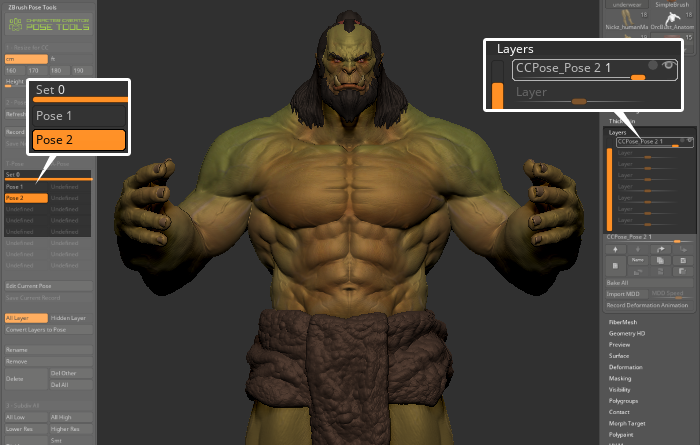
A new layer with the “CCPose_” prefix will be added to the top of the subtool layer list.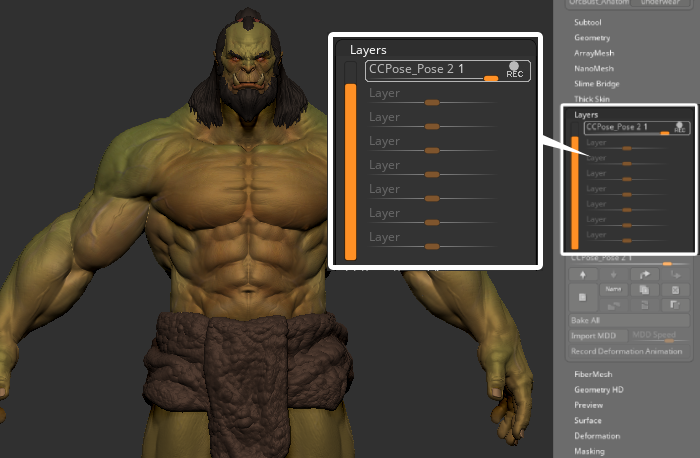
- Most of the UI for ZBrush Pose Tools and ZBrush Layers will be grayed out, implying that it’s in recording mode.

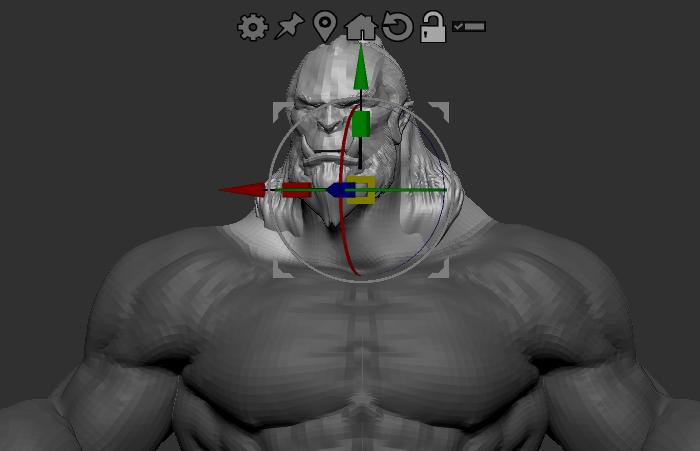
- Use the Gizmo 3D tool to edit and shape the individual poses of the tool.
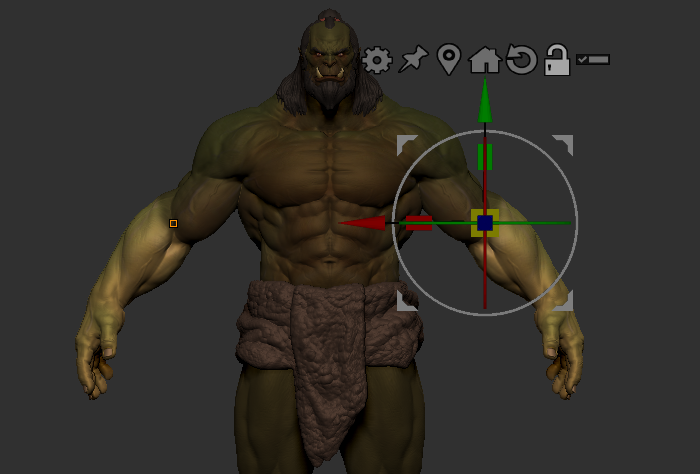
- Once the editing is complete, click the Save New Record button to complete the editing process.
- Modifications will be stored in ZBrush Pose Tools and ZBrush Layers.
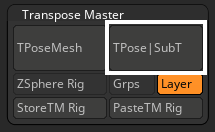
The plugin can be used to save the information in layers as poses, which enables users to switch between poses quickly without having to spend time adjusting the layers for each subtool repeatedly. - Using the Transpose Master to pose, first click on Zplugin > Transpose Master > TPoseMesh.

- Start to edit the pose and shape of the tool.
- Once you are done editing, go to Transpose Master and make sure Layer is turned on. This will create a new layer per subtool when saving your new pose.
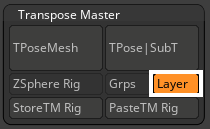
- Click the Tpose I SubT button to convert the pose to subtools layer.
In the Layers section, you will see a new layer has been added to all your subtools.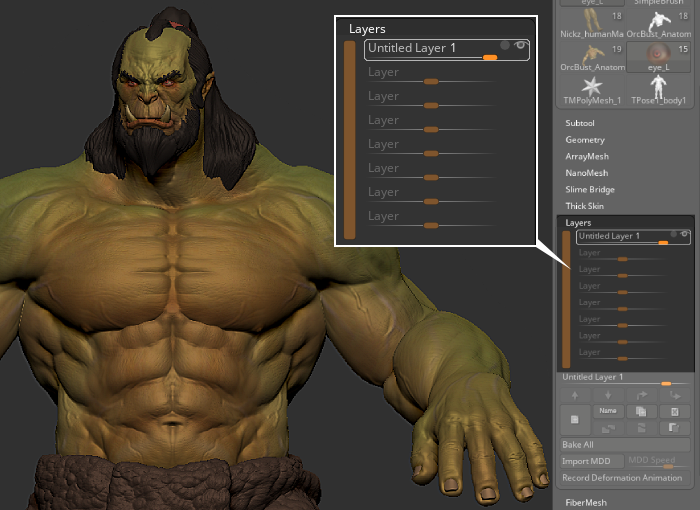
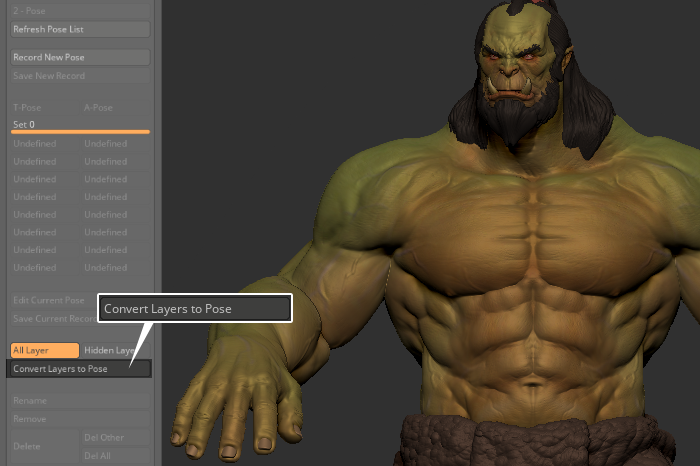
- Open ZBrush Pose Tools, and use the Convert Layer to Pose feature to turn the layers into a pose managed by ZBrush Pose Tools.
- Go to the Pose section and check if the pose is stored correctly.
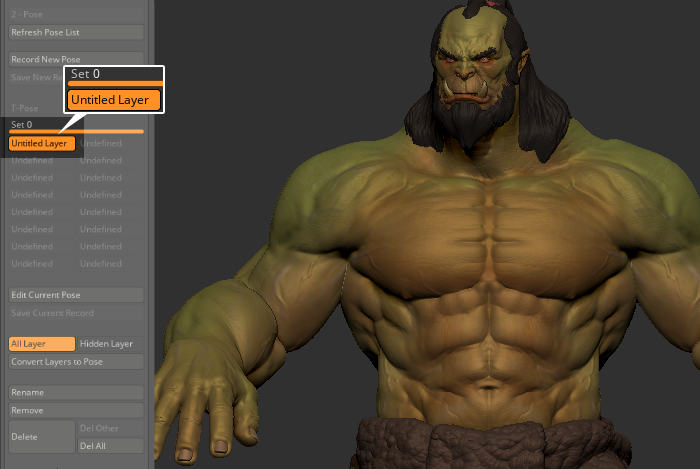
- Click the Rename button to change the name of the pose.

