Preparing ZBrush Model for Auto-Rigging in AccuRIG
To streamline the auto-rigging process, it is essential to optimize your ZBrush character. Two primary methods can minimize performance impact during rigging: reducing the mesh size at the lowest level and excluding hard mesh items from skin-weight calculation during the Binding Pose.
Maintaining a logical arrangement of apparel and accessories on the character is crucial for effective rigging and animation. In ZBrush, this is accomplished by separating hard surface items into separate subtools. When transferred to AccuRIG, these hard surface items won't be influenced by skin weights; instead, they will be connected to the nearest bone in their respective proximity. An important benefit of this is that the attached accessory items will not deform when another pose is applied.
- In ZBrush, make sure to separate subtools into soft and hard surface items. For example, knee guards and shields are hard surface items, while clothes and the body are considered soft surfaces.
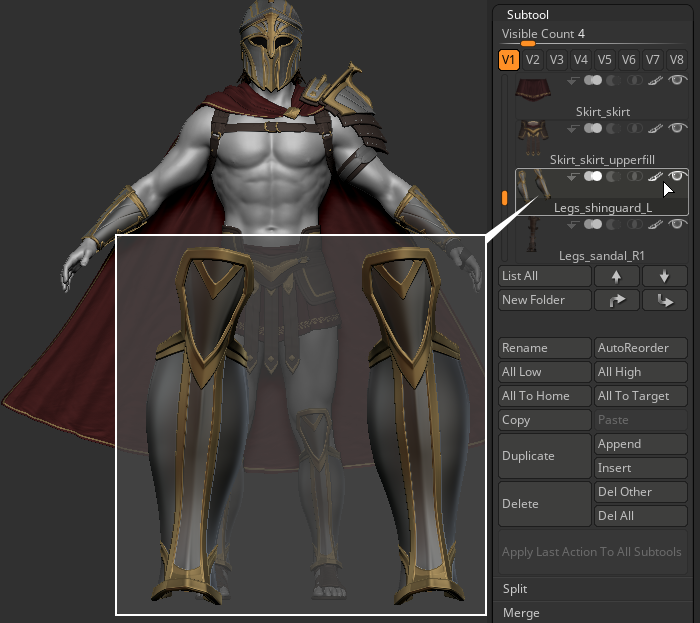
Because hard surfaces are converted to accessories in Character Creator AccuRIG, they need to be separated into left and right components so they can be appropriately attached to their corresponding bones.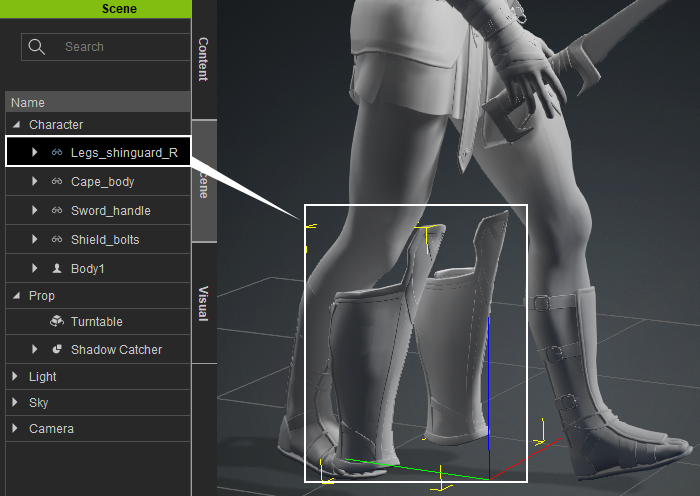
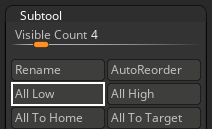
- In the Subtool section, select All Low to reduce all subtool subdivision to their lowest level.
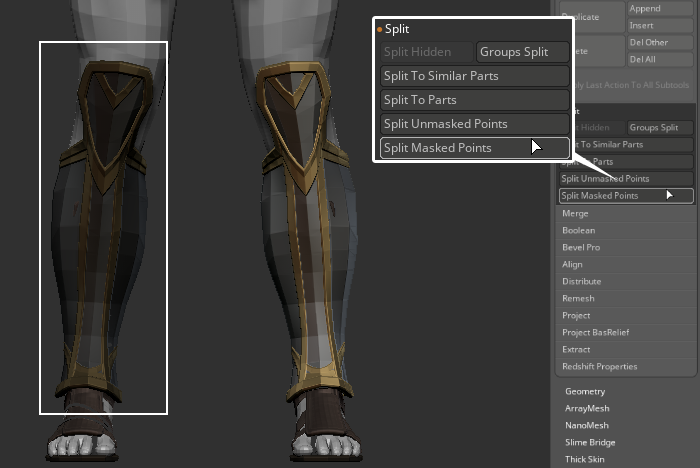
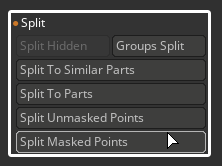
- Mask one side of the subtool, then expand the Split section.
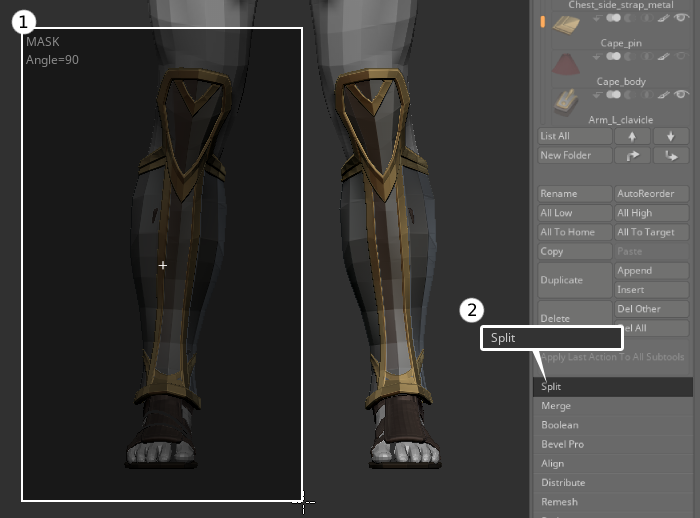
- Click on Split Masked Points to separate the subtool.
- The subtool will then be split into two individual subtools.

- Continue to split apart other hard-surface subtools.
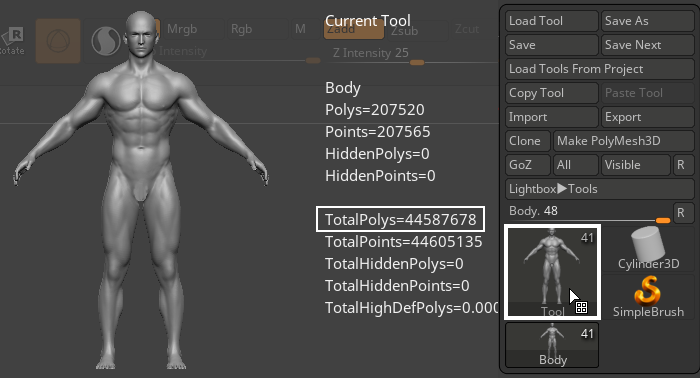
To optimize your ZBrush project for the best performance, it’s recommended to keep the polygon count of the lowest-level subdivision below 300K quads (600K triangles). This will help to reduce the project size and improve rigging performance. While ZBrush is adept at creating high-level details, Character Creator 4 is geared toward using the lowest subdivision level mesh for rigging and posing. To reduce the size of the low poly mesh while keeping the high-level subdivision details, follow the steps below.
- Open the ZBrush project that you want to transfer to Character Creator 4.
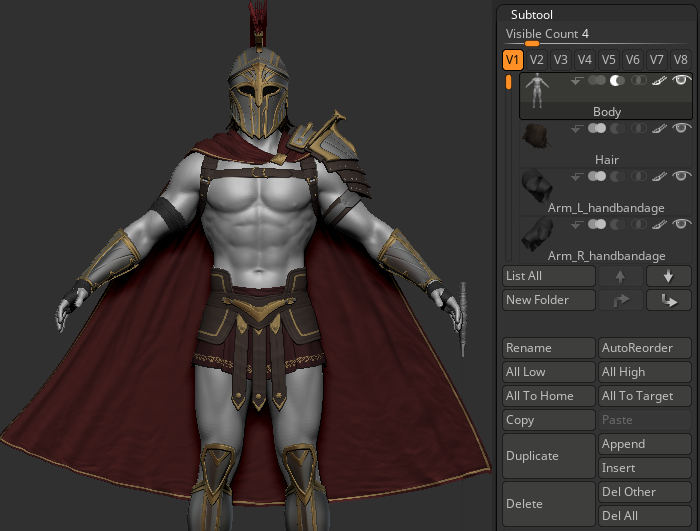
- Open the Subtool tab and select the All Low option to switch all subtools to the lowest subdivision level.
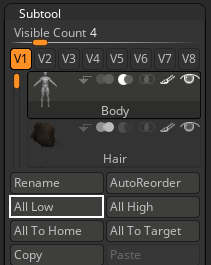
- Hover the mouse above the icon to check if the lowest total polygon count is below 300k.
- Select the subtool for polygon reduction.

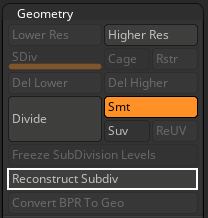
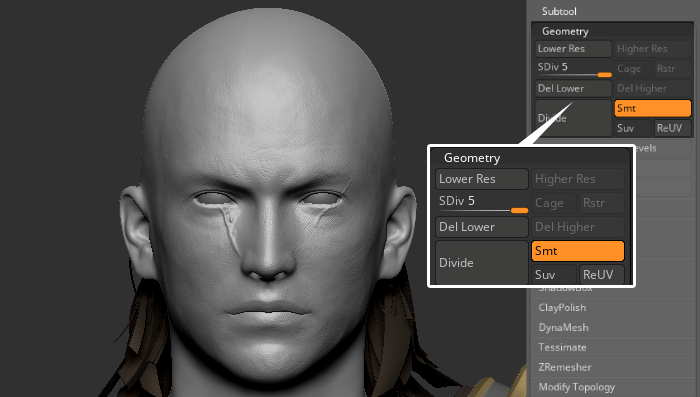
- If your subtool is a quad-based mesh, use Geometry > Reconstruct Subdiv to quickly reduce the poly count.
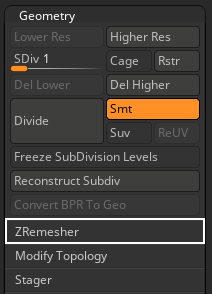
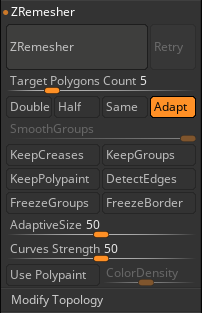
- If your subtool contains triangular polygons, use Geometry > ZRemesher to reduce the poly count.
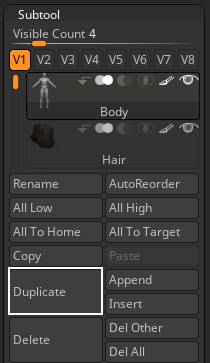
- Select the subtool and duplicate it.
- Apply the ZRemesher function to the duplicated subtool.
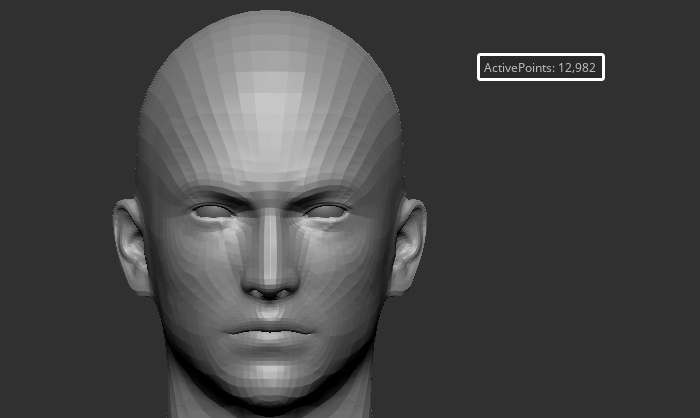
The duplicated subtool will have a much lower poly count compared to the original.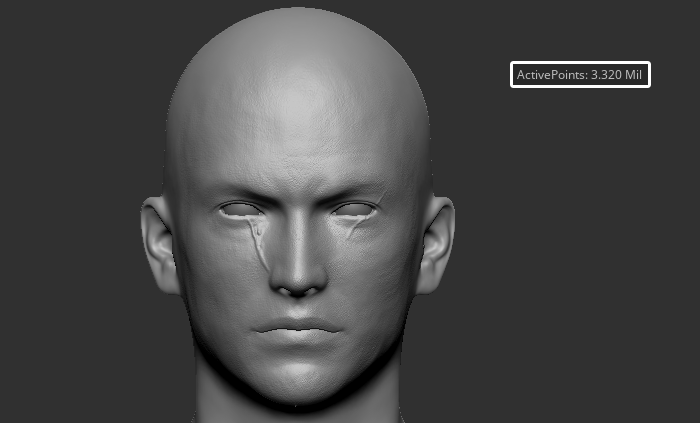
Original
Duplicated
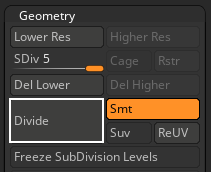
- Use Geometry > Divide to increase the subdivision level and poly count of the duplicated subtool.
- Use Subtool > Project > ProjectAll to project the details from the original subtool to the duplicated subtool.

- After the projection is completed, the duplicated subtool will have the original details with low and high subdivision levels.
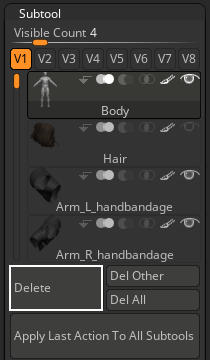
- Delete the original subtool and continue reducing the poly count of other subtools.
Select all of the soft-surface meshes as bind targets, such as clothes, shoes, and belts. This will not only reduce the auto-rigging calculation time, it will also designate the hard-surface items as accessories to be attached to the bones so they can stay stiff. You can further refine the skin weight of the rigged character and soft cloth items and redefine the relationship between accessories and character bones. In Character Creator 4, you can even apply physics simulation to subtools to achieve even more realistic results instantly.
Having completely separated your hard-surface meshes in ZBrush and reduced their poly count, you can now begin the skin-binding process.
- In ZBrush, the character’s subtools are properly named and click the All button to transfer them to Character Creator 4.
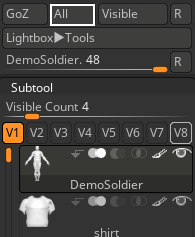
Refer to the Naming Conventions for ZBrush Subtools section for more information. - In Character Creator 4’s dialog window, make sure GoZ Options > Action Template : is set to "Create Prop" and activate Merge All Props, then click the Update button.

- Your character will then appear in the Character Creator 4 viewport.
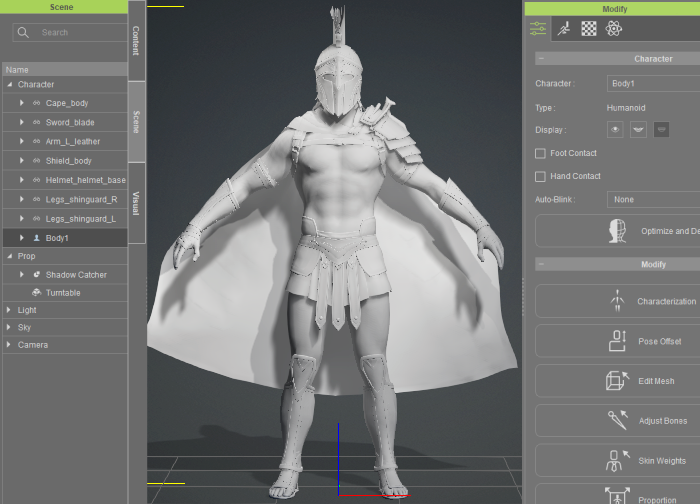
- Select all of the character meshes and click the AccuRIG button.

- Proceed to create a skeleton and rig your actor in AccuRIG and follow the steps below before proceeding to the Bind Skin phase.

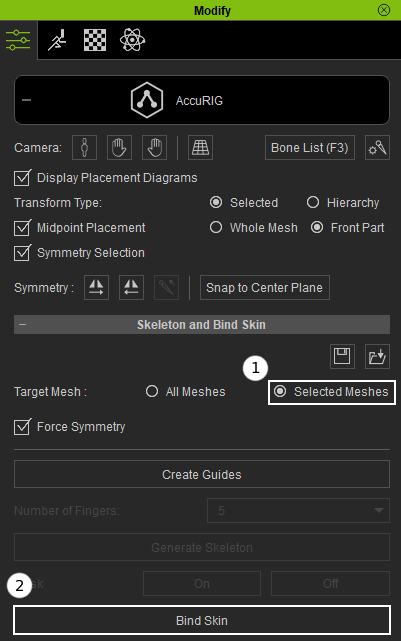
Refer to the Model Repositioning with AccuRIG section for more information. - After completing the Generate Skeleton process in AccuRIG, select all of the soft-surface meshes with the Scene window.
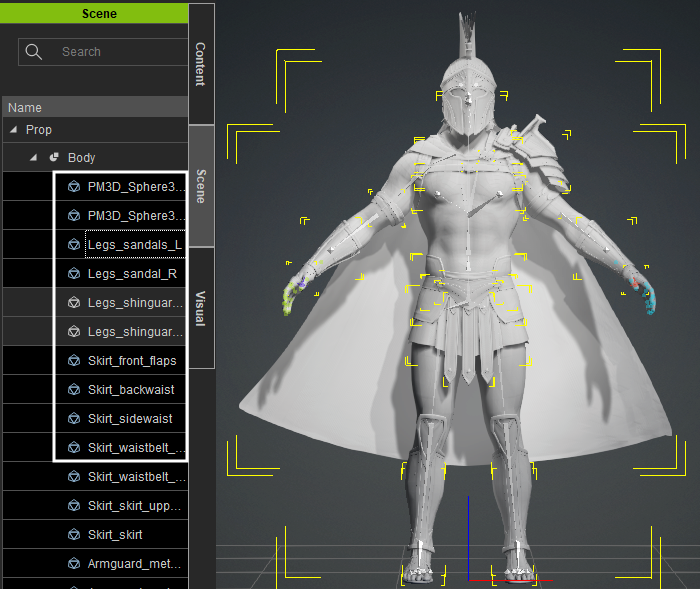
- Back in AccuRIG, set Target Mesh : to “Selected Meshes”, then click the Bind Skin button.
- After the Bind Skin procedure is complete, the hard surface meshes will be turned into separate accessories (viewable in the Scene window).
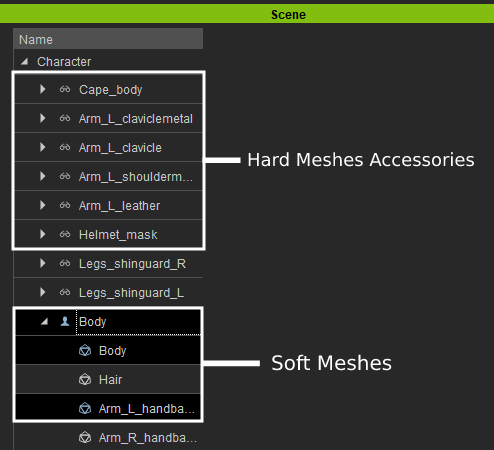
- Soft surfaces will conform to the shape of the body, and hard surfaces will be converted to accessories that are attached to their corresponding bones.

