Adding Accessories
When posing a model in Character Creator 4, you have the option to append accessories in ZBrush or add accessories in Character Creator 4 to update your character's look for each pose. This allows for the creation of a variety of different poses and fashion combinations.
Adding Accessories in ZBrush
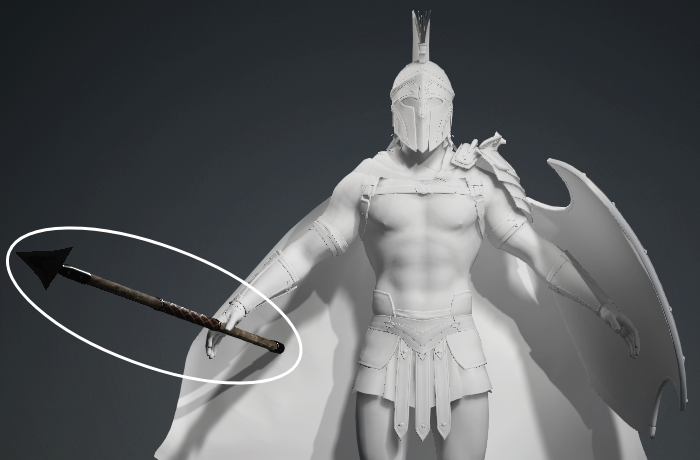
- In ZBrush, append an object you want to add to the current pose.

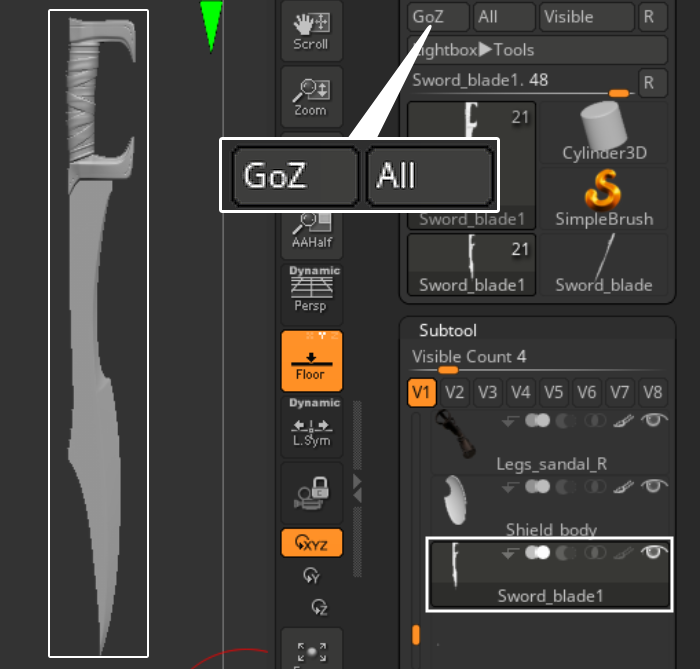
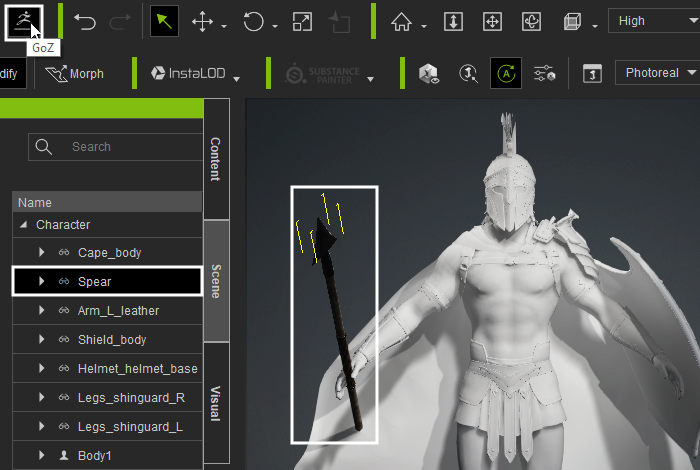
- Select the appended subtool and click GoZ to convert the new item for Character Creator 4.
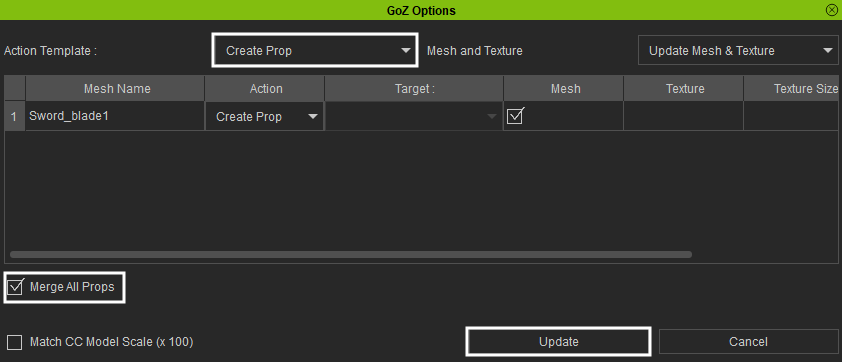
- In Character Creator 4, make sure to set GoZ Options > Action Template: to "Create Prop" and check the Merge All Props option in the pop-up window that appears. Then click the Update button.
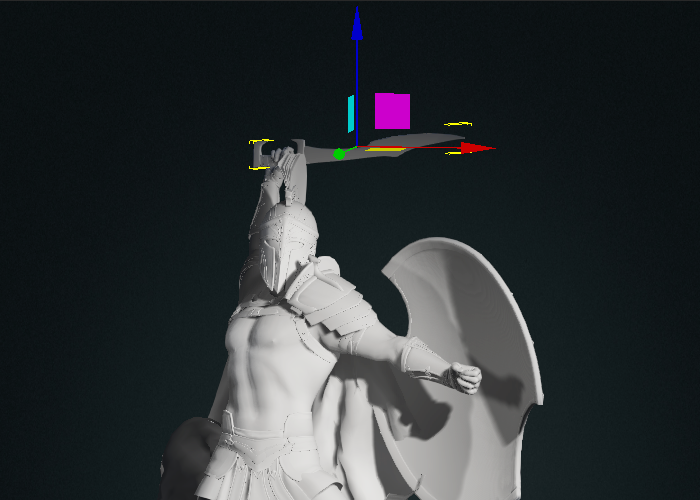
- Select the appended mesh.
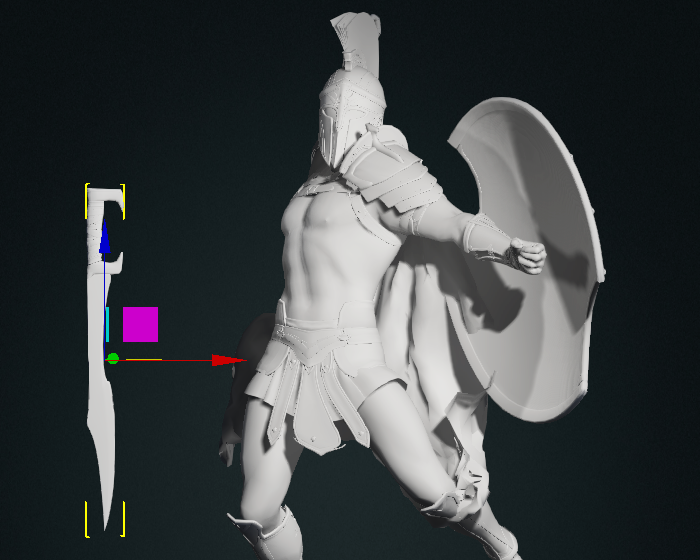
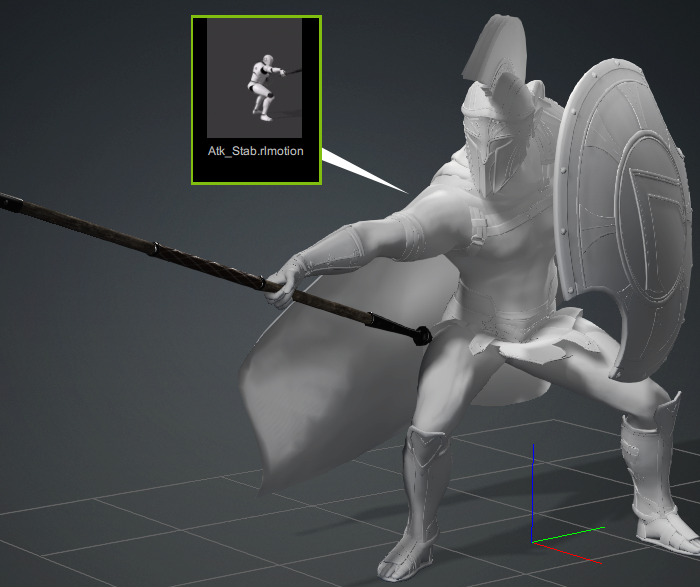
- Move the mesh to your desired position.
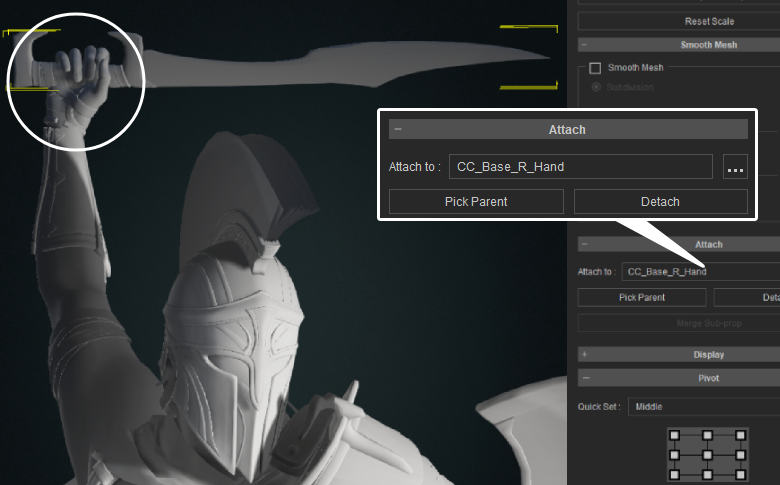
- In the Attach section use Pick Parent to link the mesh to a bone.
- Pick a desired pose to check if the mesh is correctly linked.
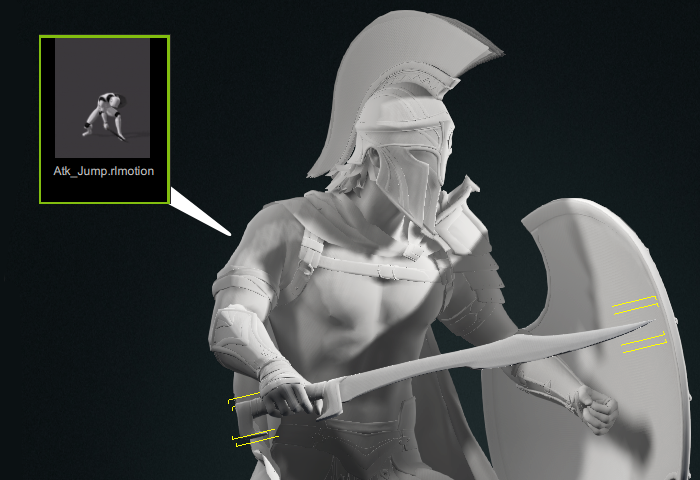
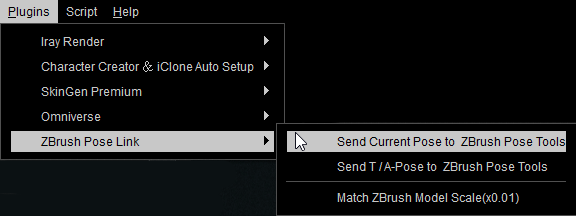
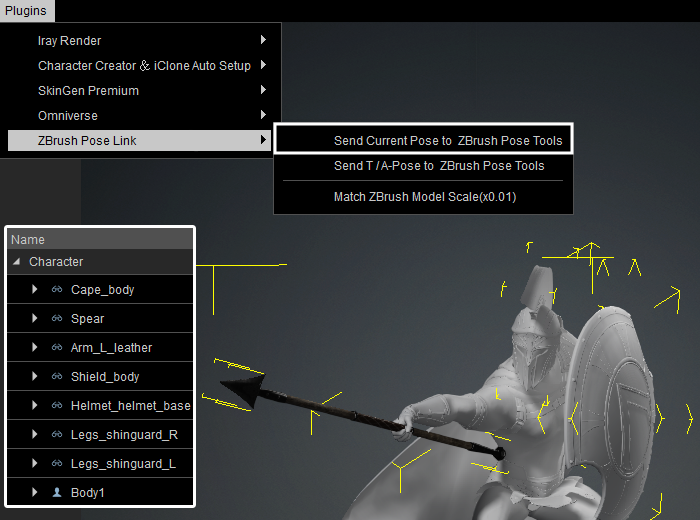
- After posing, use the Send Current Pose to ZBrush Pose Tool to transfer the updated pose.
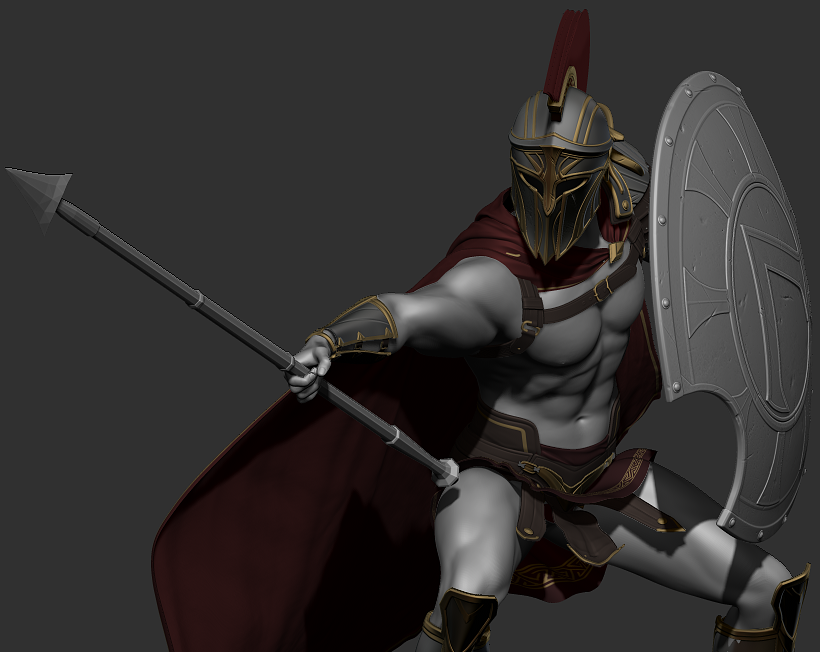
- In ZBrush, check if the pose and the appended mesh have been correctly transferred.

Adding Accessories in Character Creator 4
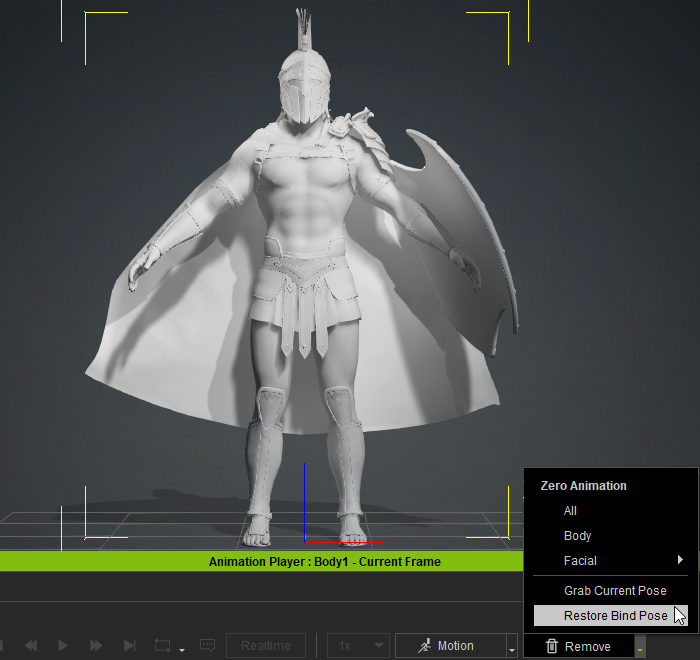
- If you want to add accessories from the CC4’s content section, you will need to turn both ZBrush and Character Creator 4 model pose into a bind pose first.
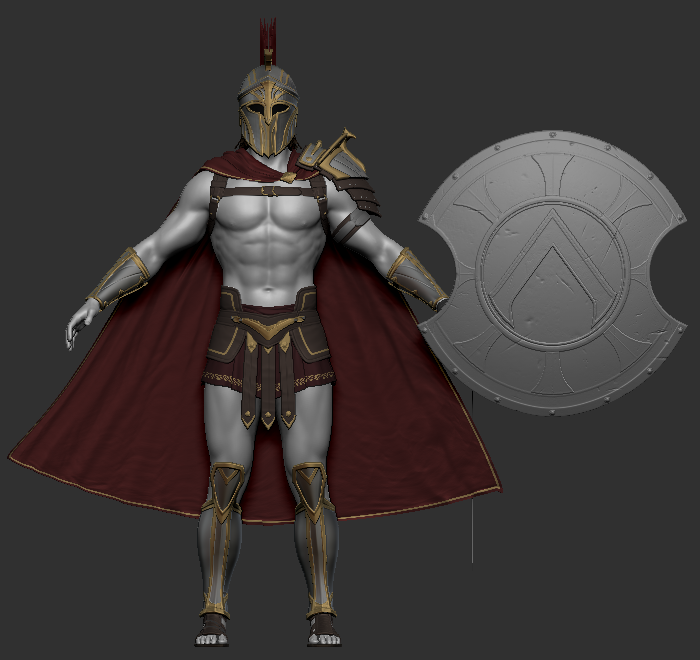
ZBrush
Character Creator 4
- In Character Creator 4, you can add or remove accessories from your model.
- Select the new accessory you have added and press the GoZ button.
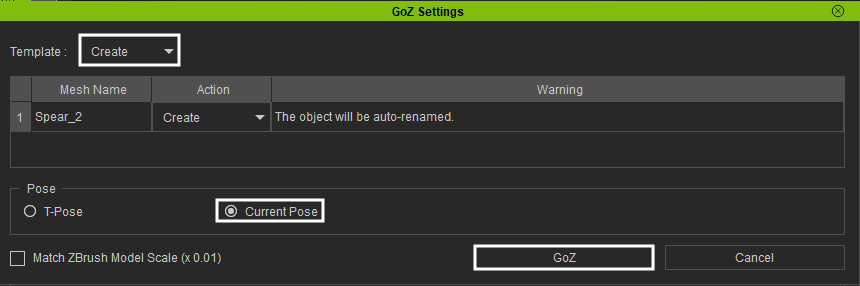
- In the Character Creator 4 dialog window, ensure that the Template is set to “Create, check the Pose > Current Pose option, and click the GoZ button.
- In ZBrush check if the accessory is converted successfully.

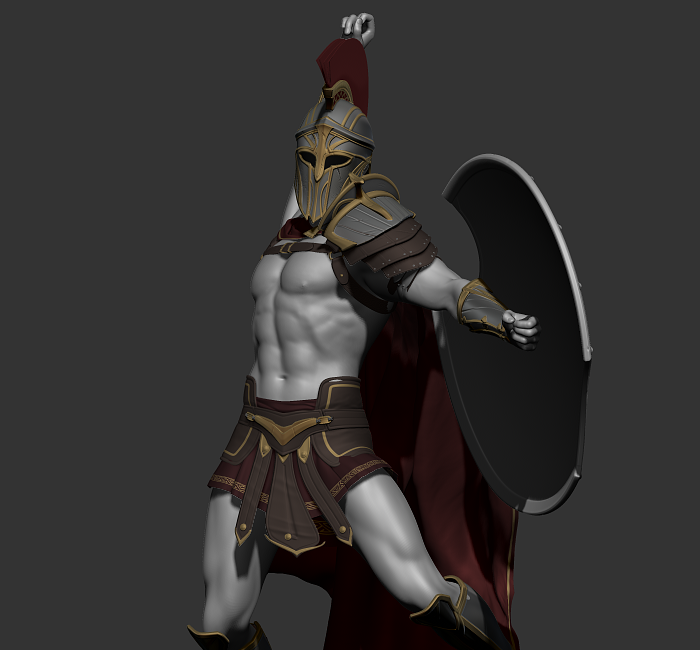
- In Character Creator 4, add or create a new pose for your model.
- Select your entire model and use the Send Current Pose to ZBrush Pose Tools feature to update your pose in ZBrush.
- In ZBrush, check if the poses are correct and accessories are converted successfully.