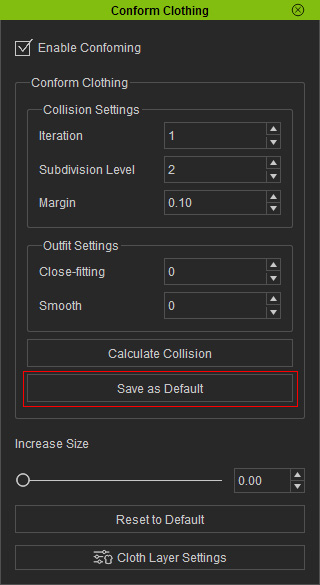
Collision Settings group: The settings in this group deal with merely the
penetrating vertex and meshes. It will thus detect them and offset them in order to
solve the penetrating issue.
Outfit Settings group: The settings in this group smooth out the entire cloth with
or without changing the basic shape of the cloth.
Increase Size: This slider increases the entire cloth to make it offset more from
the
meshes below it, the meshes can be any other cloth or skin.
Solving Penetrating Meshes Issue
To simply solve the issue of penetrating meshes and vertex, you can follow
the steps below:
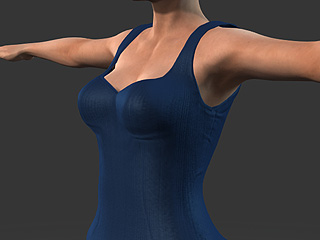
Create a new project and dress the character.
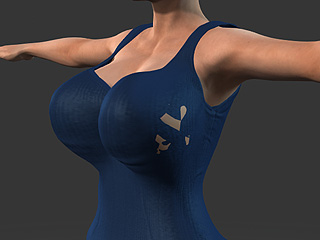
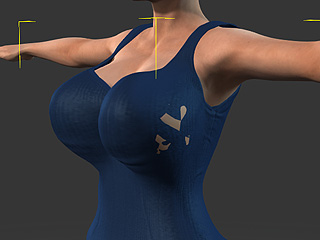
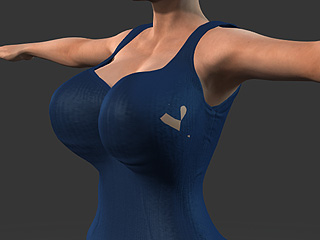
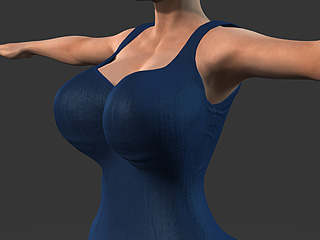
Increase the size of the entire body or specific body part. Sometimes the
partial mesh of the skin maybe pass through the cloth as the
illustration shows.
Select the cloth at the topmost layer (in this case, the blue dress).
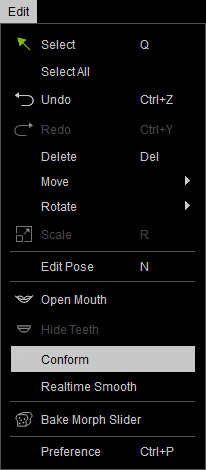
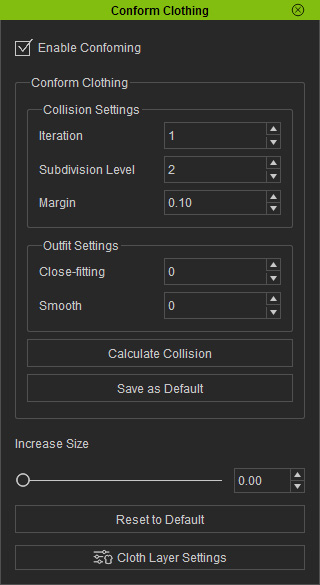
Execute the Edit >> Conform command to launch the Conform Clothing panel.
Alternatively, click the Conform Clothing button
on the Modify Tools toolbar.
The Conform Clothing panel will be displayed on
screen.
Adjust the Iteration, Subdivision Level and Margin values.
Iteration: The frequency of pushing the penetrated vertex and meshes of the cloth
outer according to the Subdivision Level and Margin value.
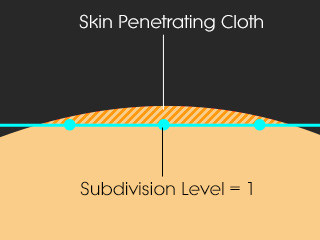
Subdivision Level: Adding reference vertex between two adjacent ones to detect the
penetrating issue for each calculation for pushing up.
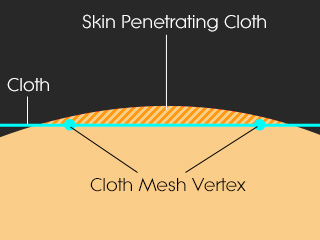
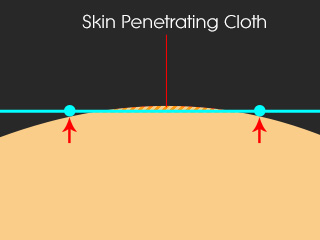
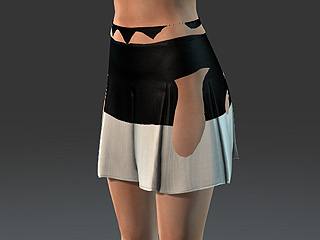
The vertex and mesh of the cloth sink under the skin.
The vertex-based conforming algorithm lifts the vertex out
of the skin.
The penetration issue remains while the feature detects
no penetration.
Cloth mesh is subdivided to add reference vertex
(in this case, 1).
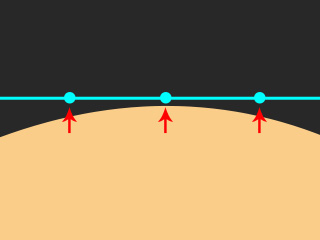
The vertex-based conforming algorithm lifts the vertex out
of the skin.
The penetration issue is solved.
Margin: Set the offset distance from the meshes underneath it.
Repetitively click the Calculate Collision button to push the meshes up.
Note:
If Character Creator detects no penetration issue, then
clicking this button will not make a difference.
Making Clothes Smoother
There are two more parameters that smooth the cloth in the Outfit Settings
group, Close-fitting and Smooth.
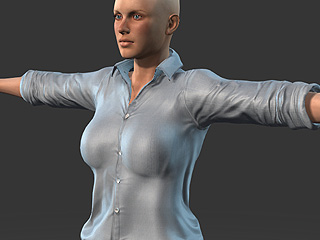
Close-fitting: This parameter will change the shape of the entire cloth to make it smoother.
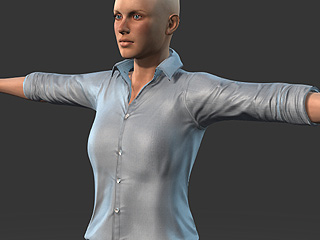
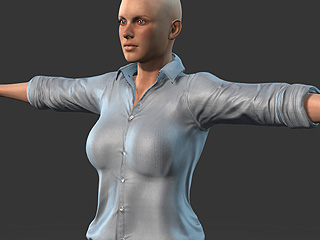
The original shape of the cloth.
The shape is changed for smoothing the cloth. Close-fitting = 3
Smooth: This parameter smoothes the entire cloth while keeps the shape of the cloth as possible.
The original shape of the cloth.
The shape of the cloth is kept as possible while the surfaces
are smoothed. Smooth = 5
Saving Current Cloth Status as Default
After you have calculate and create a new style of the cloth, you may want to keep it
and test another possible shapes of it, then you can use the Save as Default feature.
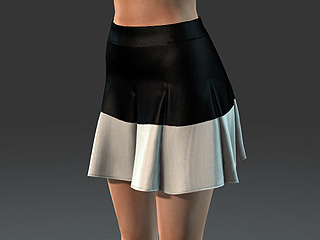
Create a new project and then dress the character.
Use the Conform Clothing panel to set the cloth to an ideal look.
Click the Save as Default button to keep the current shape of the cloth.
Use the Conform Clothing panel to test another look of the cloth.
Click the Reset to Default button at the bottom of this panel.
The cloth will instantly retrieve the shape you have saved in step 2 and 3 instead of
the initial look in step 1.