Applying Lights (New for v2.0)

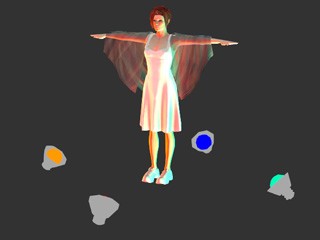
Character Creator does not support custom lighting. However, you are able to follow the steps below to add more lights into you project than the ones in the default project. The number of lights in your project is infinite. This allows for endless combinations of more detailed and complex lighting schemes.

There are two methods for you to add lights into Character Creator projects by applying atmoshpere template or by importing accessories with attached lights.

Applying Atmosphere Templates

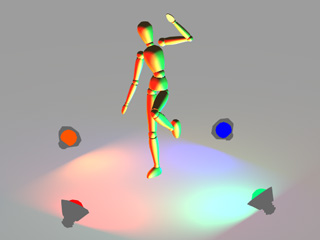
  1. In iClone, apply desired number of lights (in this case, spotlights).
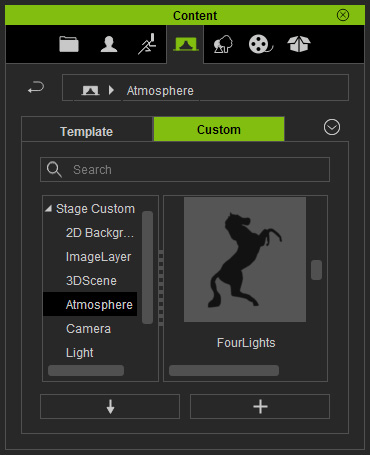
  2. Switch the Content Manager to the Atmosphere library. Click the Add button to create a new atmosphere template with the lights included in it.
  3. Go to Character Creator and create a new character.
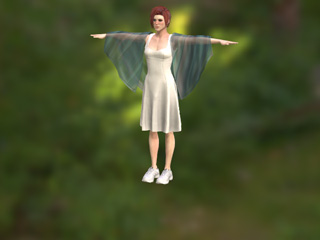
  4. Drag and drop the newly created template from iClone to the project in Character Creator.

    Note:

    Atmosphere templates from iClone can include not only the Lights, but also the Sky, AO, Ambient Light, Fog, HDR, IBL, and Toon Shader.

Applying Attached Lights

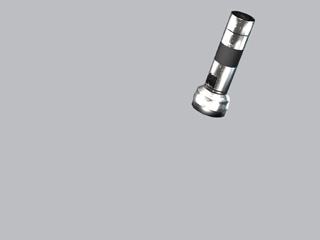
  1. Prepare a prop in iClone.
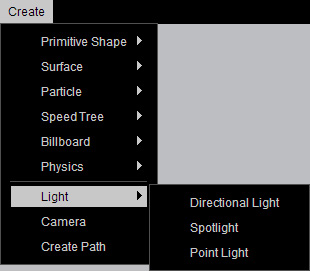
  2. Go to the Create >> Light menu and create light according to the type of the prop.

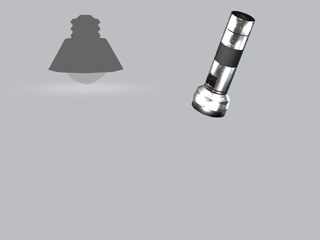
    In this case, the Spotlight is created.
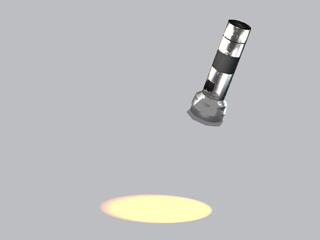
  3. Adjust the parameters of the light, including the transformation, strength, color and so on, in the Modify panel.
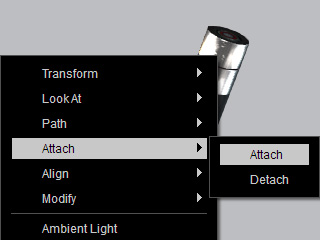
  4. Right click on the light, execute the Attach command and then click on the prop to parent it.

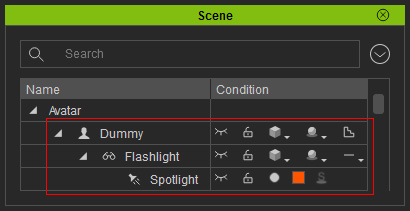
  5. Attach the prop to a body part of a character to convert it into an accessory attached with light.
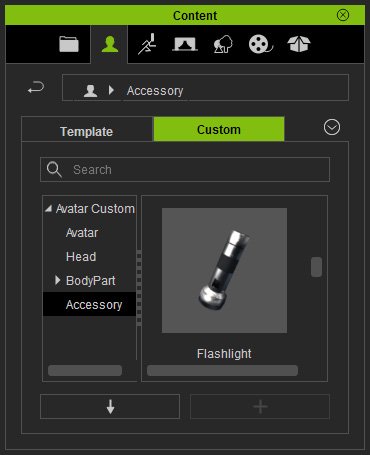
  6. Make sure the accessory is selected and click the Add button under the Content Manager to add the accessory into the Accessory custom library.
  7. Create a new character in Character Creator.
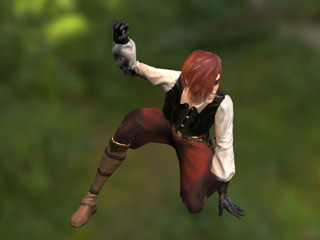
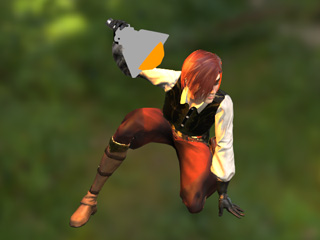
  8. Apply the accessory from iClone Content Manager onto the character. The light will thus be brought into the project along with the accessory.