Basic Modifications for Head Texture

The basic modifications for texture involves with adjustments merely through sliders. This method can be applied to the head and body skins, the hair, the cloth and the accessories; in this section, the texture of the character's head will serve as an example.

  1. Create a new project.
  2. Go to the Modify (panel) >> Appearance (tab).
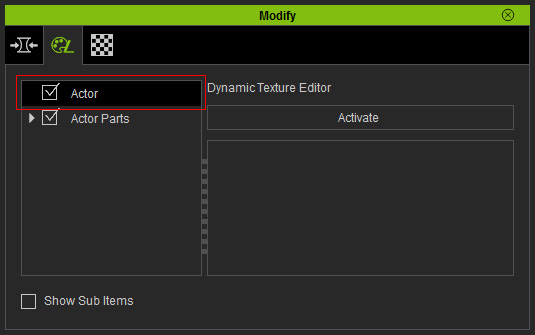
  3. Select the Actor in the tree view.
  4. Click the Activate button at the top-right of the panel to show the sections of adjustable parameters belonging to the character.

    Note:

    Because each character contains multiple substance materials; while each of them is composed of numerous parameters and images, which can increase the loading of your system if the details of the substance materials are initially displayed, therefore, the settings inside are, by default, hidden. You need to click the Activate button in order to open the substance material for further adjustments.

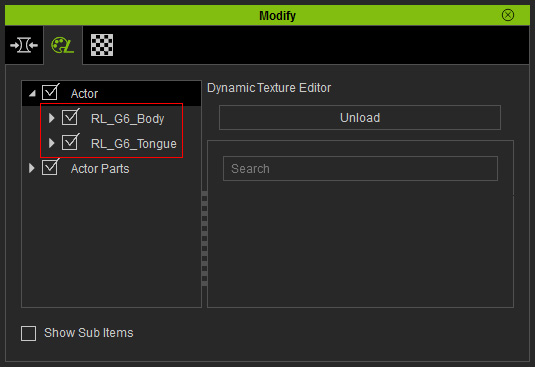
  5. Select the desired sub node under the Actor (in this case, the RL_G6_Body >> Skin_Head >> Skin). The related sections of settings are listed at the right pane in the panel.
  6. Open the desired section (in this case, the Base section).
  7. Adjust the sliders in this section to create the basic texture look for the character.

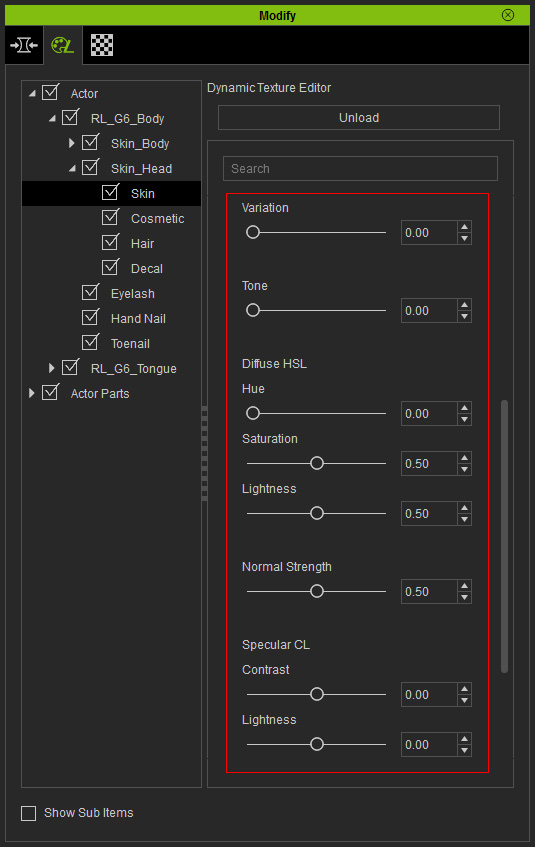
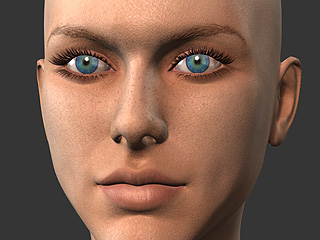
    Initial look of the skin (the parameter values are as shown in the illustration above)

    Variation: Determines the unevenness of the skin color.
    (0.50 ð 1.00)

    Tone: Append the tone of the skin, the higher the value is, the darker/deeper the skin color becomes.
    (0.00 ð 0.50)

    Normal Strength: Determines the obviousness of the facial muscles and wrinkle lines on the entire face skin.
    (0.50 ð 1.00)

    Specular CL: These two values determines how oily the face skin appears.
    (Contrast: 0.00 ð -0.10)
    (Lightness: 0.00 ð 0.10)

    Note:

    • It is not suggested adjust the Diffuse HSL values because the skin texture is already optimized unless you want to create a character with extreme skin color styles.
    • In the Surface Normal section, you are able to set the roughness, age and wrinkles on the skin. However, it must be used along with the Morphing features to optimize the visual effect. Please refer to Aging the Character for more information.
  8. In the Tan section, adjust the parameters to generate a suntan effect.

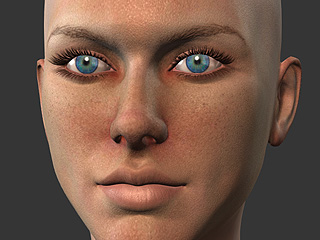
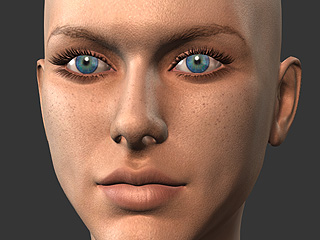
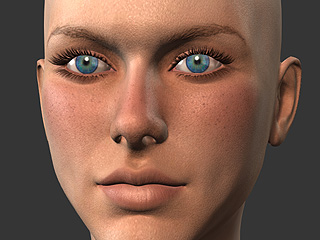
    Initial look of the skin (No suntan effect)

    Type: Nose

    Type: Cheek

    Type: Sunburn (entire head)

  9. In the Freckles section, adjust the parameters to add freckles to the face.

    The skin without freckles

    Type: Nose

    Type: Cheek

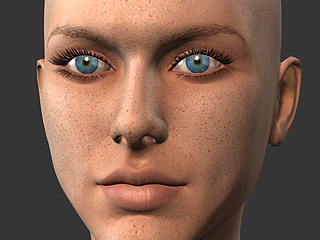
    Type: Face (freckles on the entire face)

    In order to make each freckle with less uniform look, increase the Randomize Opacity and Randomize Scale values to set random values to the opacity and size for each freckle.

    Randomize Opacity: It designates random values to the opacity for each freckle.
    (0.50 ð 1.00)

    Randomize Scale: It determines random values to the size for each freckle.
    (0.50 ð 1.00)

    There are still four sliders for adjusting the freckles on the face, they are Blur, Pattern, Blending and Specularity.

    The Pattern value determines the scattering style of the freckles.
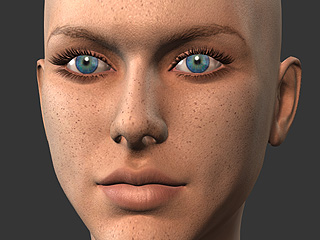
    Pattern: 0

    Pattern: 10