


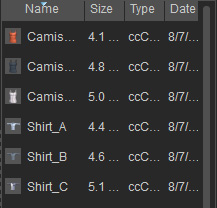
Content Manager
The Content Manager is used for managing the various
character related 3D files
including characters, hairs, clothes, and accessories.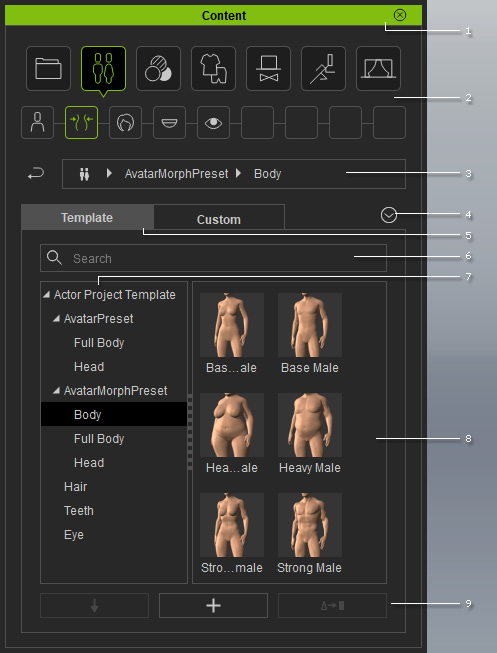
Switch the Content Manager to a different library via the Quick Selection Panel. Please refer to the Categorization of Content Library section for more information.
|
1 |
Dock/Undock |
Double-click on the caption to dock the panel to the docking area or undock the panel and make it float above the main window. |
||||||
|
2 |
Quick Selection Panel |
These buttons can quickly switch to the desired library. |
||||||
|
3 |
Location Bar |
Displays the file location of the content in the Content Manager.
You may click the |
||||||
|
4 |
Menu Button |
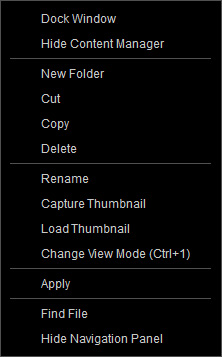
Shows the menu for manipulating the Content Manager, including:
|
||||||
|
5 |
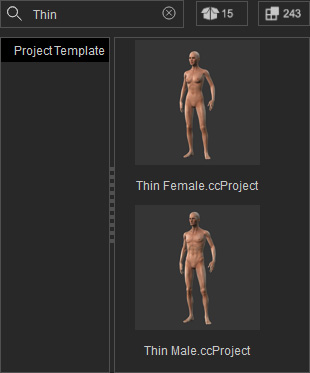
Template and Custom Libraries |
Each category is divided into two libraries:
|
||||||
|
6 |
Search |
Start typing in the text field to enable incremental search.
|
||||||
|
7 |
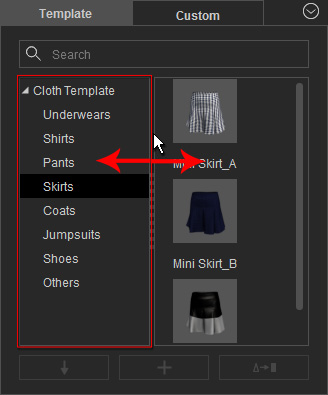
Navigation Panel |
Display all the library folders under the picked Category Tab. You may click the Menu Button to show the Navigation Panel and drag the middle border to adjust its width.
|
||||||
|
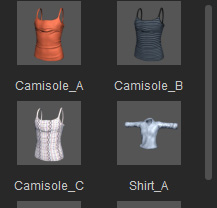
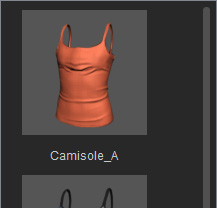
8 |
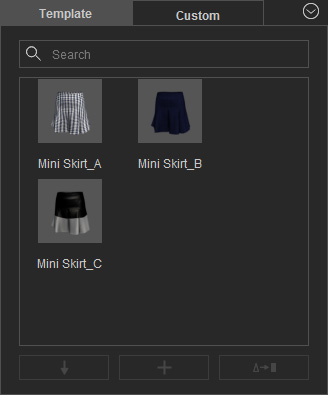
Templates |
In the library pane, you may manipulate the templates, including:
|
||||||
|
9 |
Applying and Adding / Replacing Templates |
|
 button to go back to the higher-level folder,
or click any of the directory names to go up to any level.
button to go back to the higher-level folder,
or click any of the directory names to go up to any level.

 :
Click this button to apply the selected template to the current project.
This does the same as double-clicking the content thumbnail.
Please refer to the Drag and Drop
section for more information on applying methods.
:
Click this button to apply the selected template to the current project.
This does the same as double-clicking the content thumbnail.
Please refer to the Drag and Drop
section for more information on applying methods.
 :
Click this button to add the current object in the scene into the Custom library of the selected Category Tab.
If you have selected a template in the Custom Library,
then click this button to overwrite the selected template.
:
Click this button to add the current object in the scene into the Custom library of the selected Category Tab.
If you have selected a template in the Custom Library,
then click this button to overwrite the selected template.  :Click this button to replace the template in the library with the object selected on the preview window.
