


Selecting Mesh Components (New for v3.0)
In Character Creator, you can select either vertex, mesh faces or even sub-element for further editing.

|
|
|
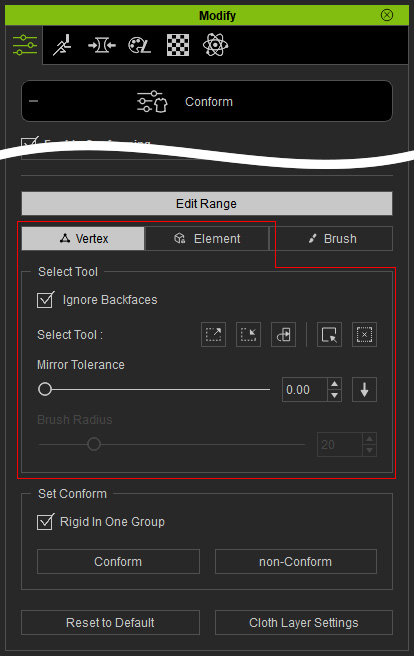
Selection tools in Edit Mesh mode |
Selection tools in Conform mode |
Vertex, Face and Element Modes
When you switch to different mode and select, the selected result will be totally different.
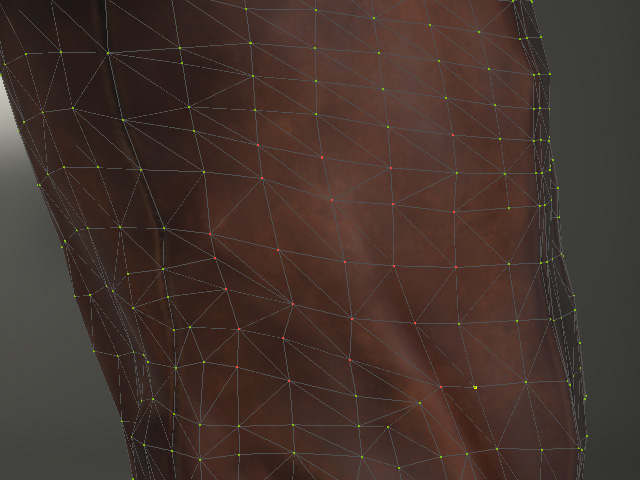
- Vertex Mode: In this mode, you can select the vertex (the red dots in the illustration below) on object's surface for editing.
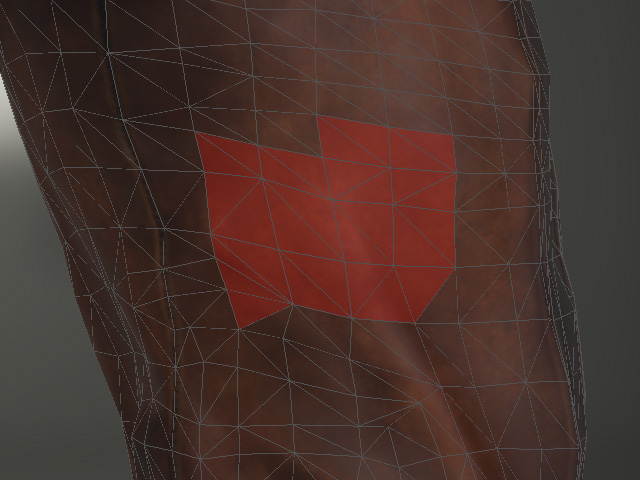
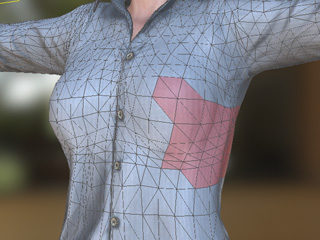
- Face Mode: In Face mode, you can select the mesh faces (red triangles in the illustration).
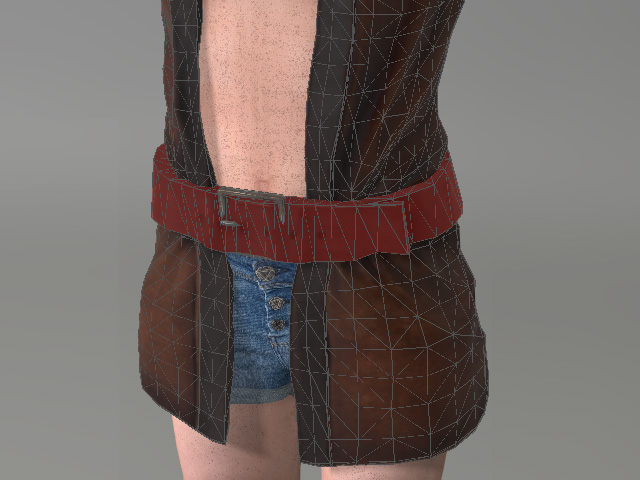
- Element Mode: In this mode, you can select the entire sub-meshes of the object (the belt in this example).
- Keep in mind that you can press down the Ctrl key for multi-selection.
Selecting Behaviors (Vertex, Face and Element Modes Only)
- Left Mouse Clicking
- Regular Click: Click to select one face or vertex.
- Ctrl + Click: Hold the Ctrl key and click to multi-select or multi-deselect faces or vertices once at a time.
- Shift + Click: Hold the Shift key and click to Add one face or vertex into selection.
- Ctrl + Shift + Click: Hold the Ctrl and Shift keys, and click to Subtract faces or vertices from selection.
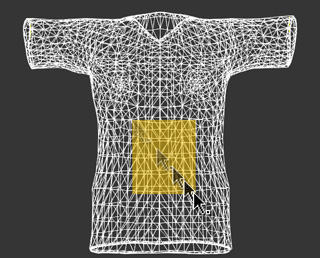
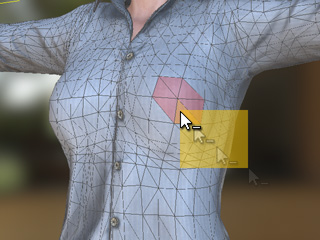
- Dragging Selection Box
- Regular Dragging Selection Box: Select faces or vertices framed up by the box.
- Ctrl + Dragging Selection Box: Hold the Ctrl key and drag a selection box over selected faces or vertices to invert the selection.
- Shift + Dragging Selection Box: Hold the Shift key and click or drag a selection box to add more faces or vertices into selection.
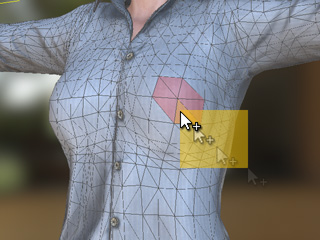
- Ctrl + Shift + Dragging Selection Box: Hold the Ctrl and Shift keys, and click or drag a selection box to subtract faces or vertices from selection.
- Regular Dragging Selection Box: Select faces or vertices framed up by the box.
Using Select Tools (Vertex and Face Modes Only)
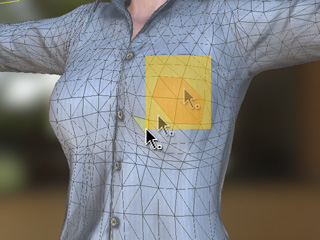
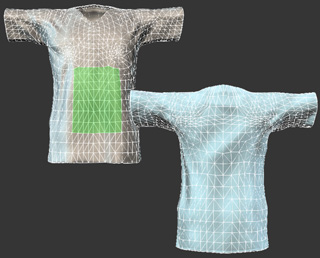
- Ignore Backfaces: Activate this box in order to avoid from accidentally selecting the back faces or vertices.
Drag a box to select faces.
Ignore Backfaces: ON
Only the front faces are selected.Ignore Backfaces: OFF
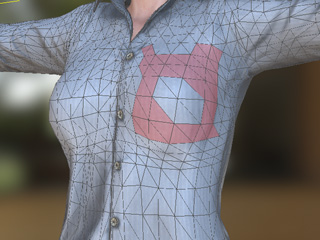
The front and back faces are selected together. - Grow Selection: Click this button to increase the size of the current selection in order to select more
adjacent faces or vertices.
The original selection.
The more faces are selected as the Grow button is clicked twice.
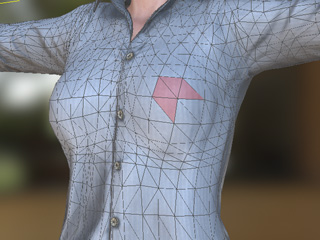
- Shrink Selection: Click this button to decrease the size of the current selection in order to select
fewer adjacent faces or vertices.
The original selection.
The more faces are selected as the Shrink button is clicked five times.
- Mirror Tolerance: This is a threshold value for the Mirror Selection feature.
The higher the value is, the more symmetrical faces or vertices will be selected when the
Mirror Selected button is clicked. Increase this value for the meshes that
are not completely symmetrical in order to mirror-select faces as possible.

Tolerance: 0
Fewer faces at the symmetrical side are selected when you click the Mirror Selected button.Tolerance: 100.00
More faces at the symmetrical side are selected when you click the Mirror Selected button. - Mirror Selected: If you want to select the symmetric faces or vertices, then click the Mirror Selected

The original selection.
More faces are selected as the Mirror Selected button is clicked (5x).
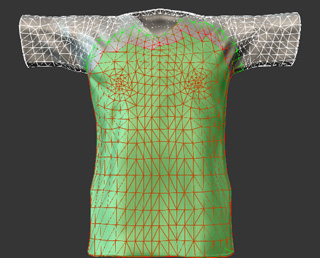
- Select Not Conform Vertex: Click this button to automatically select the vertex that are not influenced during the cloth conformation (a.k.a. partial conform). The objects composed of these vertex are mostly buttons or accessories that are not supposed to be distorted caused by conforming process.
In the following example, the side bag is not conformed along with the body.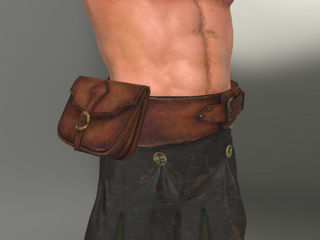

The original look before changing body shape.
The side bag is not conformed along with the expanded waist.
In order to modify the side bag, it must be select first. However, you can not select it without select the belt from the Scene Manager. Therefore, you can enter the Edit Mesh mode and select it by clicking the Select Not Conform Vertex button.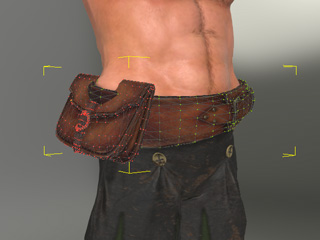
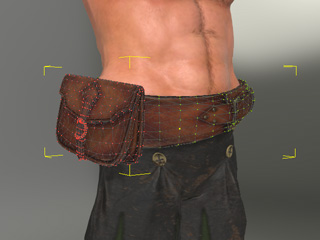
Click the Select Not Conform Vertex to select the side bag.
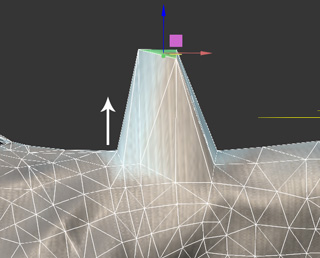
Transform the vertex of the side bag to fit to the belt
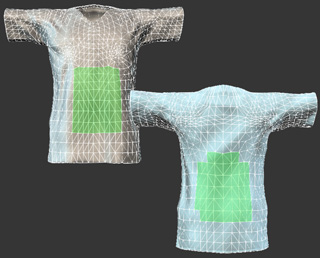
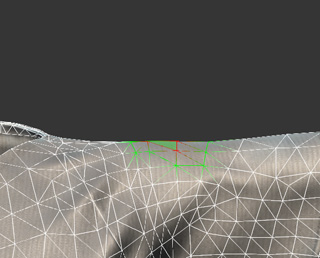
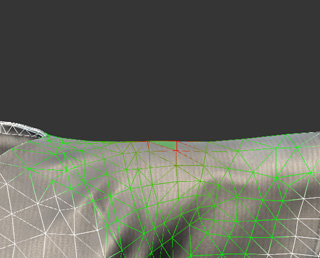
Soft Selection
Soft Selection can be used to gradually influence the faces or vertices surrounding the selected faces
when you move, rotate or scale them.
|

|
|
Soft Selection: OFF |
Soft Selection: ON |
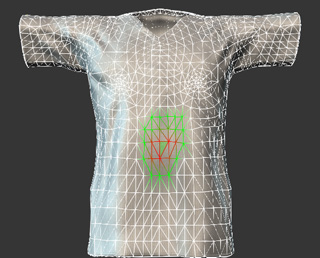
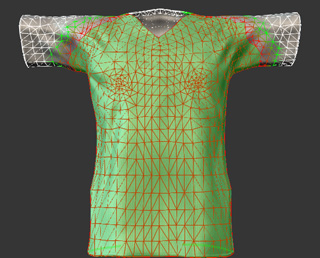
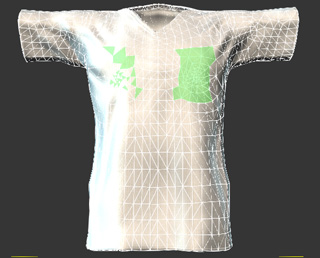
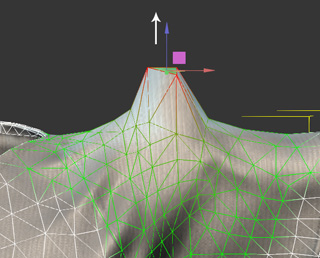
- Radius: This value determines the size of the influence range.
Falloff Radius: 0
Only the selected faces can be edited.Falloff Radius: 10
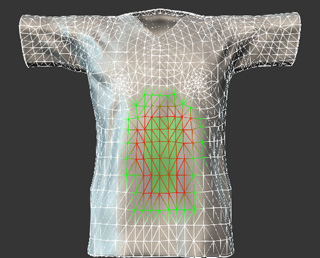
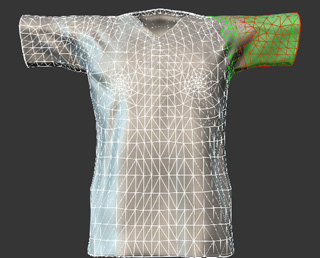
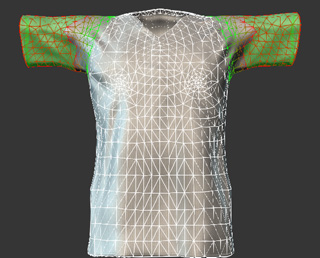
The influenced area is expanded centering the selected faces. - Bias: This value determines the size of the influence range.
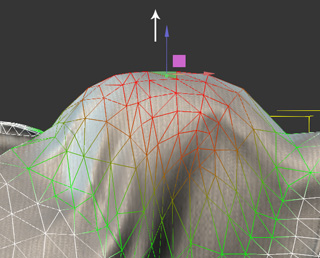
Bias: 0
The green wireframes will be influenced less.Bias: 10
The red wireframes will be influenced more.
