Creating Custom Shoes (New for v3)
In addition to use the embedded shoes templates, you are allowed to generate custom shoes with your favorite 3D tools in OBJ or FBX format.
- Create a new project.
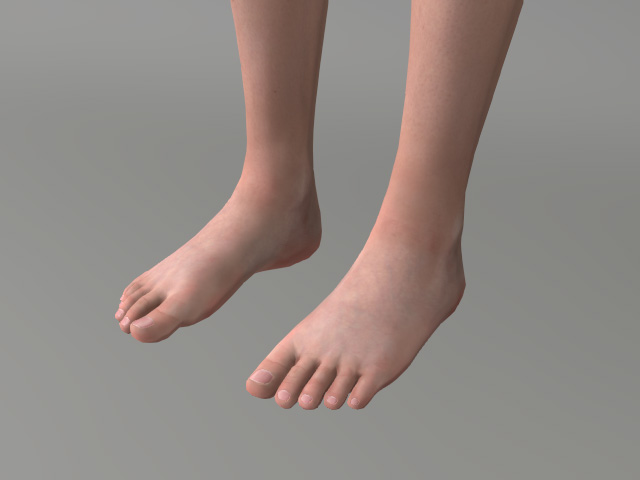
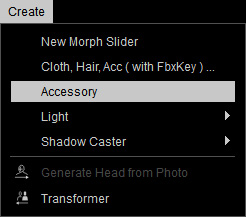
- Load a model file in OBJ or FBX format by accessing Create menu >> Accessory command.
- Smooth the normals of the accessory if necessary.
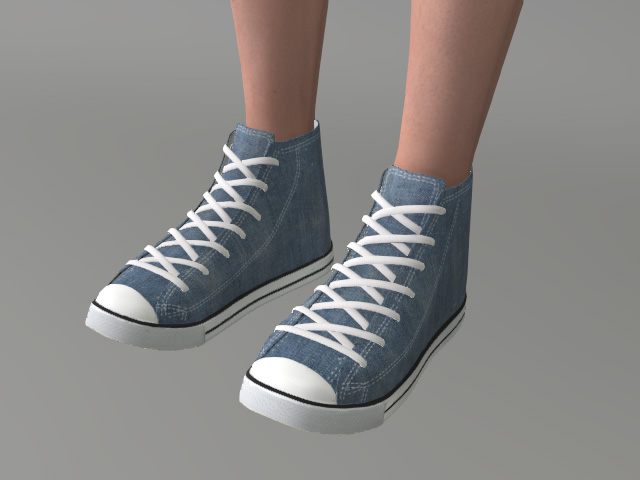
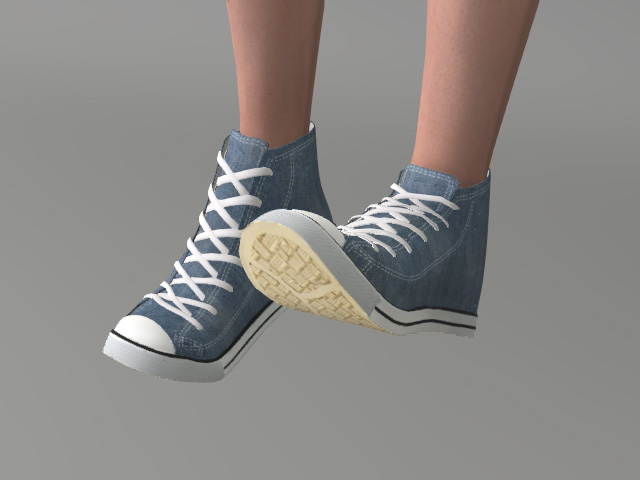
- As you can see that we need to modify the shoes in order that it fits the feet.
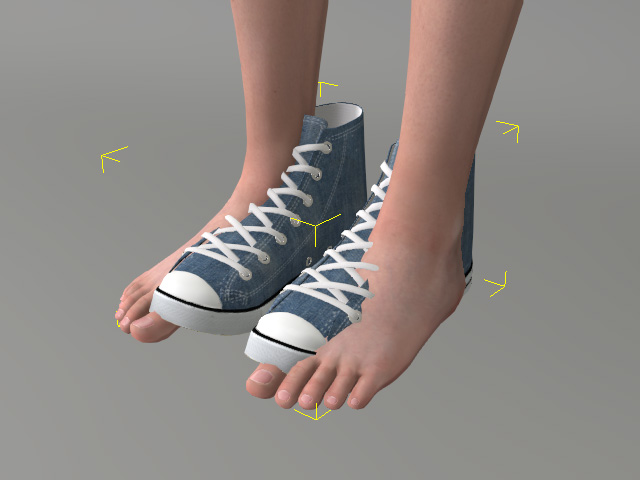
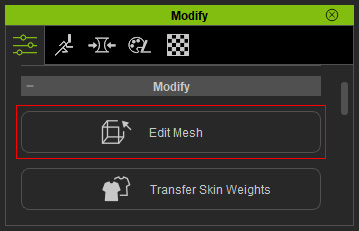
- Make sure the shoes (sneakers in this case) is selected. Click the Edit Mesh button in the Modify panel.
- Adjust each piece of the sneakers to fit the feet well. Refer to the Editing Meshes section for more information.
 Note:
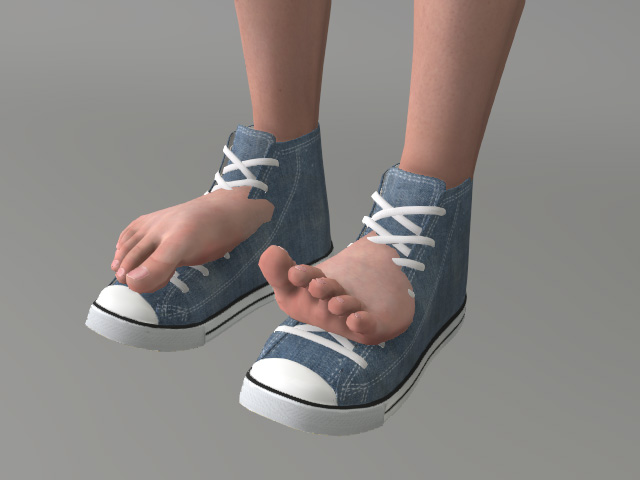
Note:If you now adjust the pose of the character, the imported accessory will not be move along with it because it has not been bone-skinned yet (no skin weights).
- In order to assign the skin weight to the accessory and turn it into a pair of shoes, select it and access Modify menu >> Transfer Skin Weights command.
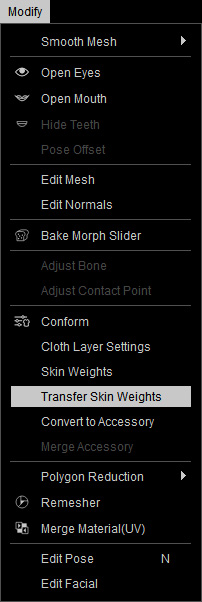
Alternatively, go to the Modify panel >> Attribute tab >> Modify section and click the Transfer Skin Weights button.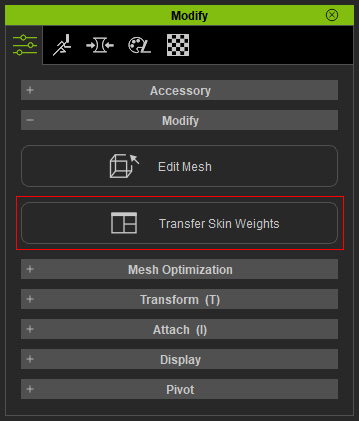
- In the Transfer Skin Weights panel, determine the target for the accessory to be turned to. This step not only assigns skin weights to the vertices, determines the type of the object, but also sets the layer order after the accessory is converted to a pair of shoes.
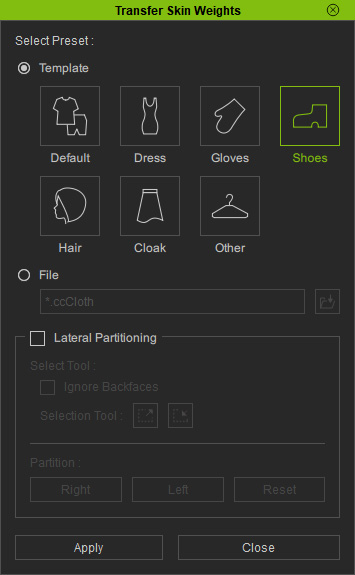
- Click the Apply button to set skin weight automatically for the shoes.
- Now when you pose the character, the shoes will move along.
- Save it to the shoes library.
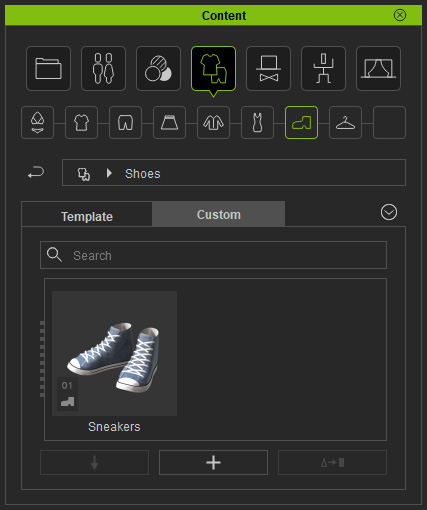
- You can then apply this pair of shoes to any other character.