Setting PBR Materials
After the PBR ability of the 3D viewer is turned on, you can set the desired materials into PBR materials. The PBR material best suits for presenting Metal or Leather.
The conversion methods described below can be utilized to the contents before Character Creator V2.0 in order to increase the realism of objects by converting their traditional materials into PBR compatible ones.
Converting Traditional Material to PBR
-
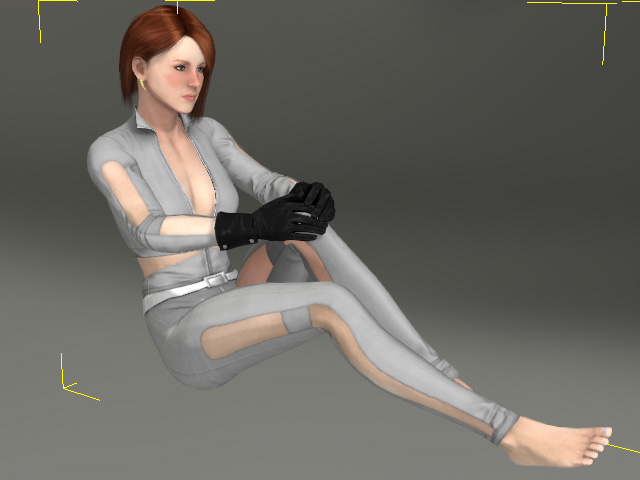
Create a new character, apply clothe content from
Character Creator Version 1.5 or earlier.

-
Select desired material of the cloth for converting to PBR shader type
(in this case, the over-all cloth).
-
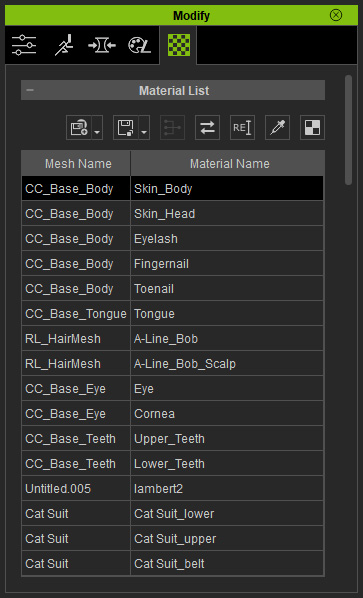
Switch the Modify panel to Material tab
and pick one of the materials in the list.
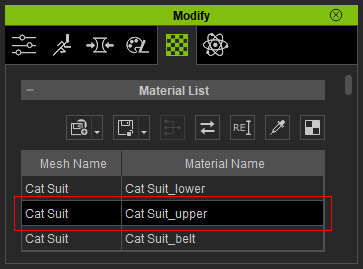
 Note:
Note:You are allowed to select multiple materials in the list in order to convert them into PBR materials together.
-
In the Texture Settings section, change the Shader Type to PBR.
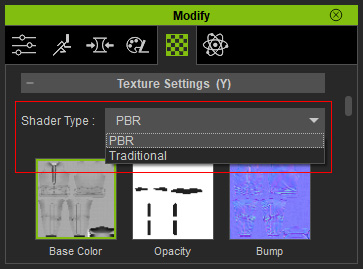
The Specular and Reflection channels (effectiveless in PBR) will be changed to Metallic and Roughness channels.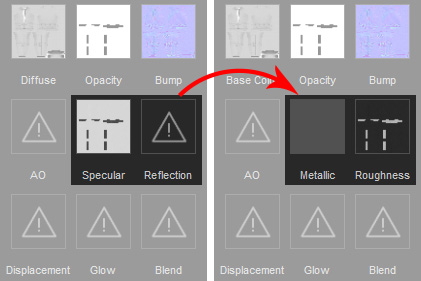
-
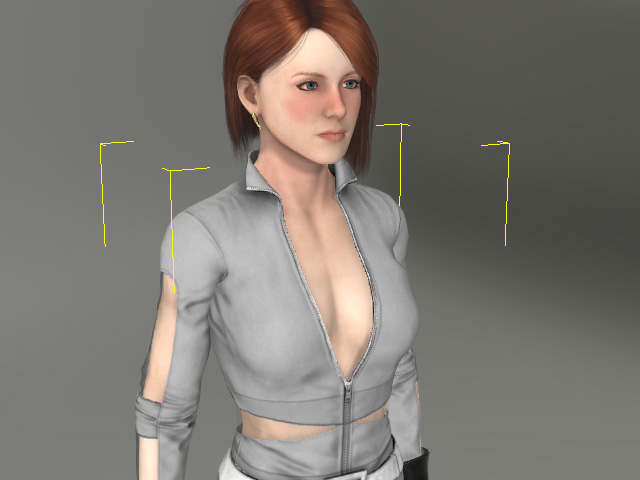
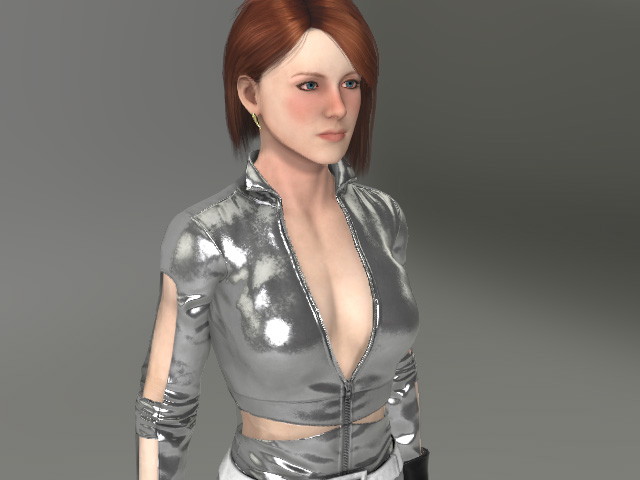
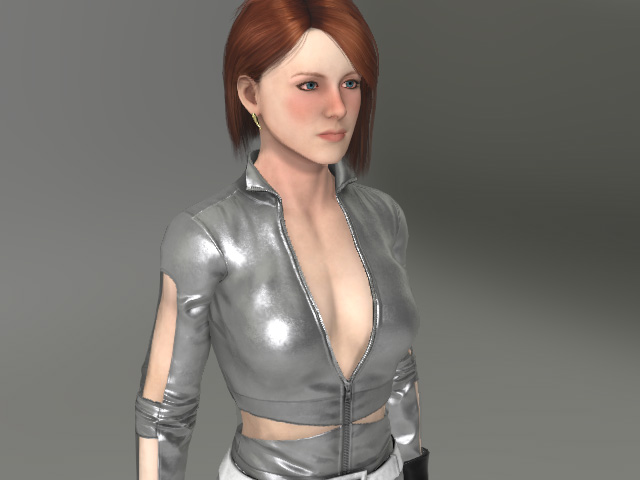
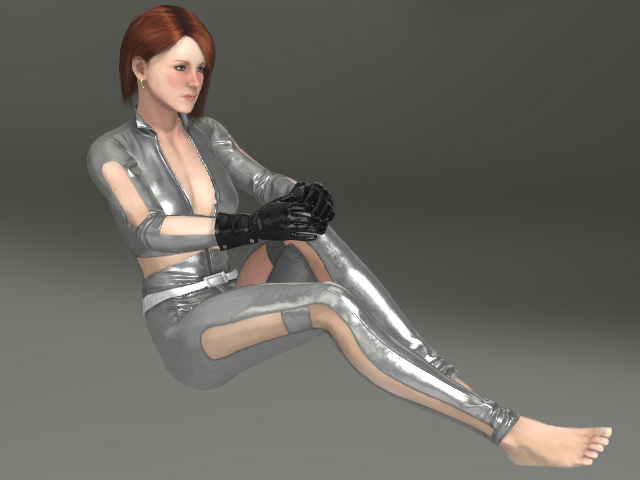
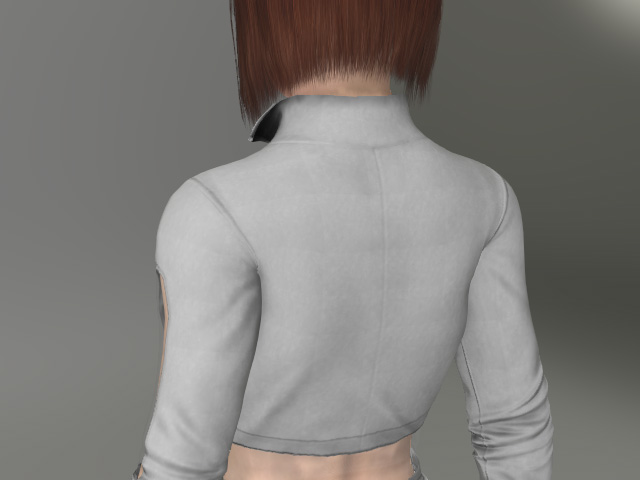
Compare the look before and after it is converted to PBR shader type.

Traditional shader type.
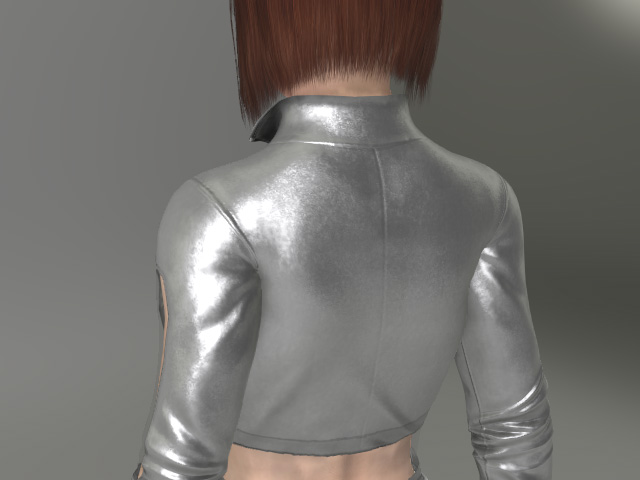
PBR shader type: Reflects the lights from the IBL environment to make the object more realistic.
-
Select the Metallic channel and click the Adjust Color
 button to show the corresponding panel.
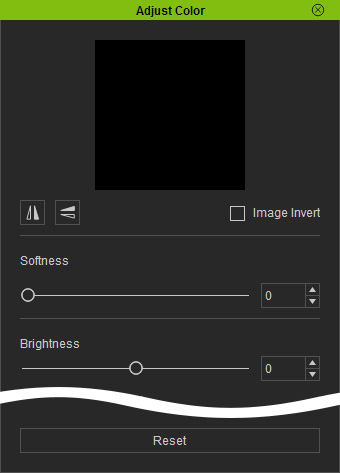
-
Adjust the Brightness slider to change the level of the grayscale Metallic texture to determine
if the object is more like metal or non-metal (in this case, the value
is increased to make the material more metallic).
- Select the Roughness channel.
-
Adjust the Brightness slider to determine the roughness status of the surface for the object
(in this case, the value is increased in order to grind the surface of
the object).
Batch Conversion to PBR Material
In addition to Multi-selecting material from the list, you are able to convert all materials within the list or even the ones in the entire project rather than only the ones of the selected object.
-
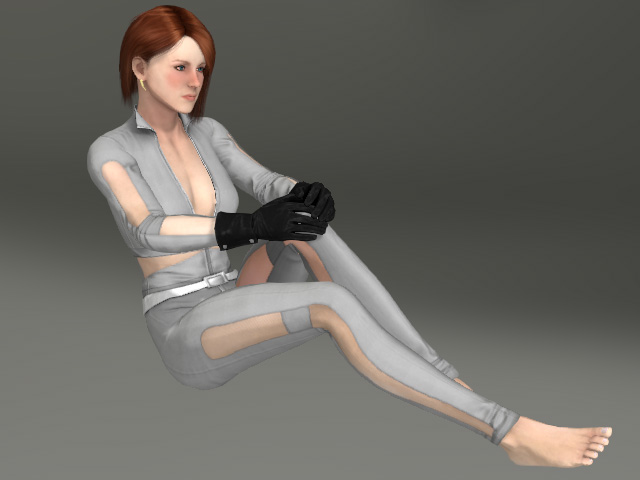
Create a new character. In this case, the character's materials are
all Traditional shader type.
-
Select the character.
-
Switch to the Modify panel >> Material tab >> Material section.
You can see all the materials of the character, including the ones of every pieces the character wears.
-
Instead of multi-selecting these materials in the list for converting them
to PBR shader type, click the Convert Object Shader
 button
to display the corresponding panel.
button
to display the corresponding panel.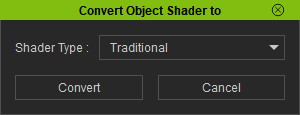
-
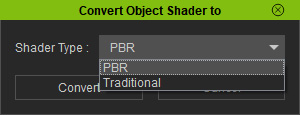
Set the Shader Type drop-down list to PBR and click the Convert button.
-
All materials on the list will thus be converted into PBR shader types.
Customizing Textures for PBR
If you are familiar with the use of the Base Color, Metallic, Roughness for PBR, then you can customize these textures in order to create much more different appearances of the objects.
-
Create a new character and then convert all its materials to PBR ones
and modify them as described in the previous sections.
Traditional shader type.
PBR shader type.
-
In the Modify panel >> Material tab >> Texture Settings section, select the
Base Color channel and click the Launch
 button to export the texture to an external image editor (in this case, Photoshop).
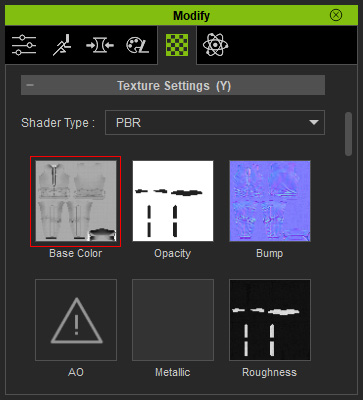
-
Modify the texture in the editor.
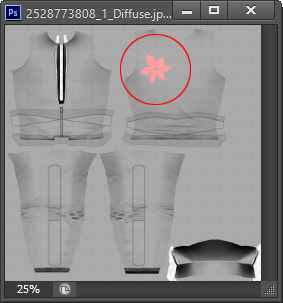
Save the texture file to pass the modification back to the Base Color channel.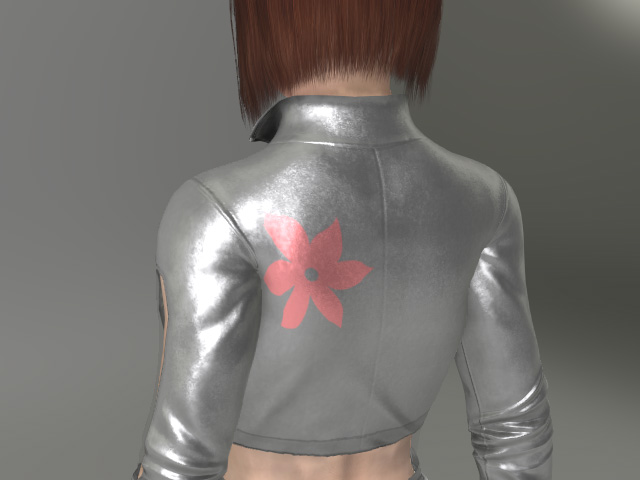
-
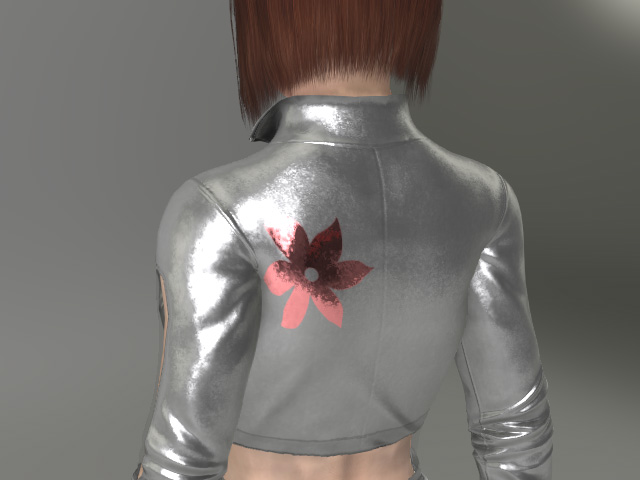
Select the Metallic channel and then follow the same steps to modify the texture of the channel.
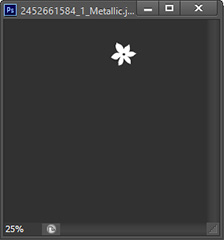
Please note that the white part is complete metal and the black part is totally non-metal.
-
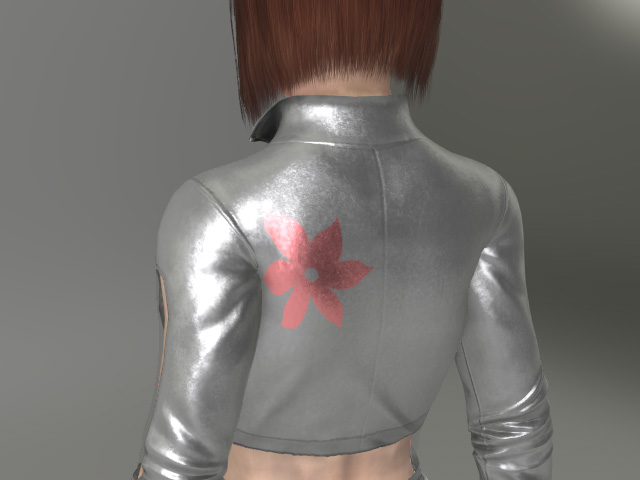
Select the Roughness channel and then follow the same steps to modify the texture of the channel.
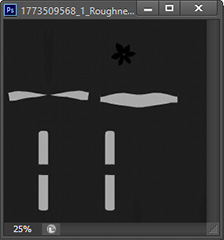
Please note that the black part is complete smooth and the white part is totally rough.
-
Optionally adjust the Normals texture (given the proper
technique).
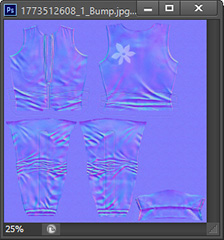
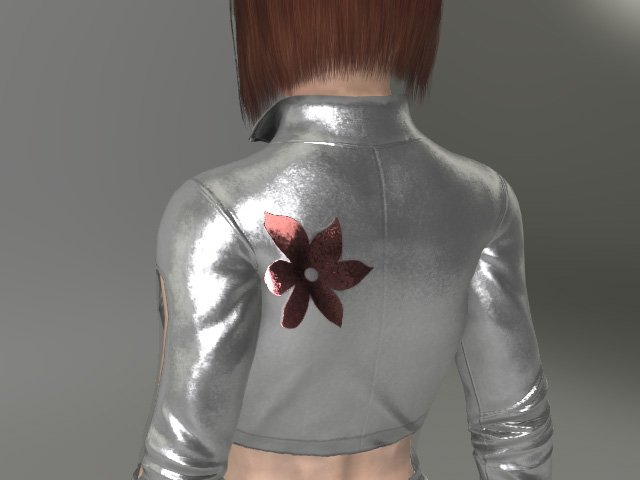
Modify the normal texture to emboss the print.
